
hey @Bplatinum9 how do you refill the water in the Grobo Start while your peat pods are in there? Do you transfer the peat pods out first?
6 Likes

Just realized my Start has been on for nearly 17 hours now …
Turned it on around 4:15 AM this morning and it’s been on all day 
5 Likes
Lol okay it just turned off.
That’s funny. Went hard there for bit… I guess?
6 Likes
Thanks 
4 Likes
She continues to grow faster than any plant I started in the Grobo. Especially the roots, no hydroguard just nice long white roots. Some of the older leaves have a slight wrinkle to them but usually at this time in the Grobo those same leaves would be browning or dead. I’m transferring in four days, kinda nervous to be honest.


13 Likes
Looks great! That’s a nice root ball already!
The clone I have going exploded in root growth in the past couple of days and is now actually getting some leaf growth going on. Took a little over a week after I broke the main root off while transplanting… now she has like 8 main roots it seems like!
7 Likes
Looks good and you should have no problem transplanting in a couple days.
She is much bigger than mine when I transplanted on the ninth day!
I’m going to wait longer next time and bypass early veg stage I think!
Great job! Remember to keep those roots out of the light! 

10 Likes
… #138
- - - [2021-01.28]:
Jan 28, 2:45 AM
@Wake,
…
…
-
(You Will Need To Keep Up With Your Water Level To Keep Your Sprout Happy):
{

 }:
}: -
(Keep Your Float Flush With Your Start Lid): {
 }:
}:
- - -
@miami5th,
…
-
(#TheMoreYouKnow): (They Should Have Done More Start Surveys Before They Sold Them): (They Should Have Known This Would Cause An Issue): (Grobo Needs To Remodel The Float & Pass The New One Out To Those Who Has The Start Already): {
 }:
}:

…
- - - [2021-08.04]:
@Aang,
…
-
(#RootsToWaterLiftPodAboveWater): (Prevent Damping Off):
-
[The New Grobo Start - #145 by miami5th]: (GroboStart): {
 }
} -
-
[Search results for ‘PoolNoodle user:silvergrobo’ - AllGrowers Forum | Hydroponics, Harvesting, Cannabis, and more]: {PoolNoodle
 }:
}: -
-
[Cheap & Easy DIY Hydroponics | Ditch the expensive stuff for a $1 Pool Noodle - YouTube]: {PoolNoodlePod
 }:
}: -
.
-
(Our Grow Fixing Issue With The Start):

.
-
(Noodle Inside Basket):

…
- - - [2021-09.08]:
@Golden-Nugz,
…
 {
{.
-
[New Cloning Video - #5 by SilverGrobo]: (Stephen’s Clone Video):

-
(#PoolNoodle): (Video_
Above_  ):
):
.

--
~ ~ ~ ~ ~ ~ ~ ~ ~ ~ ~ ~ ~ ~ ~ ~ ~ ~ ~ ~ ~ ~ ~ ~ ~ ~ ~ ~ ~ ~ ~ ~ ~ ~ ~ ~ ~ ~ ~ ~ ~ ~ ~ ~ ~ ~ ~ ~ ~ ~ ~ ~ ~
4 Likes
It’s strange, the first two sets of leaves grew a little wrinkled. I wasn’t upset since those same leaves would be dead in the grobo so I will take wrinkled. I was careful to only add the 650ml of water for each fill and I actually removed the wick a couple days ago to ensure I don’t dampen off. Then surprise surprise the wrinkling started to go away.
6 Likes
I said it once before and it’s worth repeating.
Once your seedling has a tap root that has hit the water in the Start, you should remove the wicks. Otherwise the wicks will continue to pull up water into the peat pod and it will not dry out.
9 Likes


I have a couple problems with the Grobo hardware going on but Danielle, Bruno and the gang have been in constant contact. It’s a manual process right now but fingers crossed I can keep her alive.
8 Likes
Oh by the way, the pictures above are a transplant, day 1 of late veg.
3 Likes
Hope you can get the hardware issue resolved soon! That’s a nice big plant being transferred!
5 Likes
Hey everyone! I have some advice on the Grobo Start:
My little pod holder that I use while doing the drain/fills:

I think it is a shot glass. I pull one pod to access the reservoir for the drain/fills. Also, I think the instructions for the Start need to be updated regarding the Fill Float. If you fill up the unit all the way so the Fill Float is flush with the lid, there is too much water and your peat pod will be submerged. This will result in the peat pod being too wet and possible damping off issues. Check out the appropriate fill level:

This is an example of the water being filled all the way so the Fill Float is flush with the lid. Note how you can see the water coming up thru the empty peat pod. Too much water!

Also, it’s important to note that while the instructions call for 650ml of water you may need less since the volume of the seedlings’ roots will displace the water and take up space. So I think it is best to add your water to the Start and visually inspect where the water line is in relation to the bottom of the peat pod holder. Once you find the sweet spot, mark a line on your Fill Float so you know when it’s properly full. Like this:
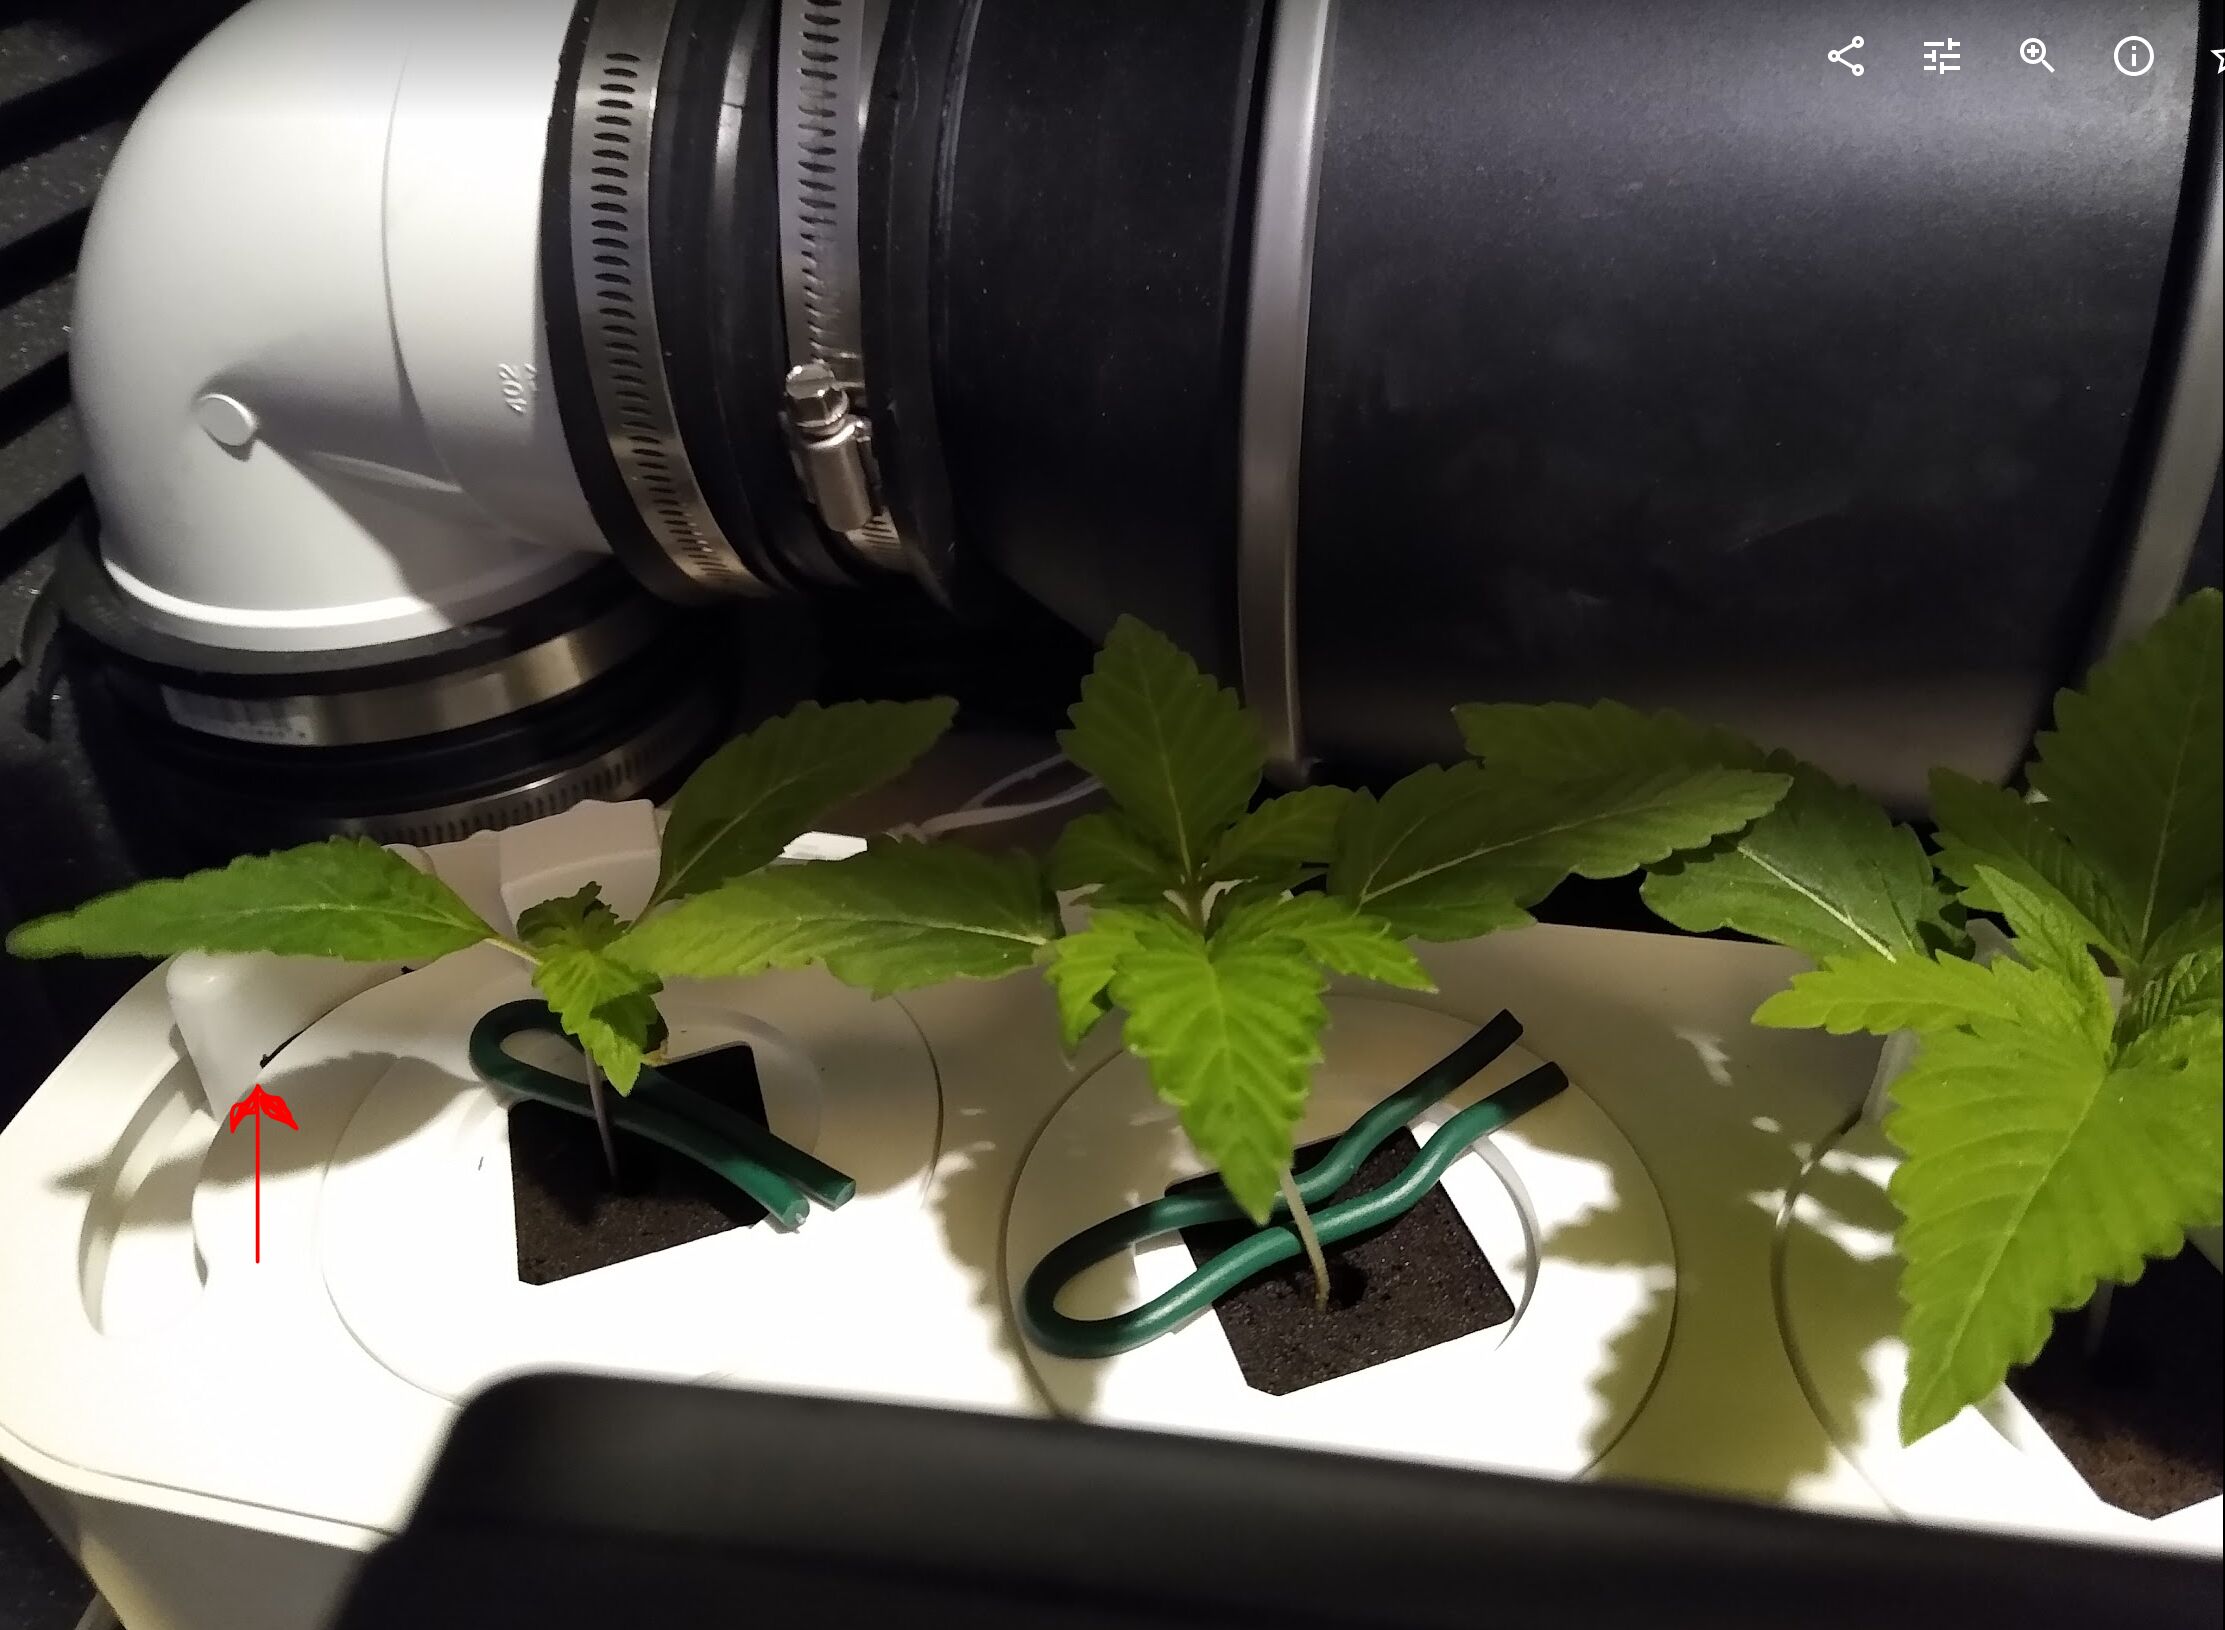
I actually overfilled her a little bit (or I didn’t account for the displaced volume once I put the 3rd seedling back in it’s spot. You can see the peat pods look wet again

10 Likes
Awesome tips! Thank you! I see that you’re still using the ties as support  . I decided to transfer mine to the Grobo and use the support rack.
6 Likes
@Aang - Yep still going strong in the Start with these 3. In the Grobos the Purple Haze auto will be harvested this week so I will transplant one seedling soon. The other grow, the jamaican dream needs a few more weeks so I’m growing out her replacement - jamaican pearl - in the Start.
So I will transplant 2/3 of the seedlings into the Grobos. One seedling is being kept back to fully grow out to harvest or death in the Start, whichever comes first. It’s kind of an experiment to see what will happen…I know the Start is not designed to carry a cannabis plant from seed to harvest but I’m curious to see how it goes!
5 Likes
Awesome, sounds like you have a good plan :). Would love to see updates on how the the seedling does in the Start from the beginning to harvest/death lol
5 Likes
Hi @miami5th …I’m running the same experiment to see how long a grow can go in the START… I recently changed the lighting schedule to 20 hours light (via manual turn ONs). I don’t think one can finish a complete grow in the START and I did not want to witness a death… so I just bought the cheapest 3.5 gallon space bucket that I could find online and going to give growing outside the grobo shot with my light source being the START…i’m mostly focused on improving my 2nd grobo grow ever but will give this experiment a cheap try in a space bucket.
4 Likes