
She should get by it all just fine she has a lot of support now
2 Likes
Flower (Day 57 / 74) Visual Age (Bloom Week 6)
Water Change
Pulling many additives to make way for more PK. I am probably going to get some burns from this but buds should get bigger (I hope).
Rhino Skin: Pulled
B-52: Pulled
Overdrive: Pulled
Fill:
RO Water
Big Bud: 1.5 x
Sensizym: 1/2
First top off:
Bud Candy: 1/2
Hydroguard: 2x
CO2 PPM: 1200-1680


Some new toys


15 Likes
Lookin beastly
Definitely can see a bit of growth in the size of the buds, colas are looking pretty fat. They are only gonna get bigger I think, can’t wait to see it!
7 Likes
Hi 
Good article 
Is this the Rack you used & is it the correct size  ??
??
Might have to source my own magnets as no Euro sales yet  !
!
Thanks, here are the racks that I used. I modified the item by removing every other bar to make 2 x 2" holes
https://www.amazon.com/gp/product/B07K6TDCLT/ref=ppx_yo_dt_b_asin_title_o00_s00?ie=UTF8&psc=1
1 Like


@Gmann
I think thats too big, you want to look for something closer to around 29 cm x 29 cm unless you dont mind cutting the racks down to size
1 Like
Think I’m gonna need to do some cutting on any of em anyway m8
Loads of Mag Hooks about too even 100lb
1 Like
I went through 2 packs of the magnetic hooks, they are very functional.
2 Likes
Sorted …
30cm  !!
!!
Just seems a little small but I suppose the hooks bridge the gap ??
I’m looking at 100lb mags or is that a little OTT  !
! !
!
I only put the link up  !!
!!
2 Likes
That may be a bit too over power and may dent the wal of your grobo so use with 
Think ill drop to around 30-40lb !!
1 Like
Mines are 25 lbs and they are sufficient enough
1 Like
Its always the little things !
Cheers
2 Likes
Hi Vicc
I’m looking at your pics & im confused as to the reason for the Solid Scrog staying at the bottom & you carry on growing Vertically ! so may I ask the main reason for the Scrog & is there any real advantage to using one in my grobo
Definitely missin summut !!!..
3 Likes
The scrog was originally used for evening out the canopy during late veg and stretch. Now it’s only used to bend the lower branches from the inner canopy to the front of the grobo. Thats how I got her to open up on the front. All that canopy you’re seeing is from the middle of the 2nd fan and up
The top are being supported with the support racks from the grobo store and I also use garden wire to support the large colas in the front. One thing to keep in mind with using the scrog is that your grobo space is very limited and you can create a black hole where there will not be any light penetration if you create too many colas from all that horizonal growth (which resulted in me using my tent to pull her out to create enough space and finish up). Next time around, I will use the scrog much higher and will swaz and lolipop much higher to keep the canopy much thiner.
You can get the same functions as scrog by pulling the branches with hooks and wires
Also here is an amazing example on how to properly use a scrog
3 Likes
Right !
Any real scrogging in a grobo is for support & not really for horizontal scrog growing !
I suppose it makes sence as limited for space & I doubt it would produce the same/better yeald ??
Ordered 2 Racks today so I hope I use em !!
So much stuff I Don’t Know !!..
5 Likes
We’ll see. This is my first run, I’m hoping for a pretty high yield for all the abuse and growth time I put her through. Definately not a pure grobo run for me.
3 Likes
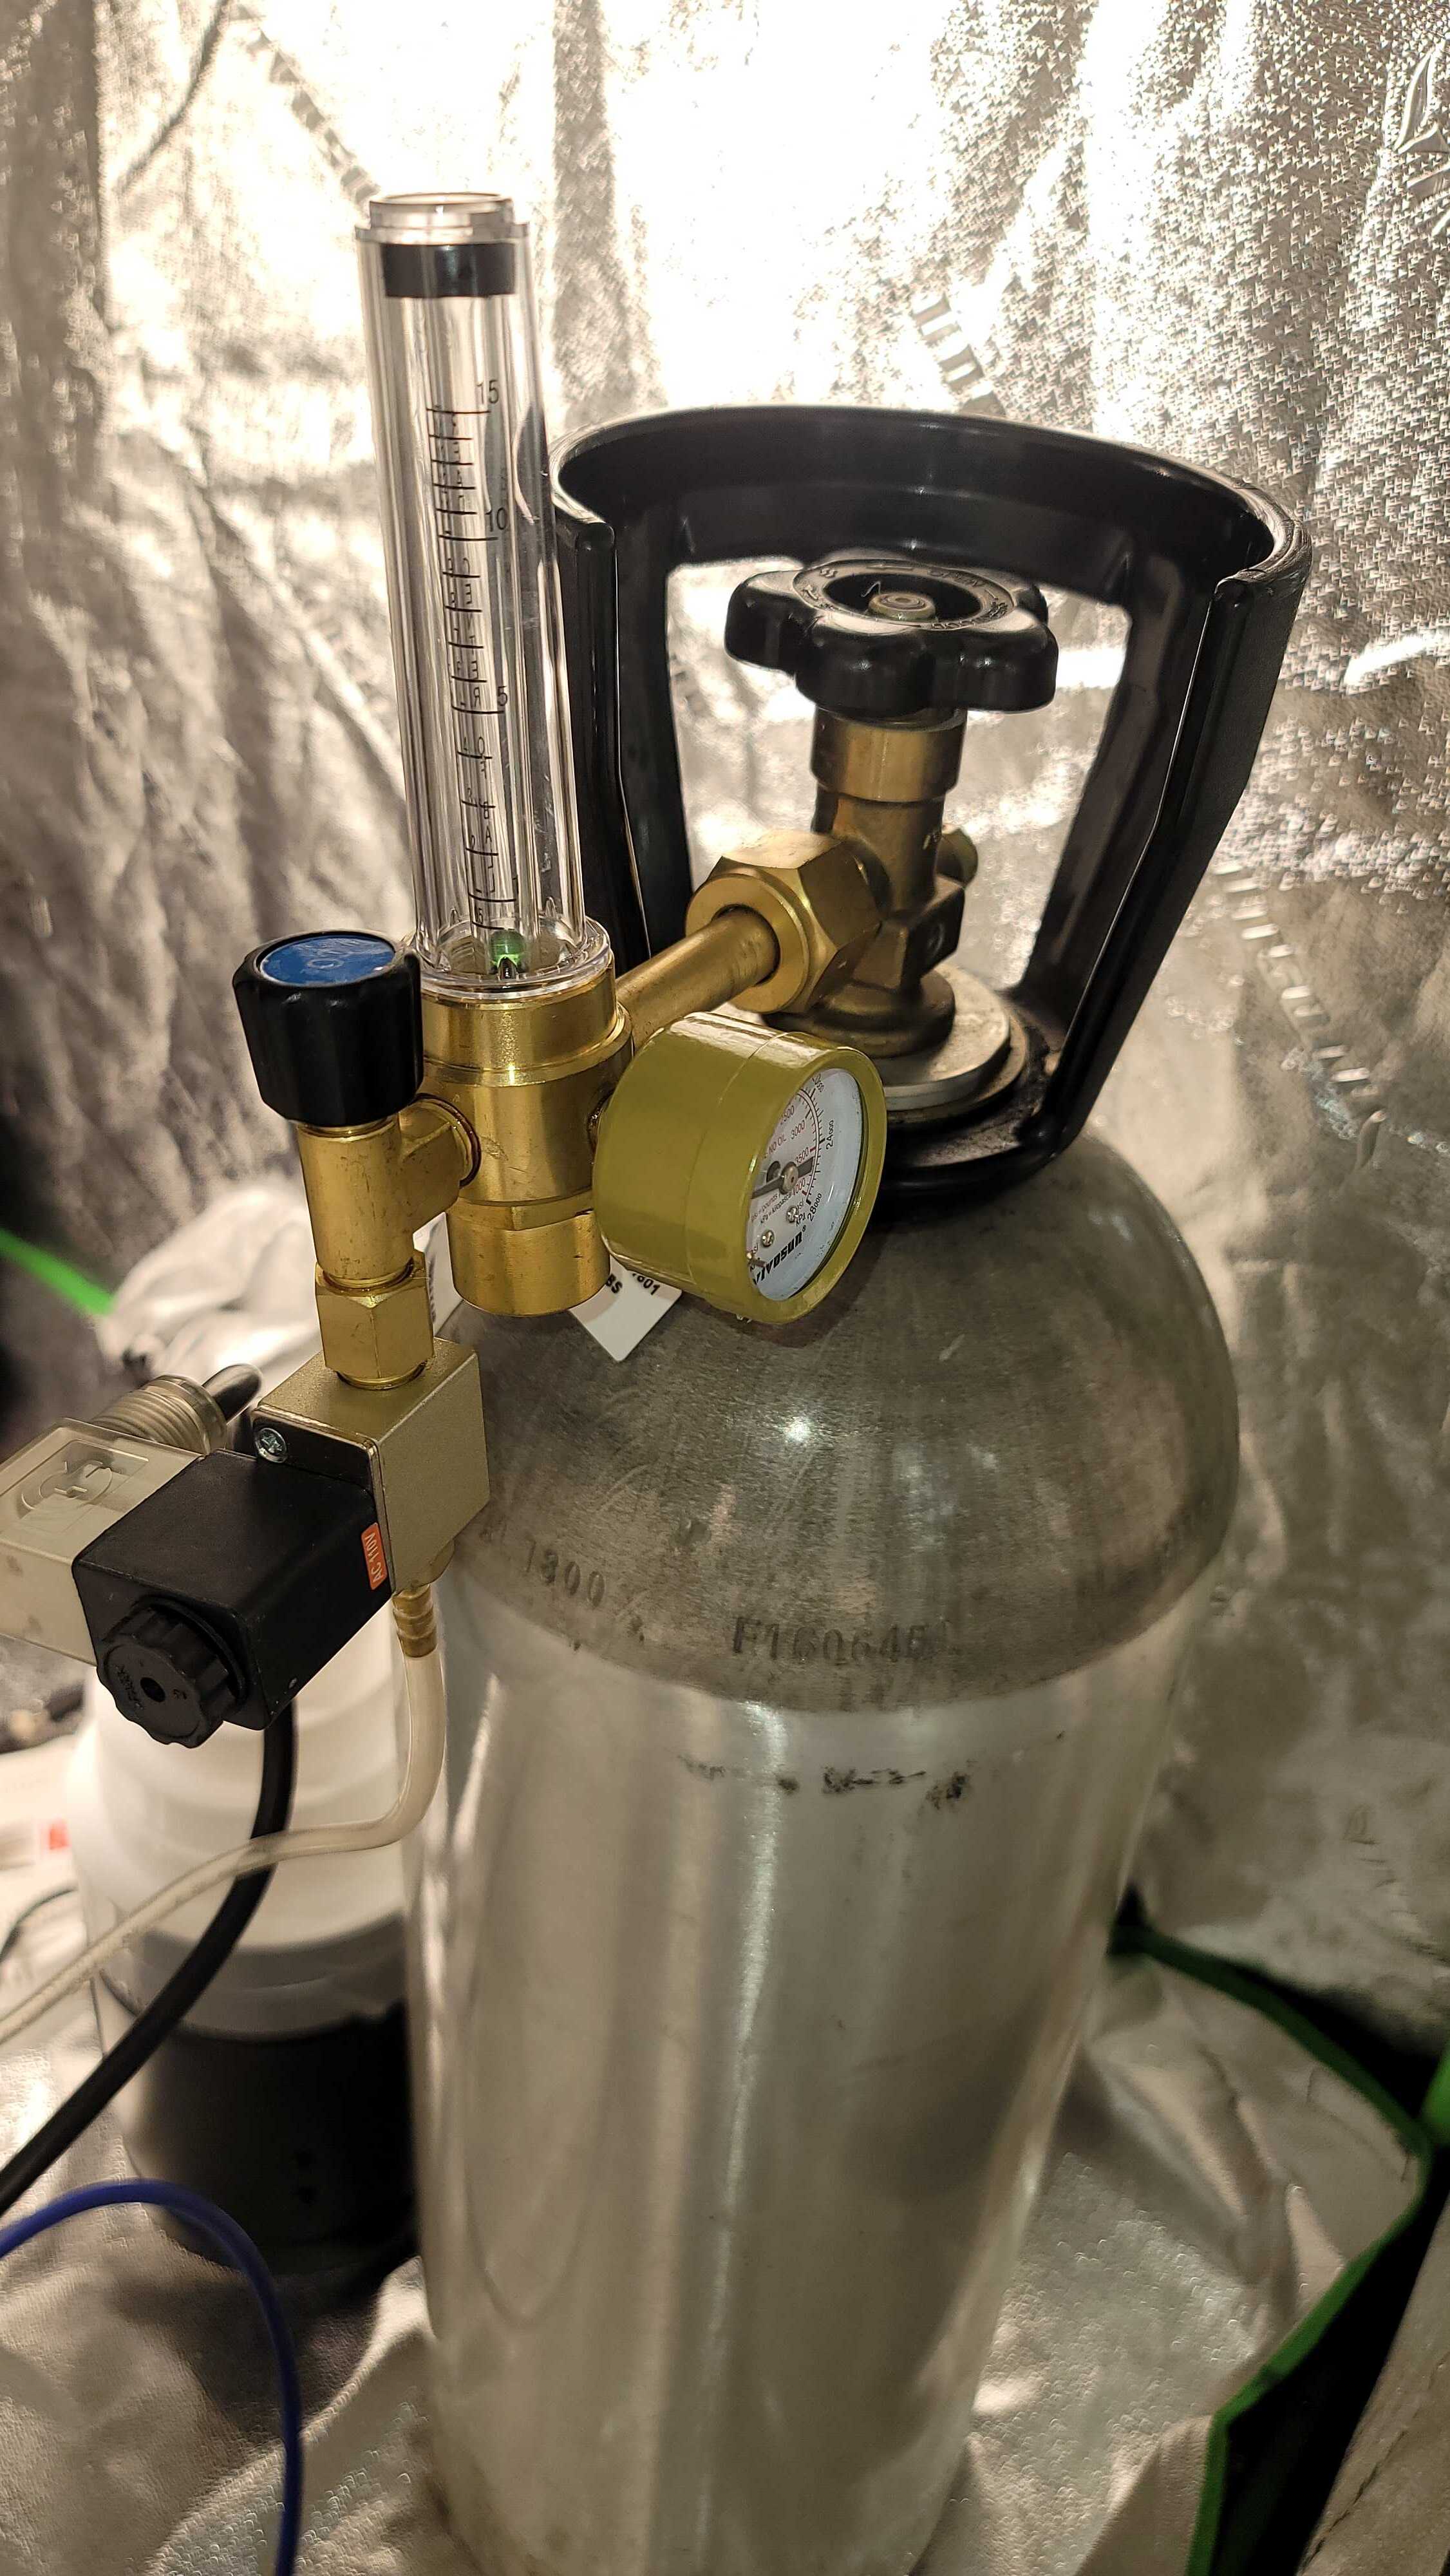
My CO2 Setup
This CO2 set up was originally for my tent run however my grobo is currently taking that space so I might as well put it to use. Figured I’d share what I got going for those who are curious with the parts and process involved.
CO2 Generator:
Exhale CO2 Bag (for passive co2)
Vivosun CO2 Regulator
CO2 Tank - 20 Lb (can get any cheap one you can find to join a co2 exchange program unless you want to find a fill station)
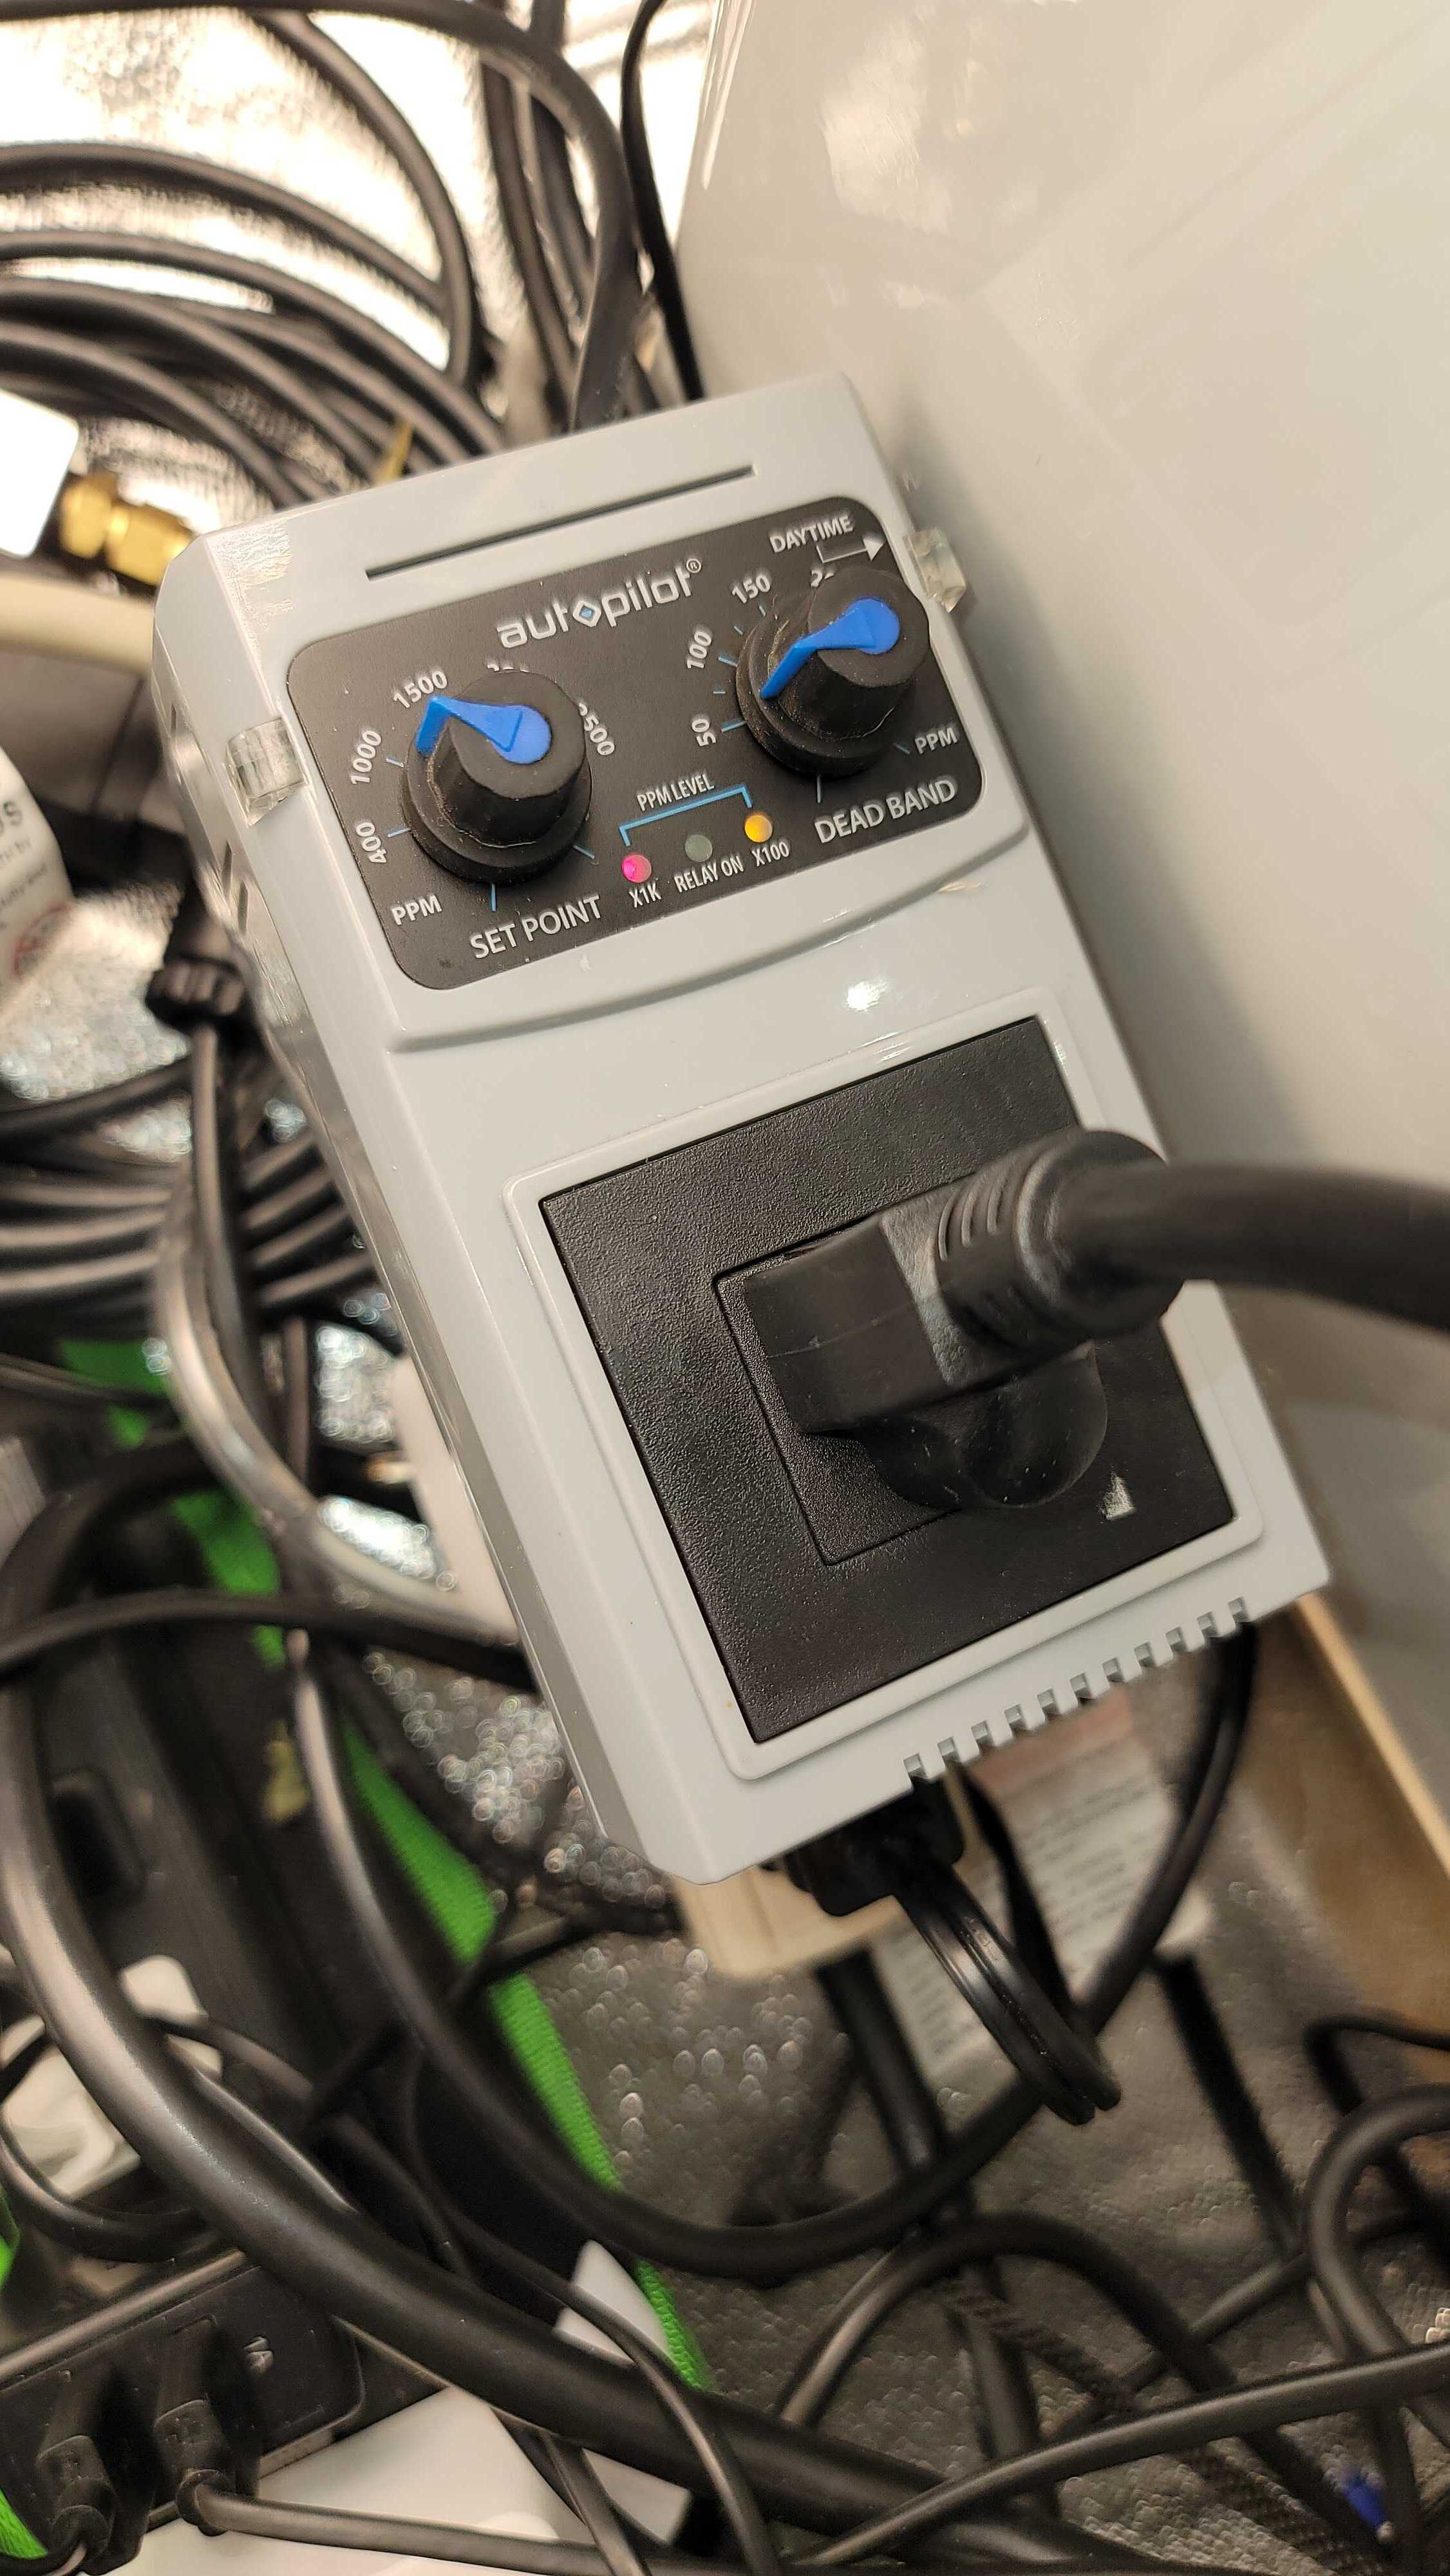
CO2 Controller:
AutoPilot Analog CO2 Controller (Co worker found a new one on offer up for $100 and sponsored me)
https://www.walmart.com/ip/Autopilot-Analog-CO2-Controller-2018-Model/790360637
CO2 Distribution:
Halo CO2 Tubing with holes punched in. You can make your own and buy a T fitting or just buy one of these:

Environment Controllers: (Budget approach with plenty of customization, remote online controls and data logging options)
Meross Hygrometer:
Meross Smart Plug (Controls Lights / AC / Exhaust Fan / CO2):
The CO2 Tank is connected to the Regulator which has a solenoid valve that is connected to the CO2 distribution hoses, which is placed above the canopy in the grobo. The CO2 regulator is connected to the CO2 controller which is plugged into a Meross smart plug.
When using CO2, I allow my temperature to swing since I am not using a recirculating air conditioner.
The meross smart plugs and hygrometer are my Tent’s environment controller. They are being controlled by the meross app which I am able to set automated responses, timers and routines depending on humidity and temperatures. Using the smart plugs to control my CO2 controller saves me from wasting CO2 by turning off the CO2 when the AC and fans are running. This is how the Titan Controls Hades 3 functions, I just mimiced its functions and applied to smart plugs, this saves about $200 in unnecessary equipment.
Temp swings on meross app:

I have the environment set up in different categories, ramp up / cool down / lights out.
Ramp Up
- AC Off: 76F (allows some ramp time for CO2 to build up as tent heats up again)
- Exhaust Off: 76F
- CO2 On: 76F (CO2 Controller set to 1200-1680 ppm)
Cool Down:
- AC On: 86F
- Exhaust Fan On: 86F (Set exhaust pressure to slighting above the AC intake air pressure. You want neutral to slightly negative tent pressure while cool down is running, this prevents too much CO2 from leaking out and RH from spiking too much)
- CO2 Off: 86F
Lights Out:
- AC off: 75f (to encourage proper node spacing with night time temps, keeping it between 5-10f below day time temps)
- CO2 off (The CO2 controller normally comes with a light sensor that automatically turns off when there is no light, but I use the smart plugs just in case)
- Exhaust Fan On all night
Resources / Reading material
Ed Rosenthal | Why CO2 is Critical for Cannabis
https://cch2o.com/general-recommendations/
@SWSVIC
Hope some of this information helps
15 Likes