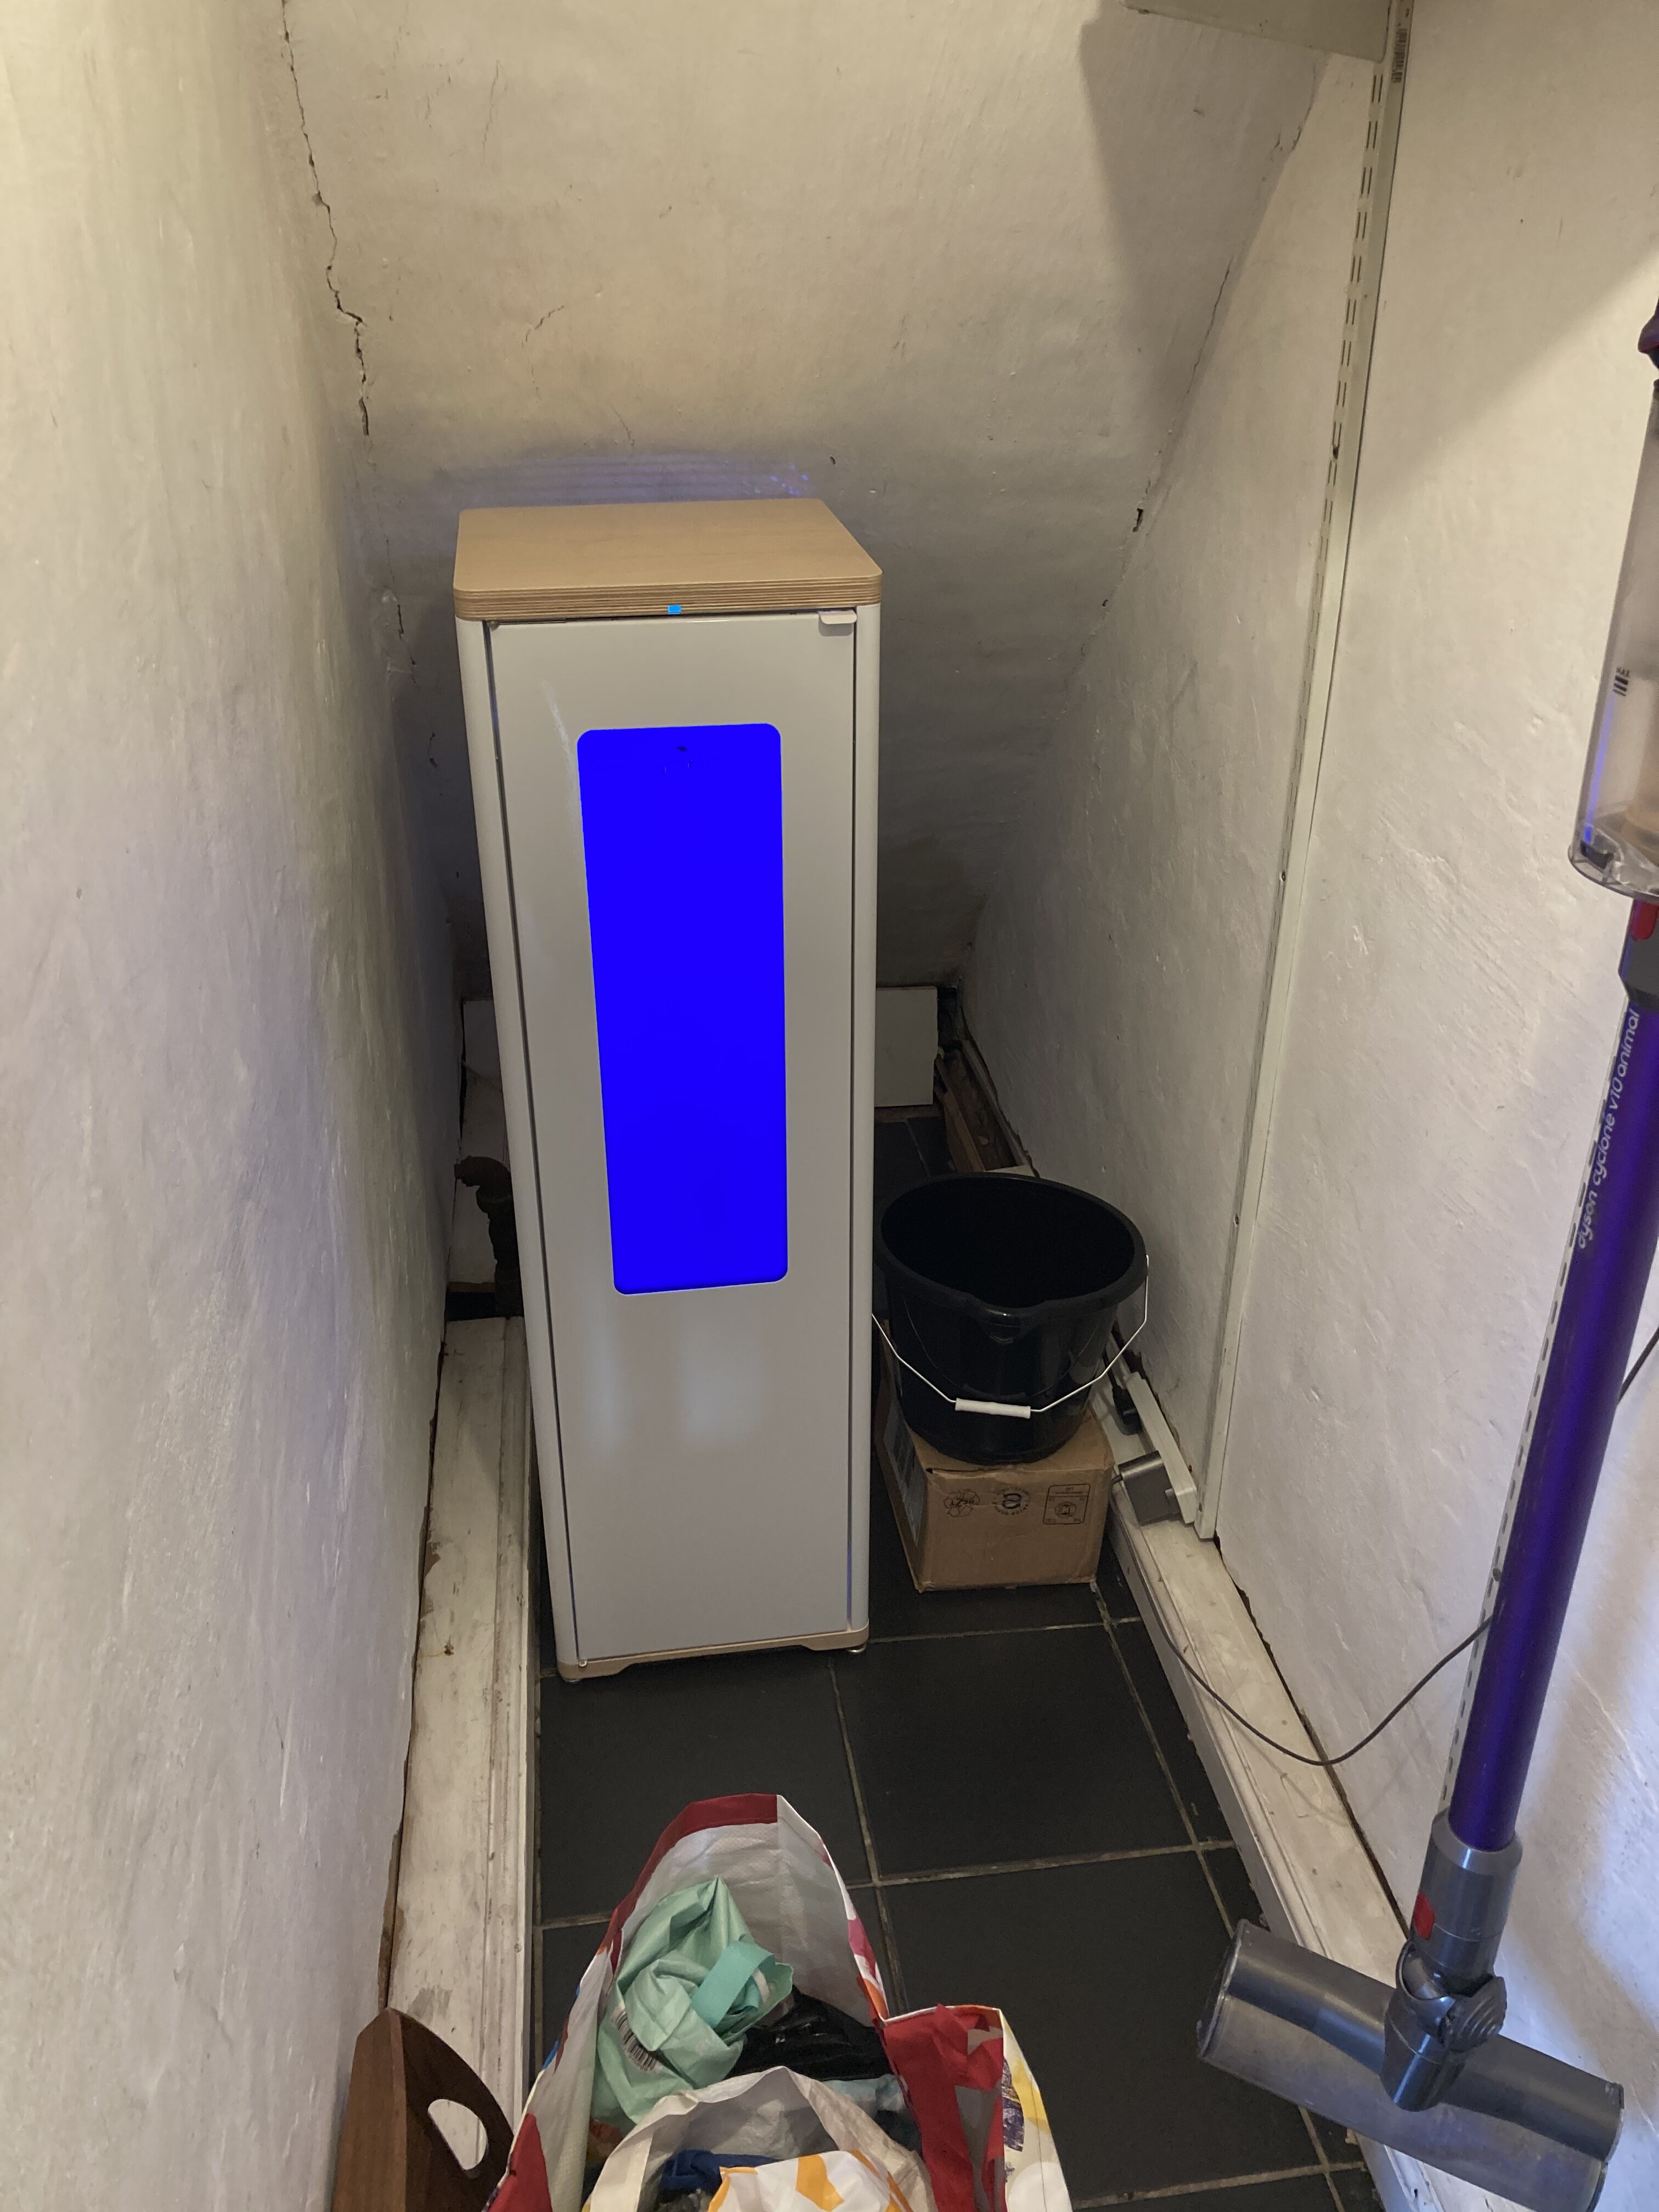
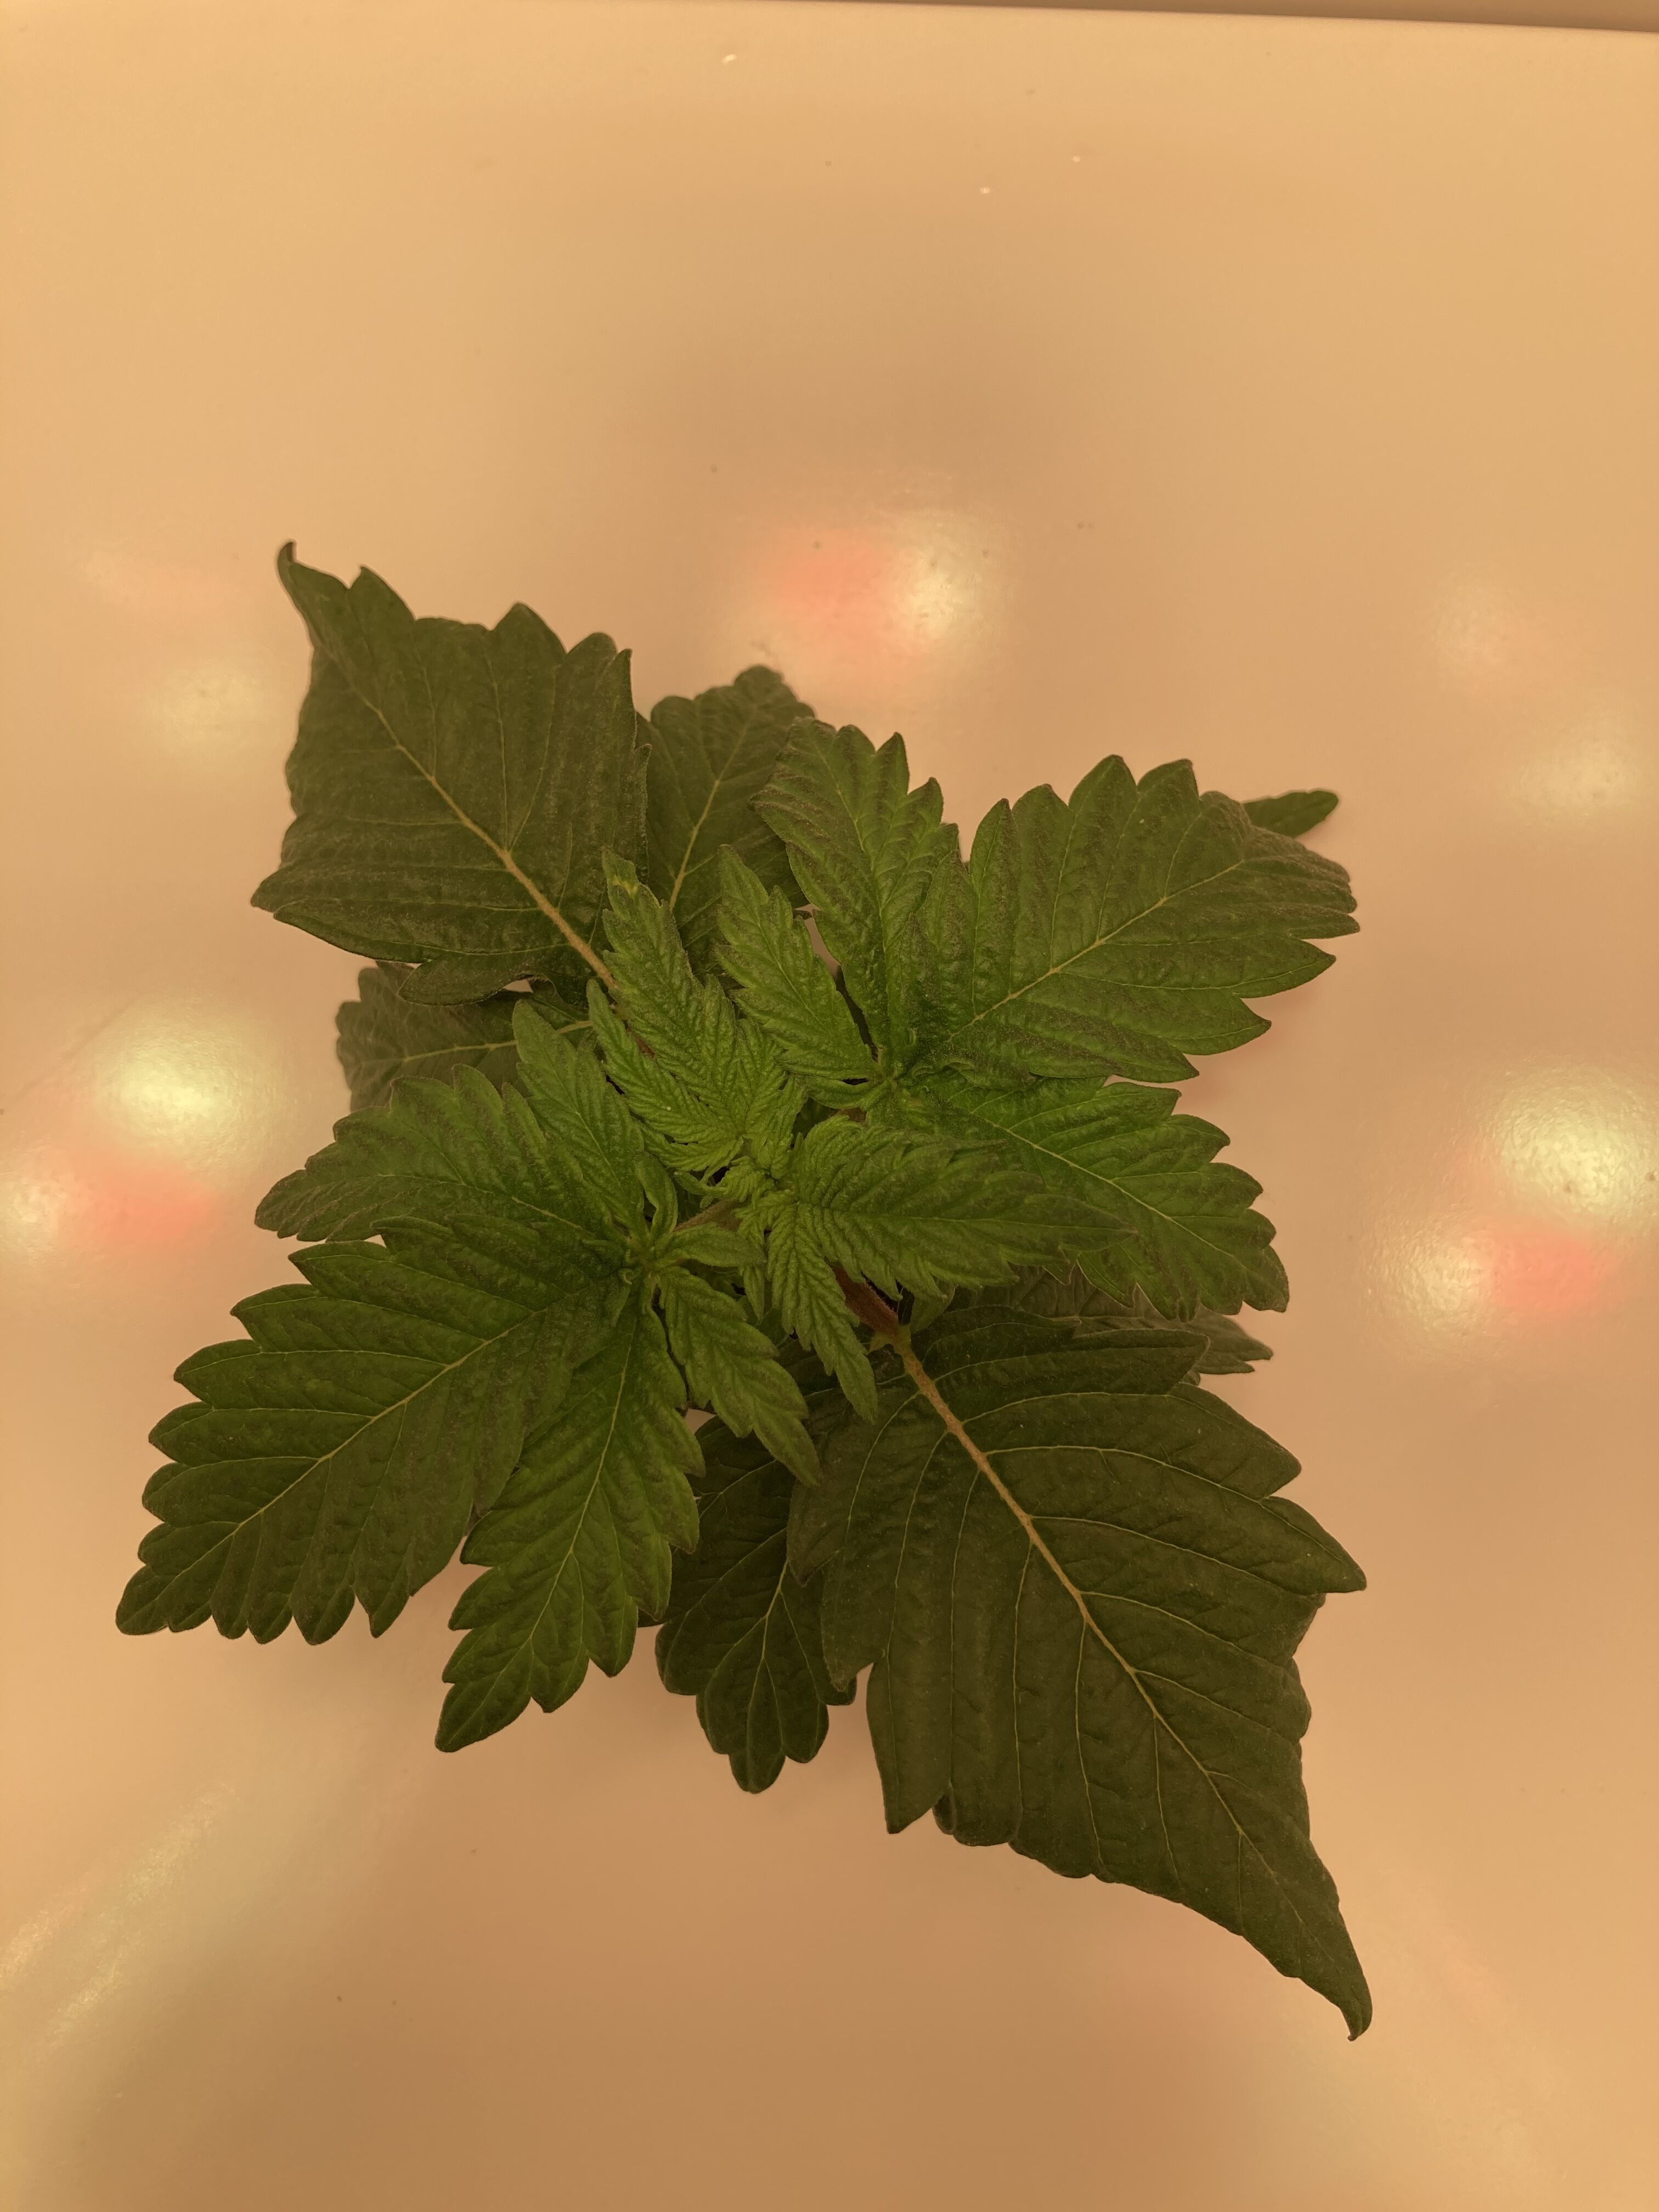
Hi Guys, I’ve had to put my Grobo in my loft. I live in England and it can get pretty cold over here in winter but most the time it just rains.
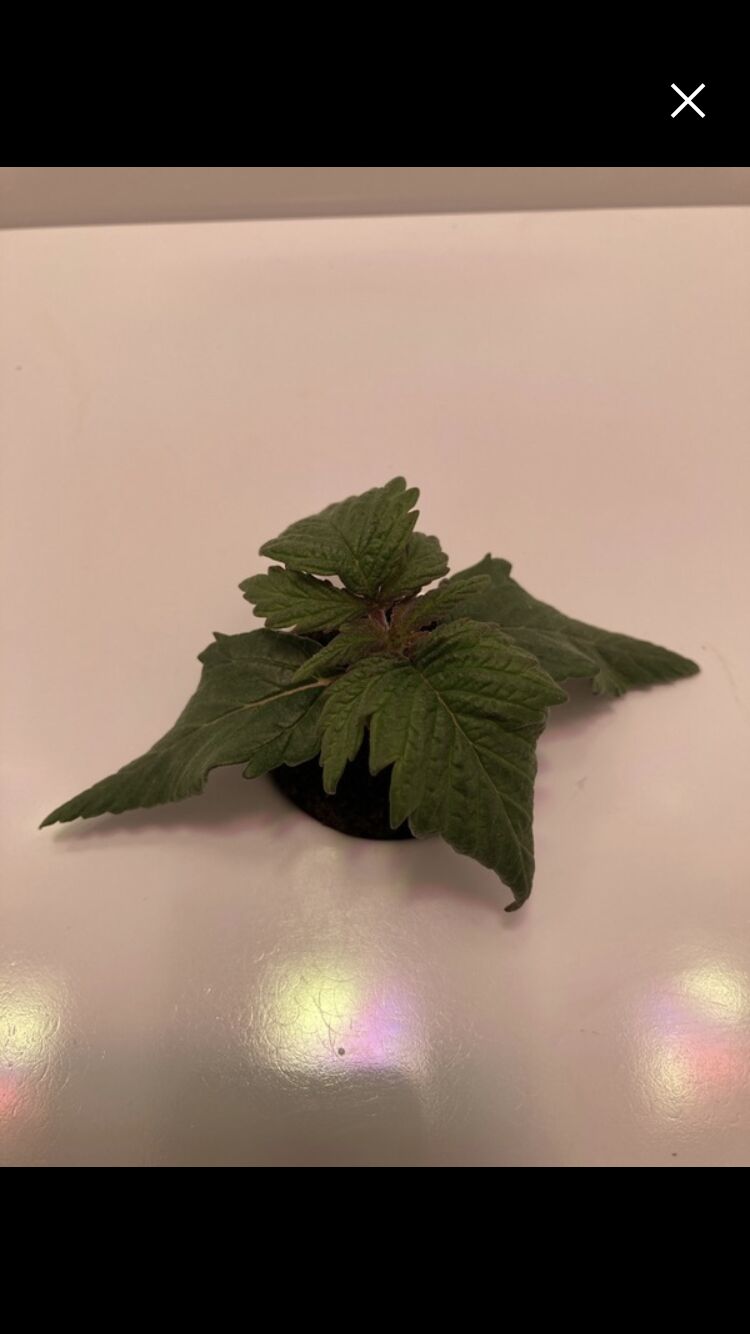
Does or will this affect my grow? I’m on day 28 and this is what she looks like at the moment;

Hi Guys, I’ve had to put my Grobo in my loft. I live in England and it can get pretty cold over here in winter but most the time it just rains.
Does or will this affect my grow? I’m on day 28 and this is what she looks like at the moment;
It would affect your grow if the temperatures are too low on the average, especially during lights off period. Humidity probably won’t be too much of a problem since it rains a bunch, but once you hit flower stage you’re going to want to drop the humidity in the 30-45% range to prevent mold and bud rot issues, might be hard to control that up there?
I know my attic isn’t insulated great and wouldn’t be good in either summer nor winter for using something like the Grobo, but everyone’s home is different. My attic is like… rather unfinished and I wouldn’t trust anything up there though
When you say to low, what temps are we looking at?
Maybe I could change the time on the light cycle so the lights are on though the night when it’s colder and there off in the day when it’s not so bad temperatures.
(Temperature): (If You’re Comfortable Then Your Plant Is):
--
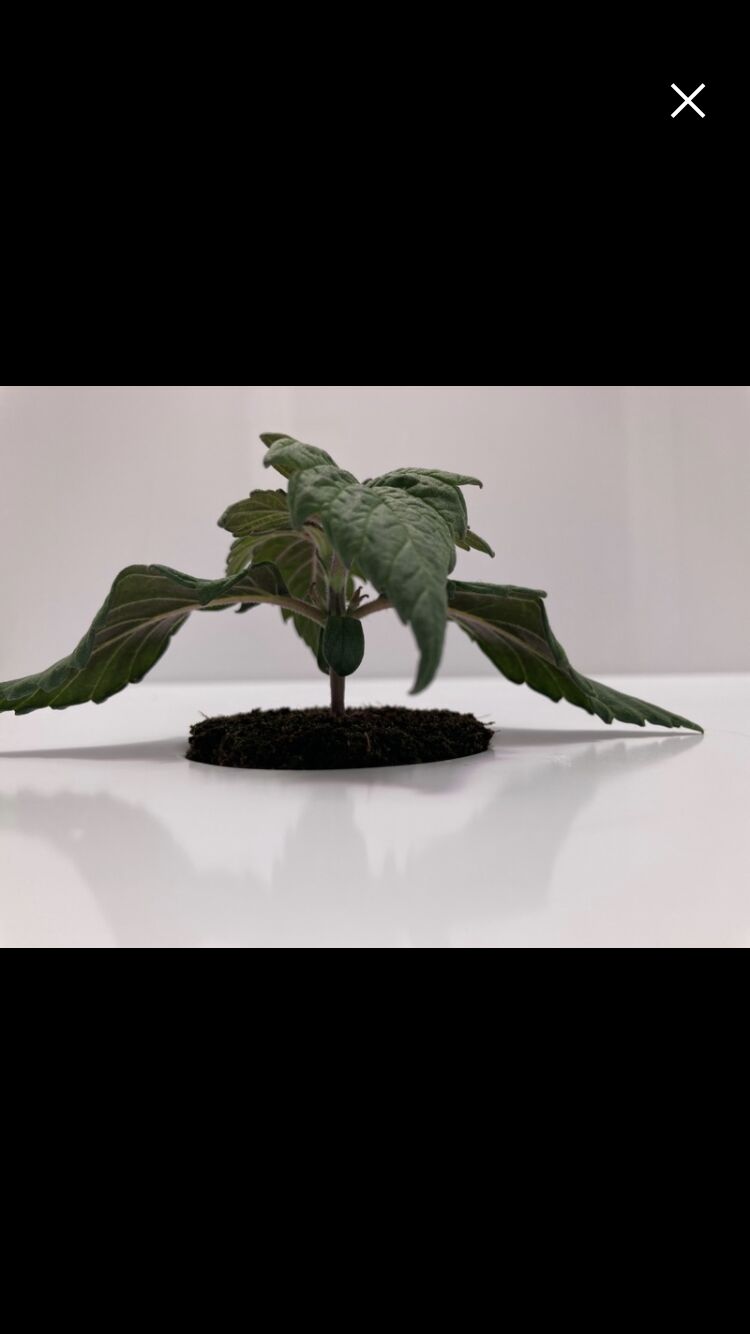
So got Grobo support to check temperatures in my Grobo and basically my plants  been growing in an ice cube
  up in my loft
  . I’ve now moved the Grobo down 2 floors and put her under the stairs were it’s loads warmer.
The good thing is she’s actually grown in poor conditions and had to move 3 times now lol which means she’s definitely a fighter 
I’ve extended the veg cycle a week to let her catch up with lost time. Hopefully all goes well now.
And here’s me thinking, buy a Grobo, plug and play everything’s done
Good move @TheBeardOfGold!
It’s an automated unit, but growing good cannabis isn’t an automated process. The more love you give your little one, the more she will reward you in the end! Glad you were able to keep this one rolling.
Cheers,
Stephen
I’ve learnt a lot over the last few weeks with the help from you guys, thanks.
I think she’s going to be beautiful in the next couple of weeks. I’m going to teach her to become a beast lol
I’ll keep everyone posted 
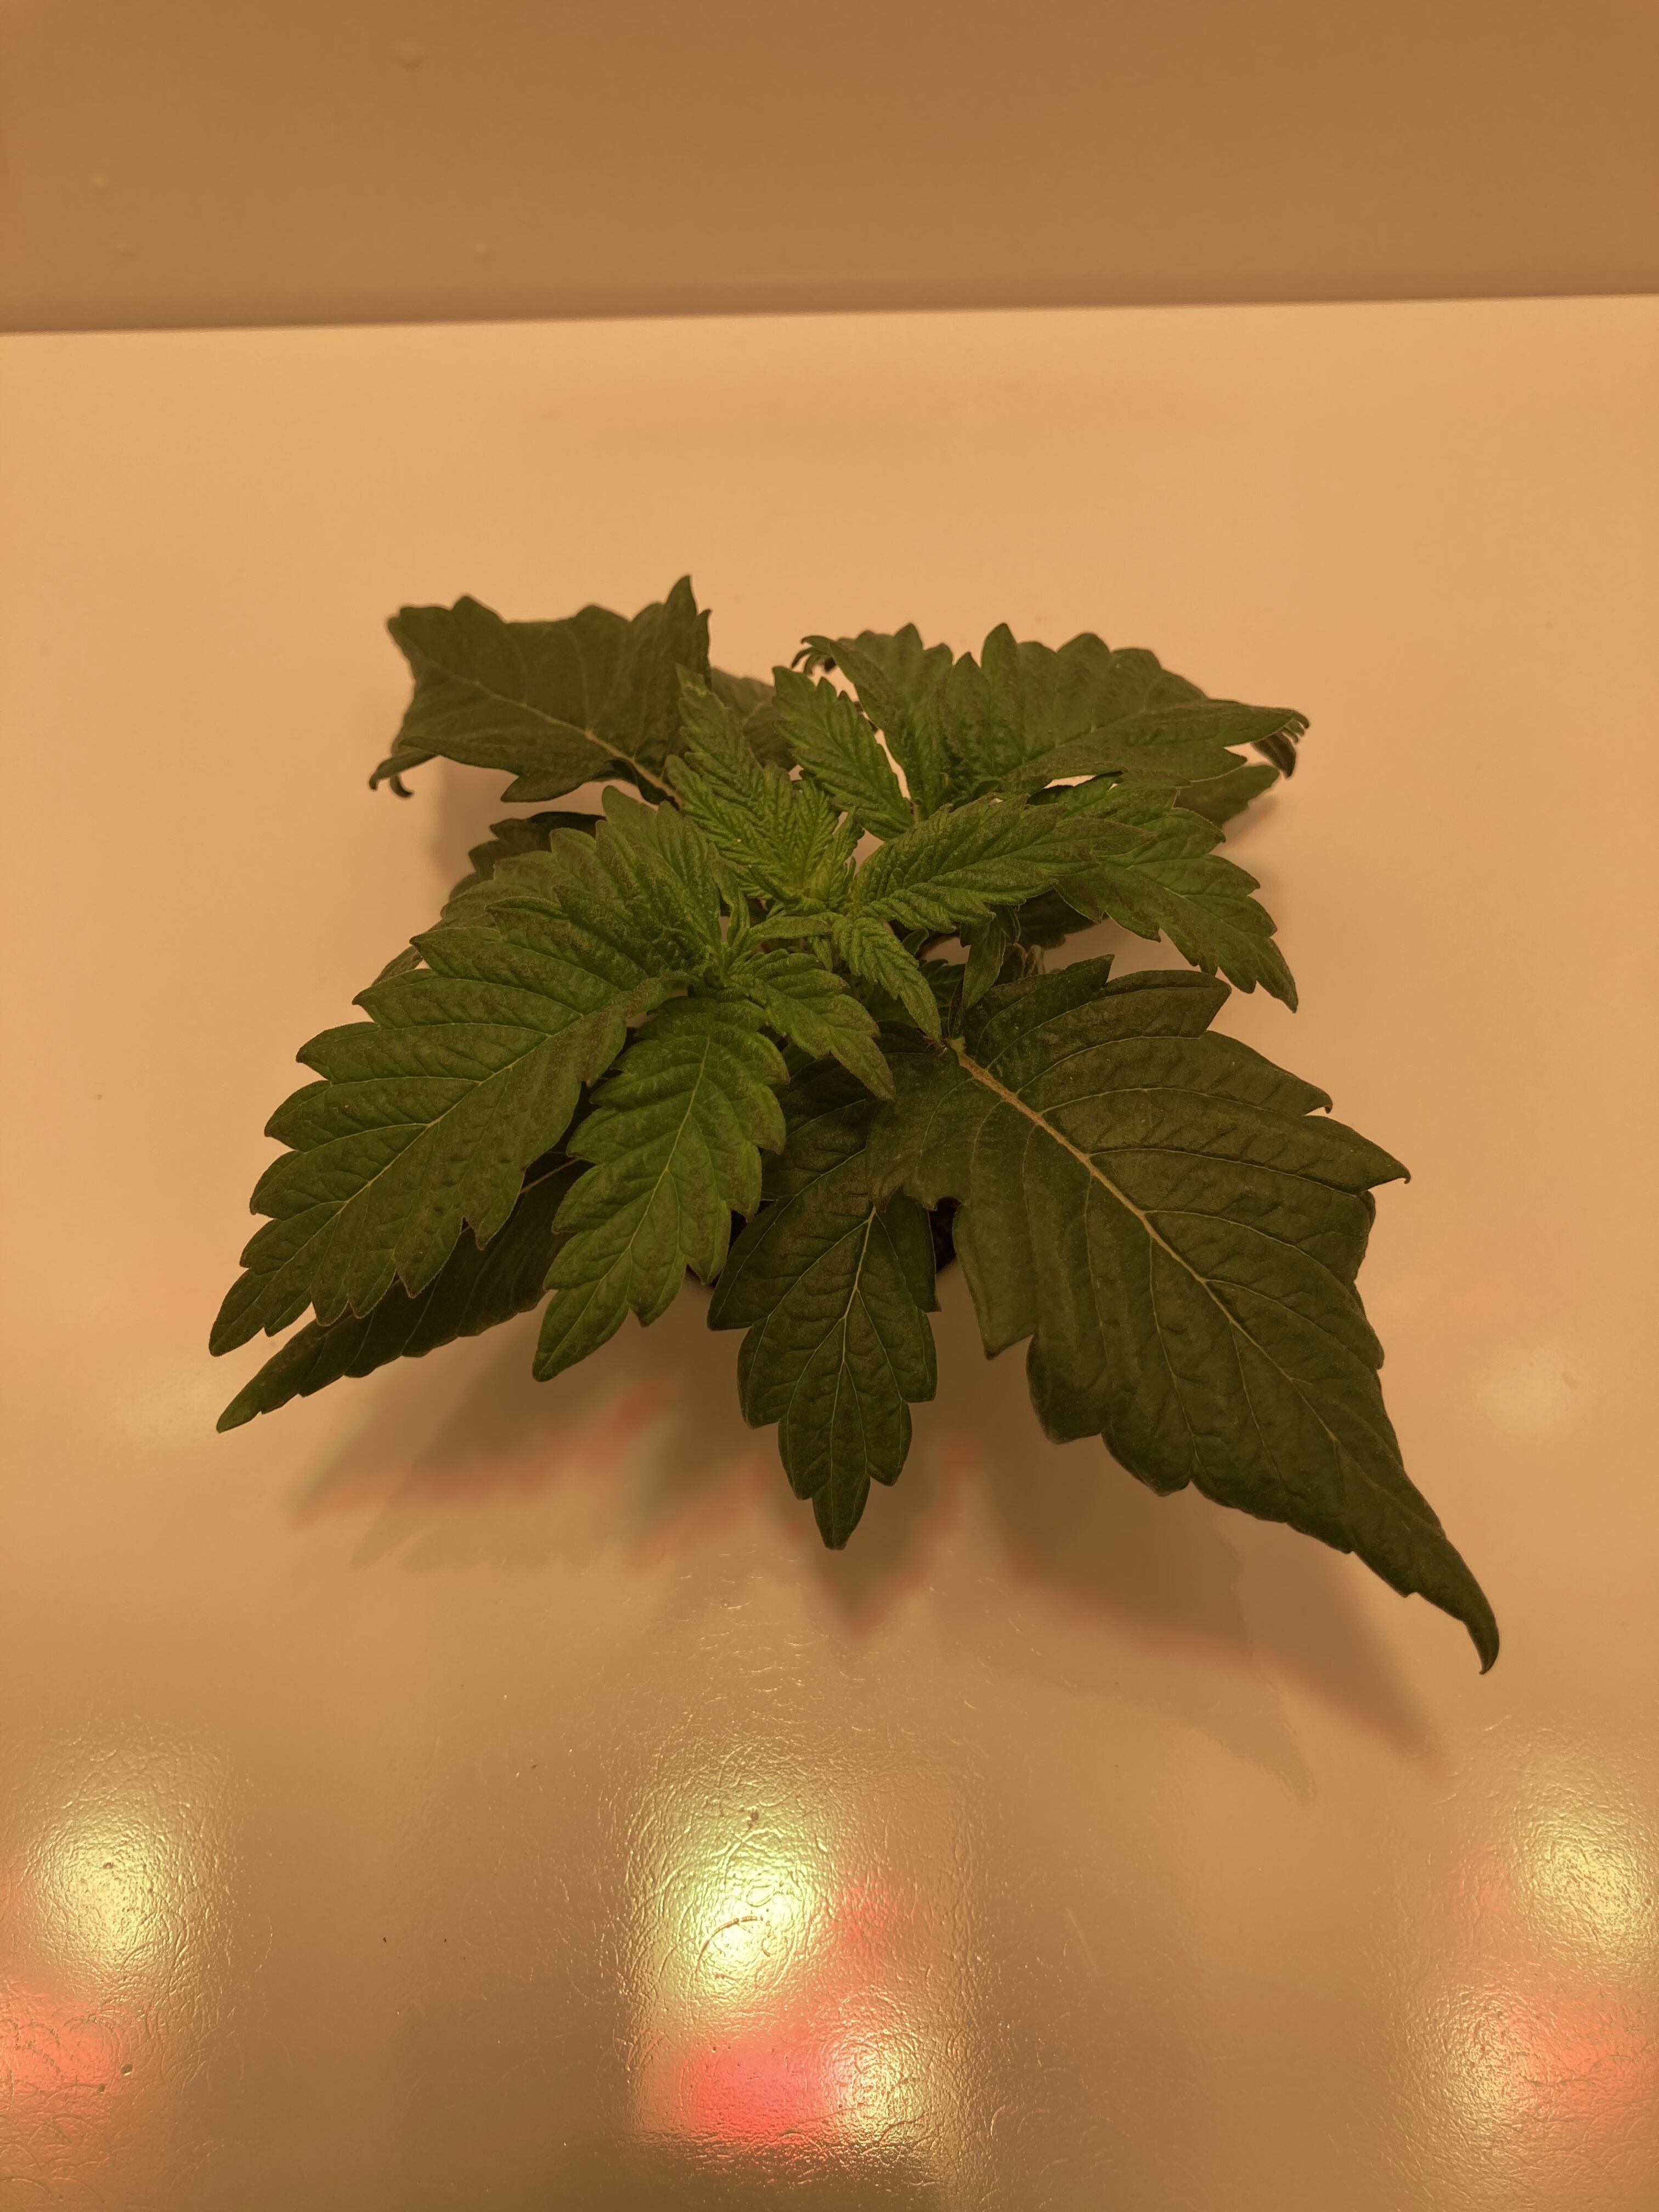
Hi @Stephen, does this look like the beginning on root rot?
I’ve ordered some Hydroguard just in case. Comes next week.
@TheBeardOfGold if you have some h2o2 (hydrogen peroxide) you can use that while waiting for hydroguard to arrive. It only lasts a couple of days depending how long it takes you might apply it a couple times.
Hi mate, ain’t that what you use on cuts? How much of it do I need to pour in?
I used the 3% or 6% stuff from pharmacy. There’s also horticultural grade which is more concentrated at 20-35% which is better if you can get your hands on it. Zerotol HC is one of the more popular ones to get.
This is what I’ve done in the past to deal with this:
Put some h2o2 and water in a bowl or bucket; roughly a cup of (3-6%) h2o2 to a few cups of water. If the h2o2 is only 3% it doesn’t hurt to use a bit more.
Bring the whole lid with plant over to the h2o2 solution to dunk/rinse them off.
After the roots have been cleaned off, replace the dirty water with clean water.
Rinse the roots off in the clean water, then replace that rinse water with clean water again to let them sit for a minute while the rest of the unit is cleaned similarly.
Perform the cleaning procedure for the unit, get rid of any infection that might be looming in the reservoir.
These days I just “bomb” it with a large dose of something like hydroguard until it goes away. When I catch it early enough (slight smudge on a strand of root) that works to deal with it, but it might help to do a deep cleaning first if it’s already getting bad.

@vegetato Thanks for that, I’ll see what I can do. I live in England and Grobo don’t sell half the stuff I need to the UK. (Which I’ve found out after I got the Grobo) so I can’t get the PH Cal kit. Do you recommend another one I might be able to get over here?
@vegetato Sorted, got myself some 6% h2o2, cleaned the roots a few times until they were nice and white again. The cleaned Grobo, rinsed the water 3 times so everything is looking good again. Hydroguard should come this week so will use that too when it gets here.
You need a ph 4.0 and 7.0 to calibrate the pH probe (at bare minimum,) and it wouldn’t hurt to get the tools/paste to clean the EC sensor in addition to that.
Here’s some amazon uk links I found on a quick search, didn’t look for best price just the right product:
Full kit (has pH + EC):
pH Care kit:
EC care kit:
Hope that helps!