
OK thanks for the update. Glad it was caught so early on too, mine should be here today.
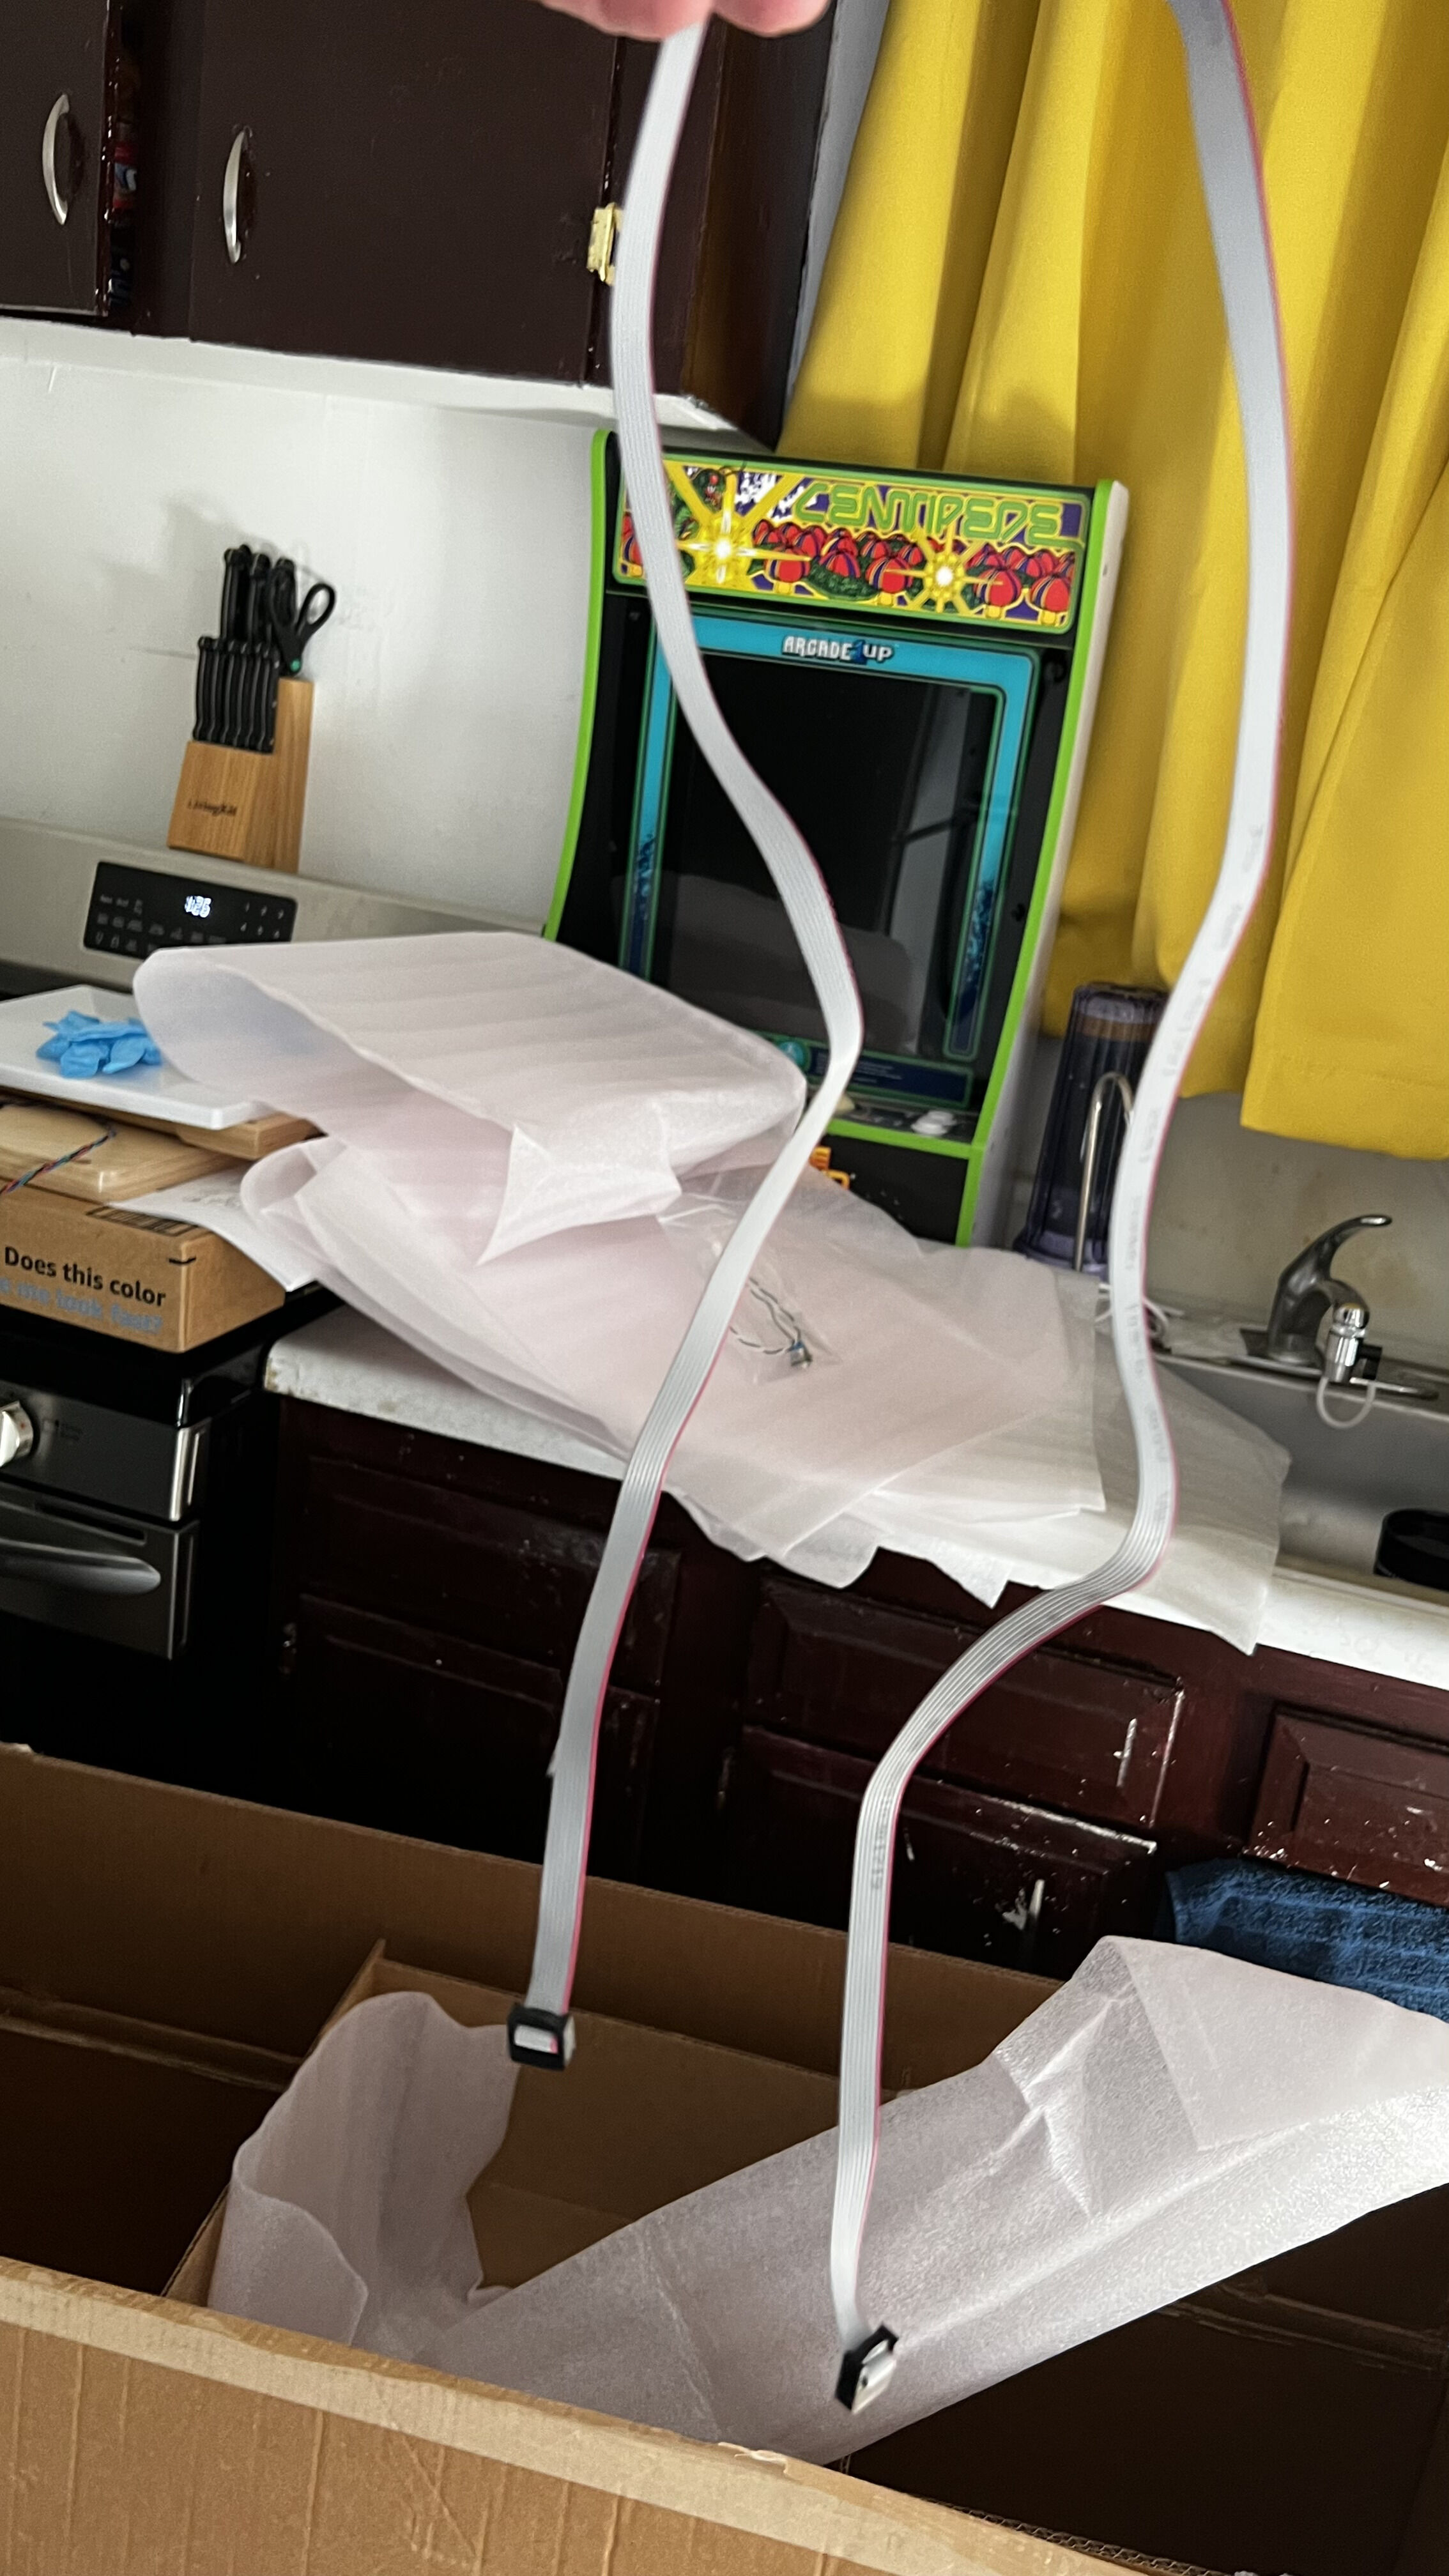
I’m just unboxing now. This is the wire mine came with, is it the long or the short one? I am not sure until I start assembling it, but that step is near the end I think. @Stephen
Hey @TheDogMan,
Yeah, you will need the repair kit. Couple of items we are hearing about:
The units shipped early this week may have Gen 1 grey cables. Same cable, just shorter.
They may also have 1 water level sensor that is too short to reach the plug.
We also will be sending out a smaller hinge for the door.
If ya’ll see anything else that doesn’t make sense or isn’t fitting, please let me know!
Kindly,
Stephen
P.S. - Love the Centipede in the background. 1st video game programmed by a female! I had the PacMan growing up.
Thanks, I got up to the step putting the top together and stopped for now. I think my wire will reach the bottom, I might try to assemble the rest tomorrow and see what happens.
The video games I am big on, have that in the kitchen, PS5 and Series X in the main room, even a little on the computer.
@Stephen. I would include some more screws too. It looks like I am short at least 8. I am missing all the screws for the bottom stuff like control box and 2 other metal pieces.
Also my door top hinge pin will not even fit in the door hole opening. I guess that is what you meant?

This is bad news, I am sorry to hear about these issues, I am glad I waited for a sale or just waited in general now before ordering the unit 2, will order one in 6 months or so!!
@Stephen I know you are working on this,  are we going to get an update once it ships so we know it is coming?
Also did you see I needed 8 more screws, small door hinge pin, longer grey wire and not sure about the water tank piece or not.
Hey @TheDogMan,
Yup, we’ve got you covered for the extra screws for sure. We are testing the door hinge solution today and we sure will be providing a tracking number and email once the parts ship out. Seems like it was only a couple wls that had short cords, so that is good news.
Cheers,
Stephen
Great thanks.
I figured it out.
Hey Growers,
Here is the update to the update!
Repair kits are going out starting today for anyone that has reported to our support team that they have a short grey cable or a short water level sensor cord. If you haven’t reached out yet, please email the team at support@grobo.io and we will get you set up with the correct parts.
The good news is that we’ve determined that the door hinges are the correct hardware, so no need to wait to get your door on. Simply give the top hinge a gentle tap with a hammer and it will pop through the top hole.
Seeing new Gen 2 units starting to come online and begin growing is super exciting!
Kindly,
Stephen
I just put my door on, hammered it twice, went right in. FWIW, watch out if you close it, as you need to plug the Grobo 2 in to get the door open again. 
… #17
- - - [2021-11.16]:
.

.
@DetailOriented,
…
.
-
(#Welcome):


…
.
…
.
-
(Sorry That You Are One Of The First Units That Was Shipped Out): (Grobo Team Has You Covered):
-
-
-
-
-
.

.
-
(Looks_
 Like They Need A Better Inspection_
  Crew To Quality Inspect Their Work, -Before- It Goes Out The Door_
  ): (Better Informing Your Team At Grobo What Is Coming, -And- Mark_
  Your Work Boxes With Colored_
  Tags_
Tags_  That Belong Together On The Project): (Mark All Bins To Get It Right The First_
  Time_
Time_  ): (I’m Trying To Help You Out): (Use Paper Check_
  List): (Sign Your Names To Them, Check_ For Each Item): (Date Them As They Finish): (I’m Just Saying_
  ): {}:
 -
(Make Me Proud People Of Grobo_
 , I Know You Can): {
 }:
}: -
 = New Gen2 Gear Lot #2021
-
 = Old Gen1 Gear Lot #2020
-
(It Doesn’t Take Much To Get The Job Done Right): {
 }:
}:
.

.
--

~ ~ ~ ~ ~ ~ ~ ~ ~ ~ ~ ~ ~ ~ ~ ~ ~ ~ ~ ~ ~ ~ ~ ~ ~ ~ ~ ~ ~ ~ ~ ~ ~ ~ ~ ~ ~ ~ ~ ~ ~ ~ ~ ~ ~ ~ ~ ~ ~ ~ ~ ~ ~
@Stephen Thanks, I received my parts and am in the final steps and should be up soon.
I wanted to ask about the bottle caps, as they now only have 1 hole not 2 with the extra air hole. Only wanted to mention it as I thought 2 was normal?
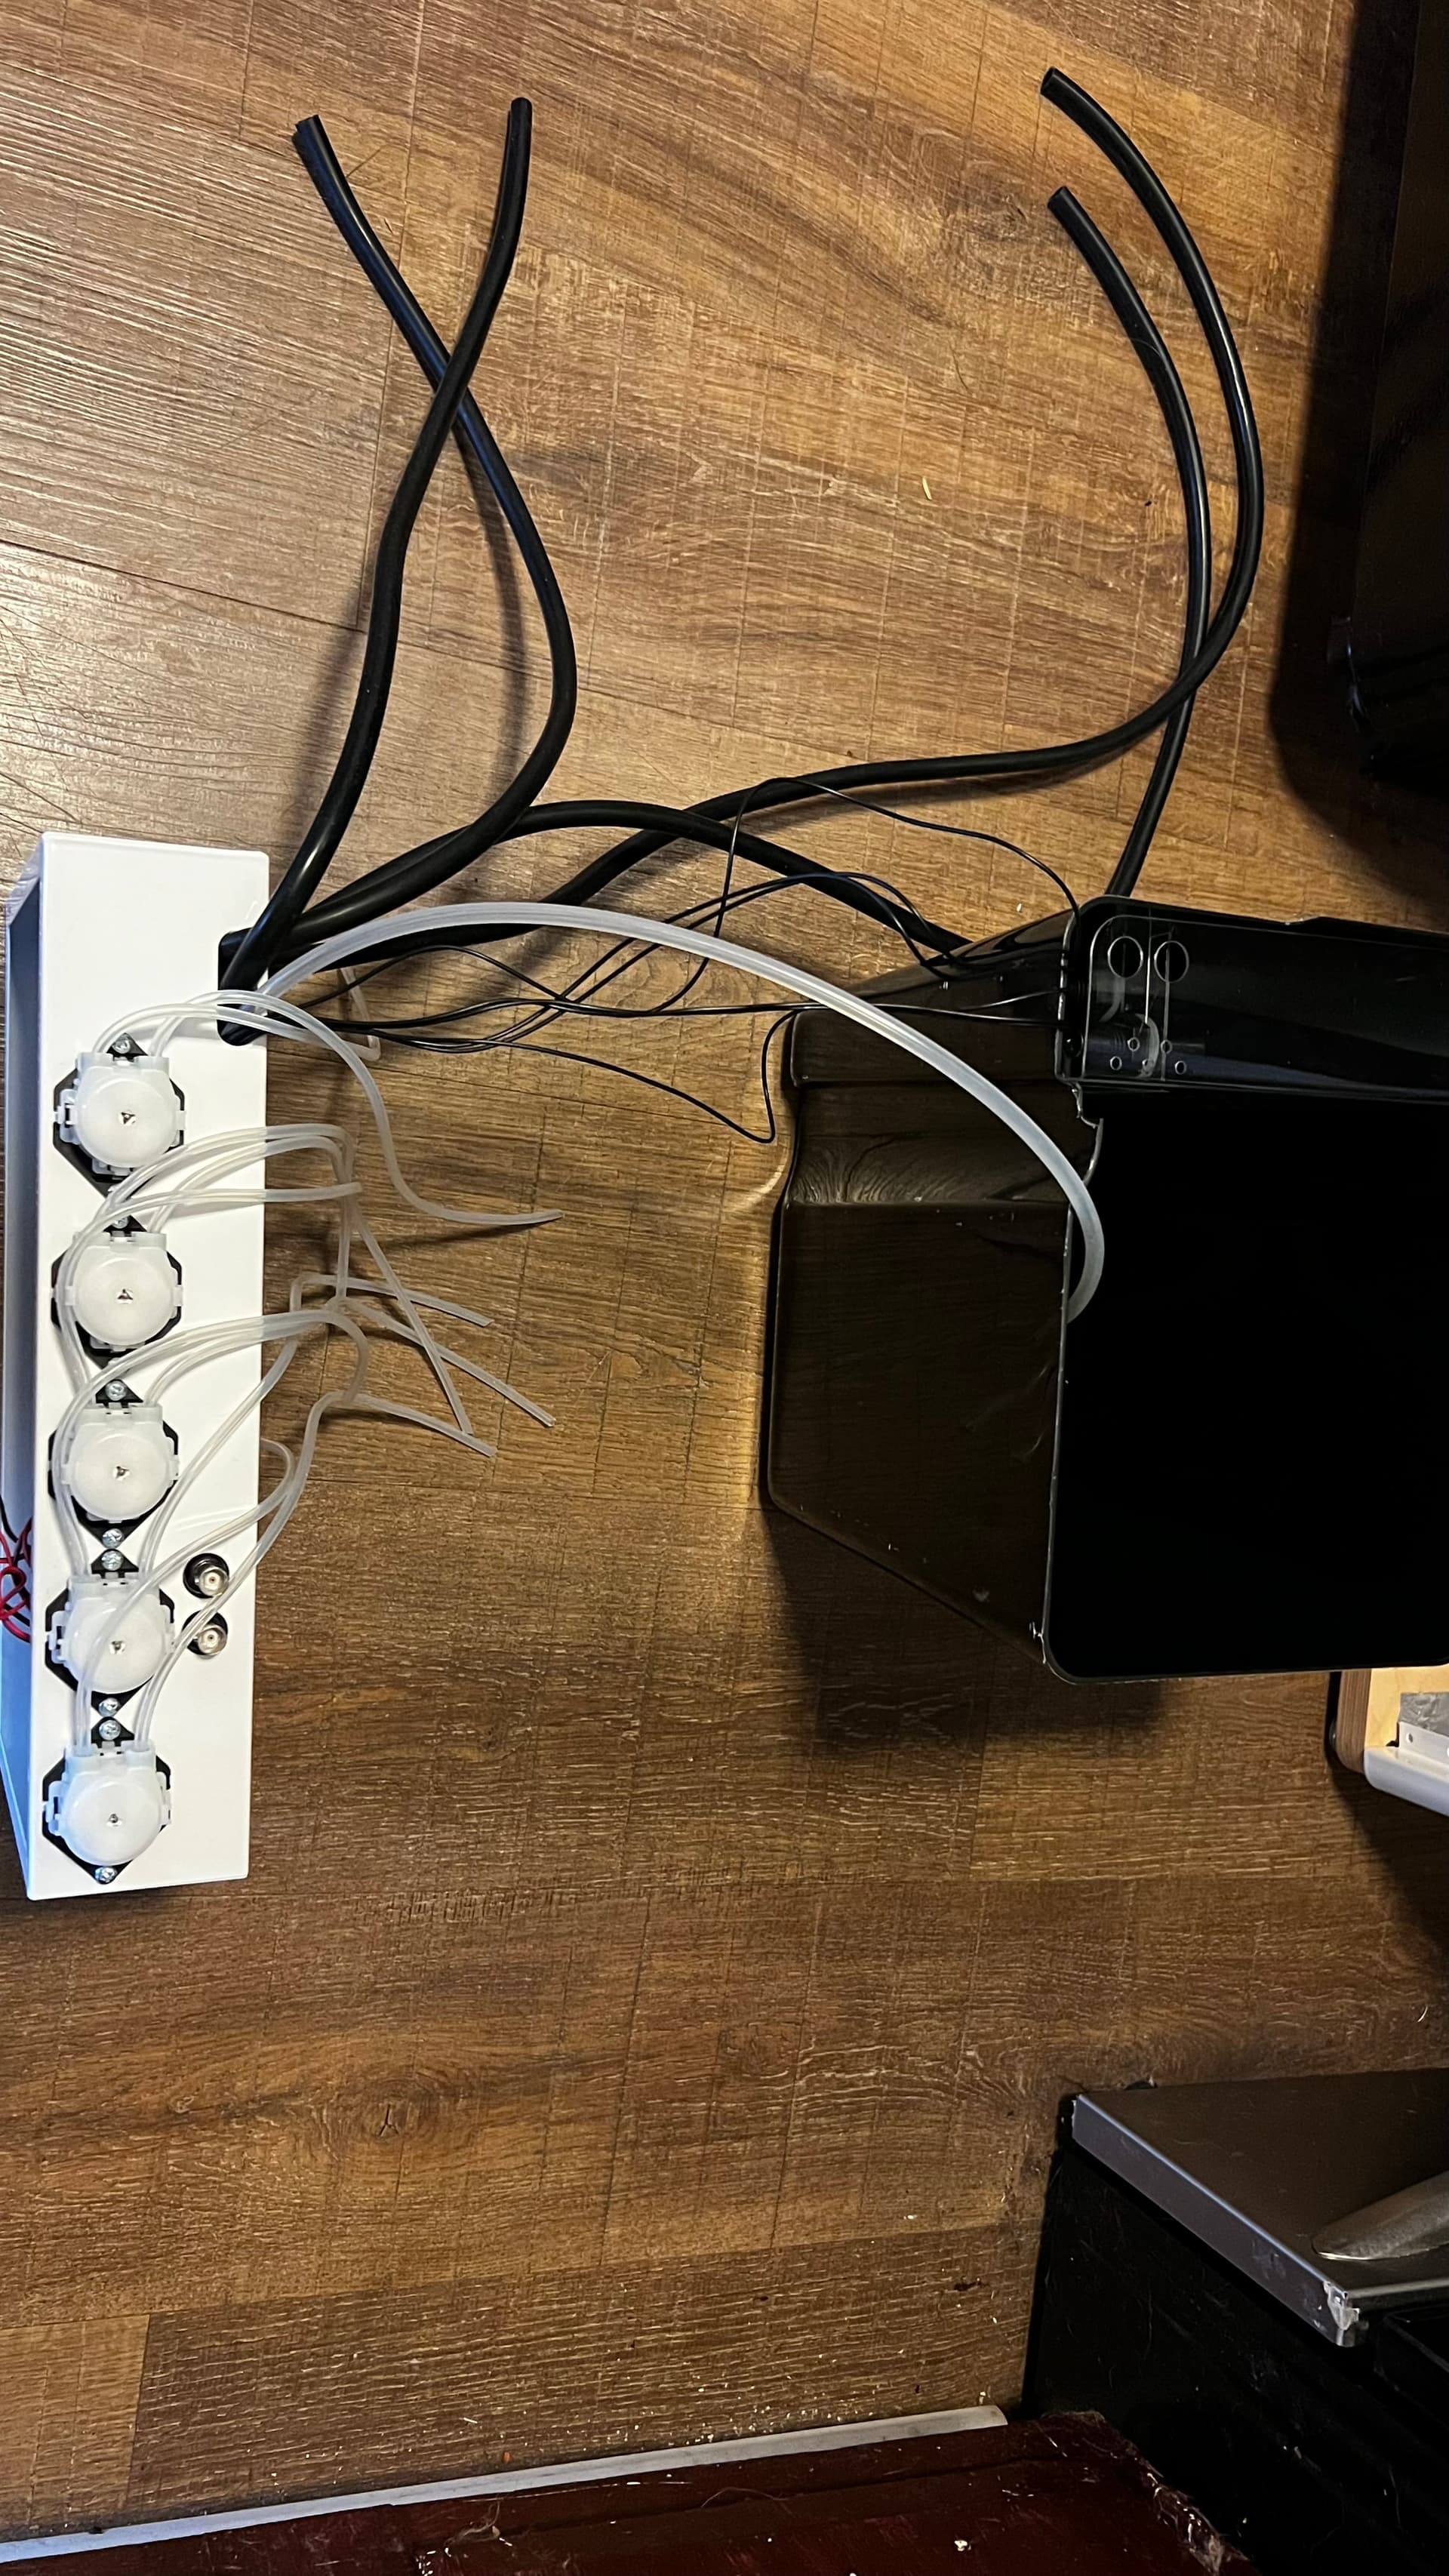
@Stephen Also where do the ph and ec probes go? There is 0 instruction on where to put them.
If they go into the bottom of the water shield, then wouldn’t I have to remove it again, remove the outlet hoses it said to install, put her probes in and then redo everything I already did? Redo steps 23, 24, 25 and 26 once I ever install the probe and no where does it tell you what to do with it?
EDIT: It does say somewhere in the Grobo app where to install them. Something should be noted in the instructions I think, as I had to take all the tubes out to remove the water shield to put the probes in. Now I have to put the tubes back in again.
Hey @TheDogMan,
Great feedback, I must have missed this step in the setup video. They do indeed install at the bottom of the wls shield. There is a hole for each. They lay horizontally.
Let me see if I can shoot another piece of video next week to fix this part up for ya’ll!
Cheers,
Stephen