Error 404

This is grobo grow 8 & 9 for me. Decided to try some seeds I recently acquired to see how they turn out.

Prior to dropping the seeds into coco pods they sat in a shot glass full of water which also contained a lid-full of hydrogen peroxide (3% from pharmacy).

When they had a little bit of a tail poking out is when I transplanted them:

This was only about 18-20 hours after dropping the seeds in water, which is pretty fast compared to some of the other seeds I’ve popped lately.

DAY 3: Germination (Day 3 /10)

Both are surfacing already, one a bit faster than the other. Is it that extra half-inch above sea level making a difference? :speedboat: :black_joker:

Additional

These 120mL glass containers (common for some vape juices or essential oils) are perfect for storing a bit of fluid and especially to use during pH calibration, the probe fits perfectly through the opening:

I’ve actually reused those solutions a few times now to defer purchasing bigger bottles of it. At some point I’ll need to get some, but so far so good!

12 Likes

@vegetato,

  • ((#ItIsAlive)): (#TheyAreAlive):innocent: (Congratulations): (:handshake:)

  • ((#IWillWatchYouGrow)): :herb::seedling: (:eyes:)

--

:wink: :smiling_face_with_three_hearts: :sparkling_heart::baby:


2 Likes

Looking forward to watching you grow again! Happen to have a link for those glass containers? Great find.

I have a whole bunch of these bottles left over from years ago, keep finding new uses for them.

https://www.amazon.ca/Wheaton-Capacity-Phenolic-Poly-Seal-Diameter/dp/B003G2ZWY8

This is the style of bottle though the price linked is higher than it should be. You can find these for less than 1/2 that price in some stores (when buying much larger boxes of them of the price was around $0.35 per unit). I’ve never purchased them in small quantities so am unsure where to find a smaller box for the right price.

You can try this to find other options:

https://www.google.com/search?tbm=shop&q=2oz+60ml+clear+boston+round+glass+bottle+with+lid

3 Likes

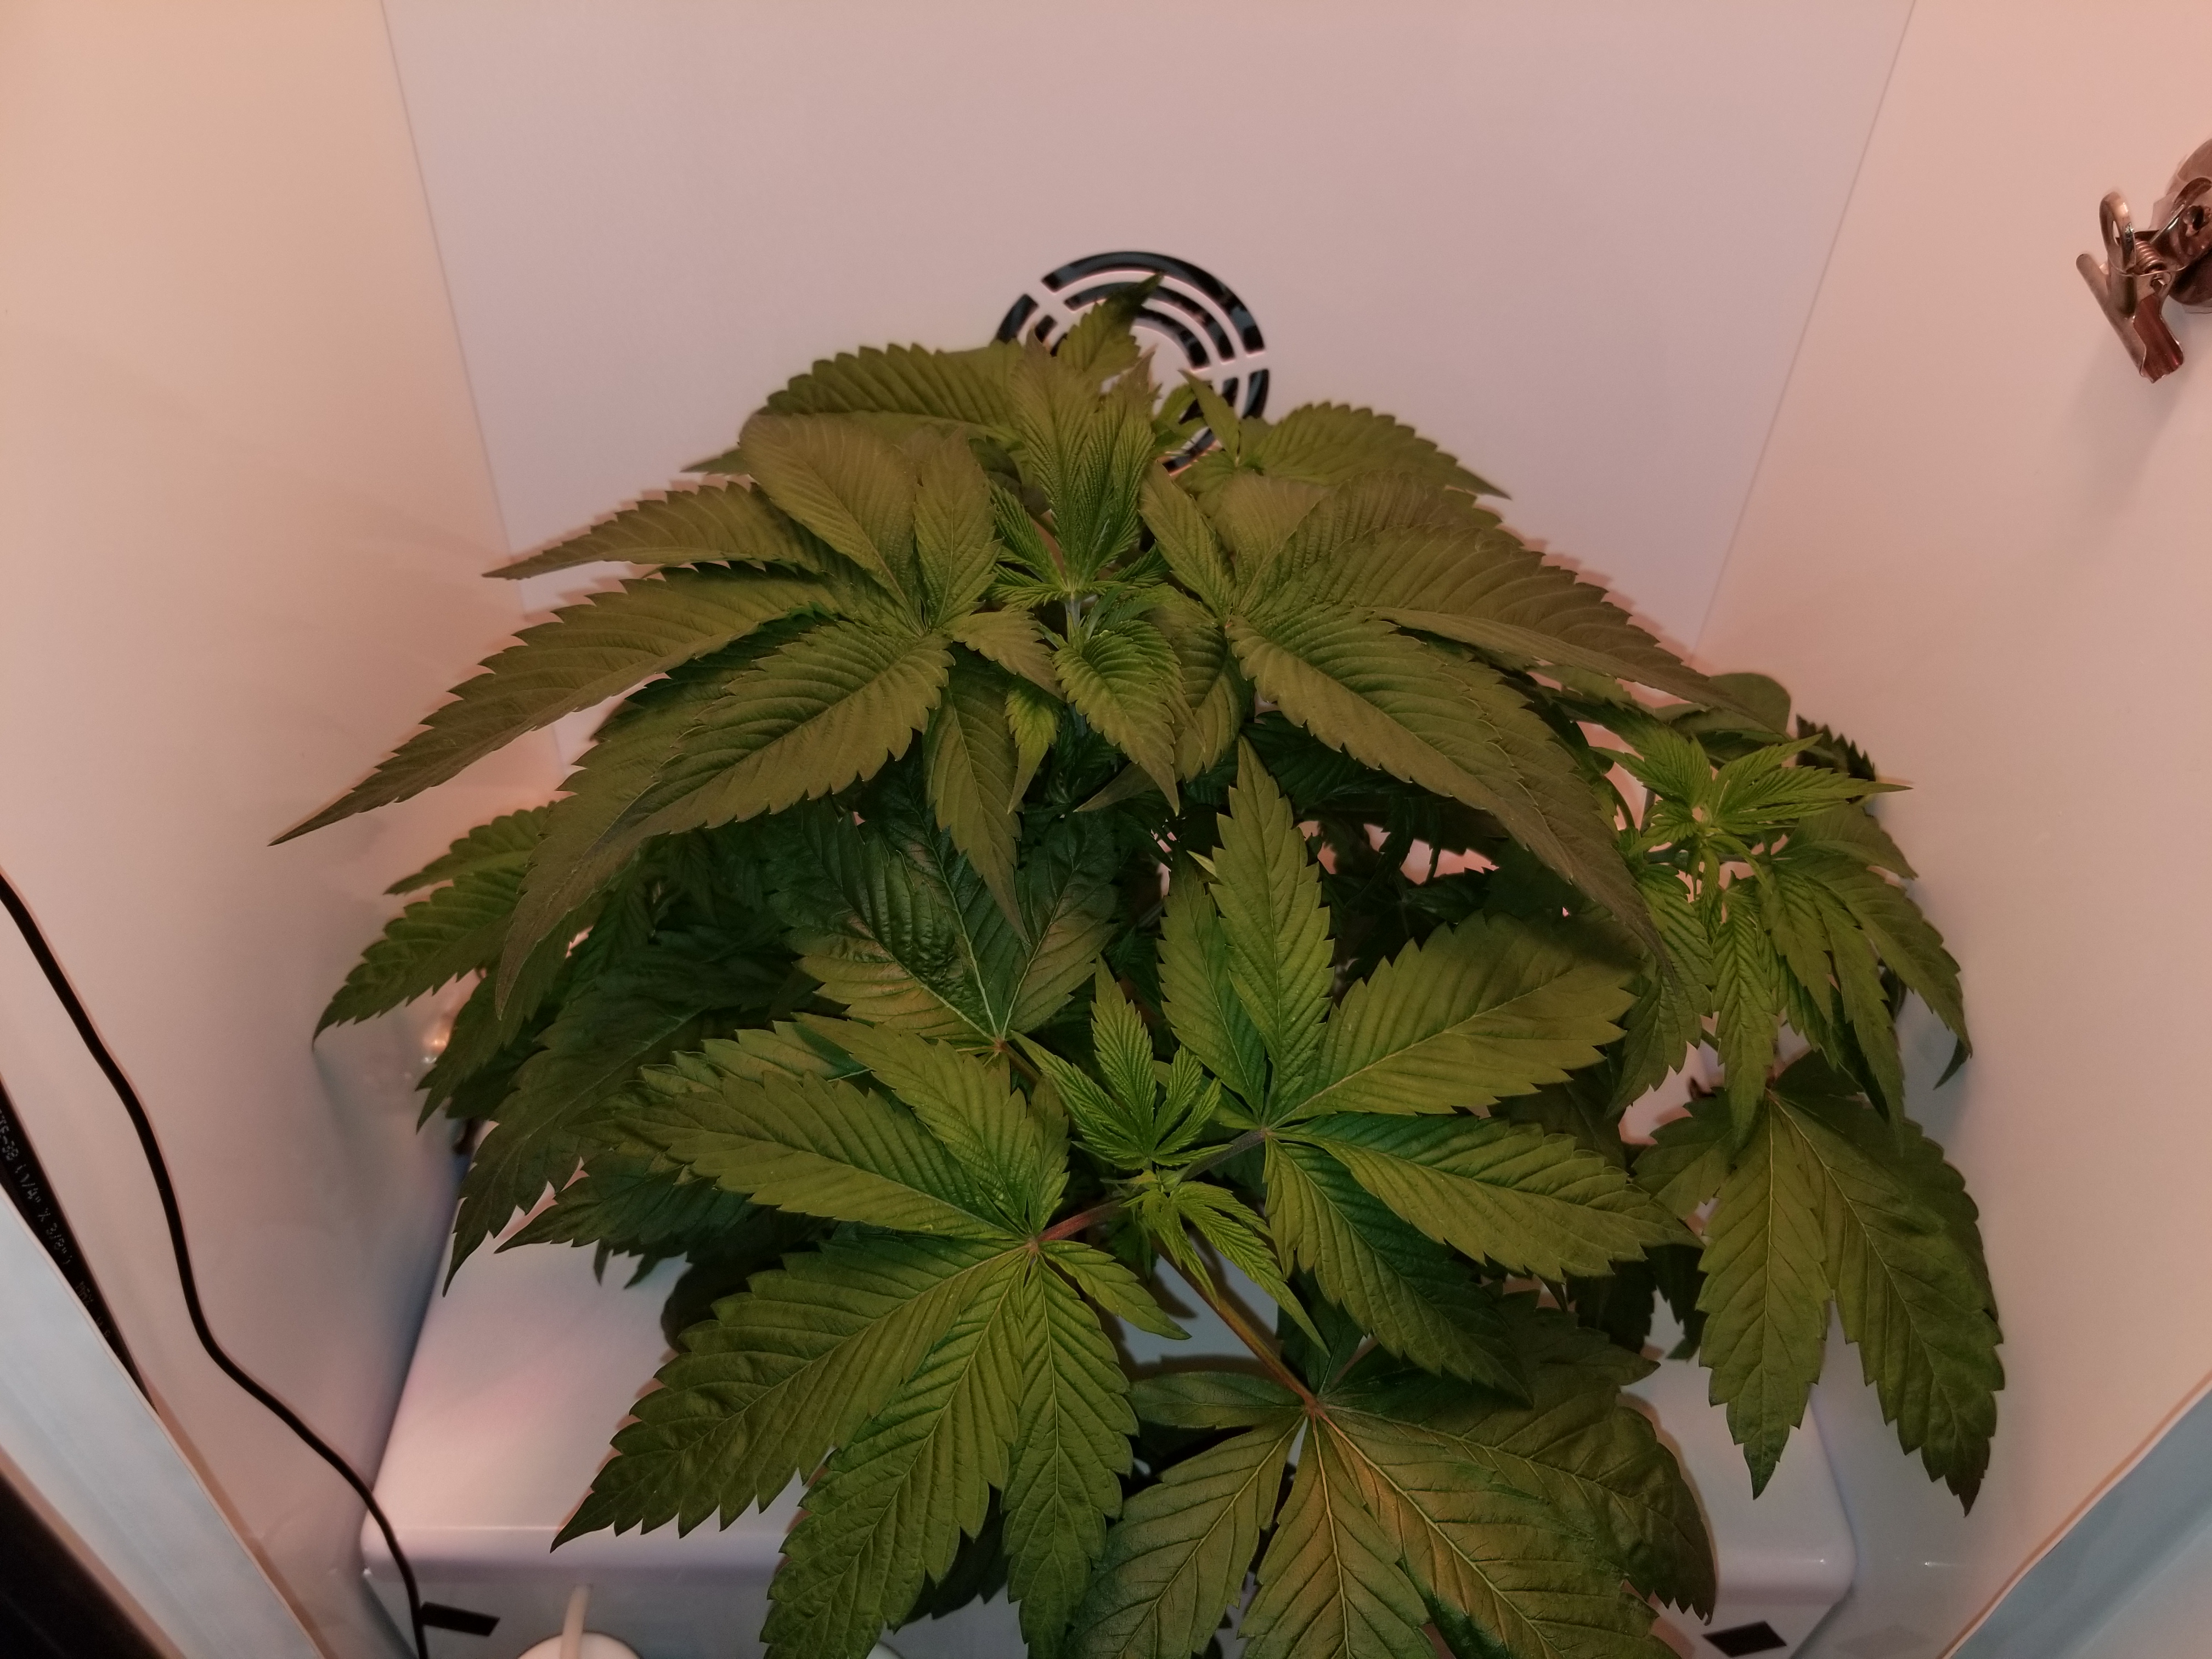
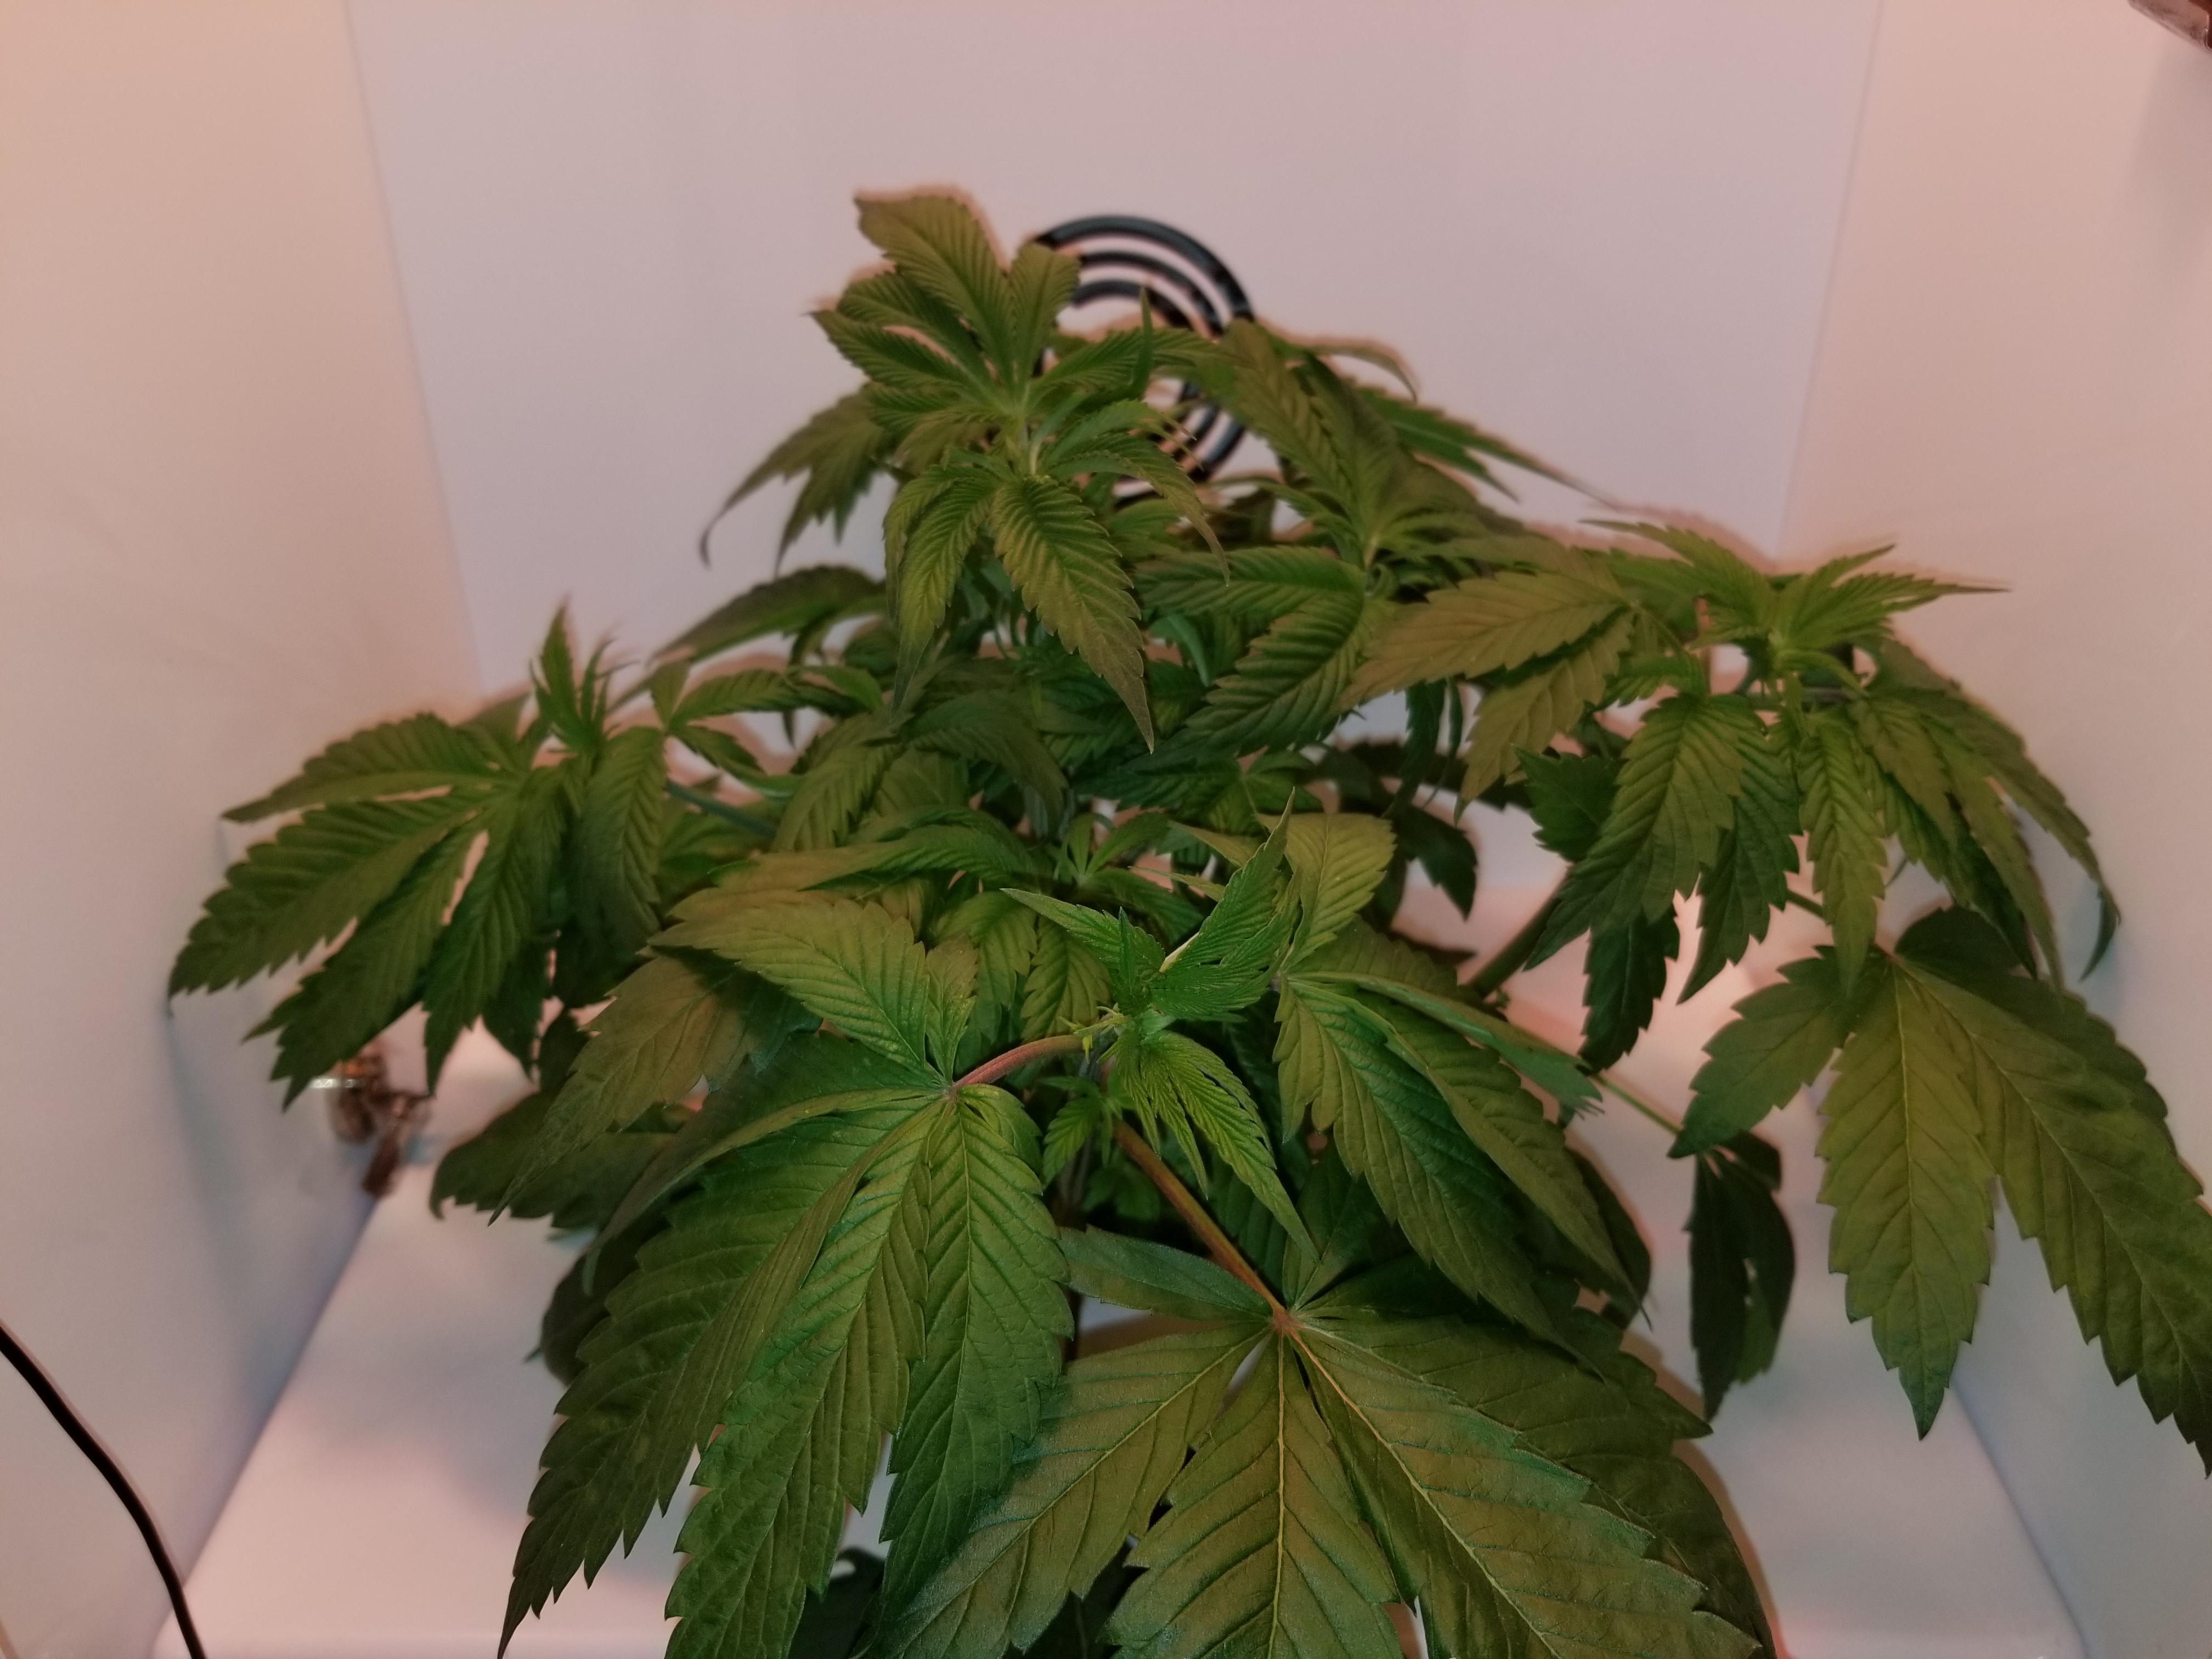
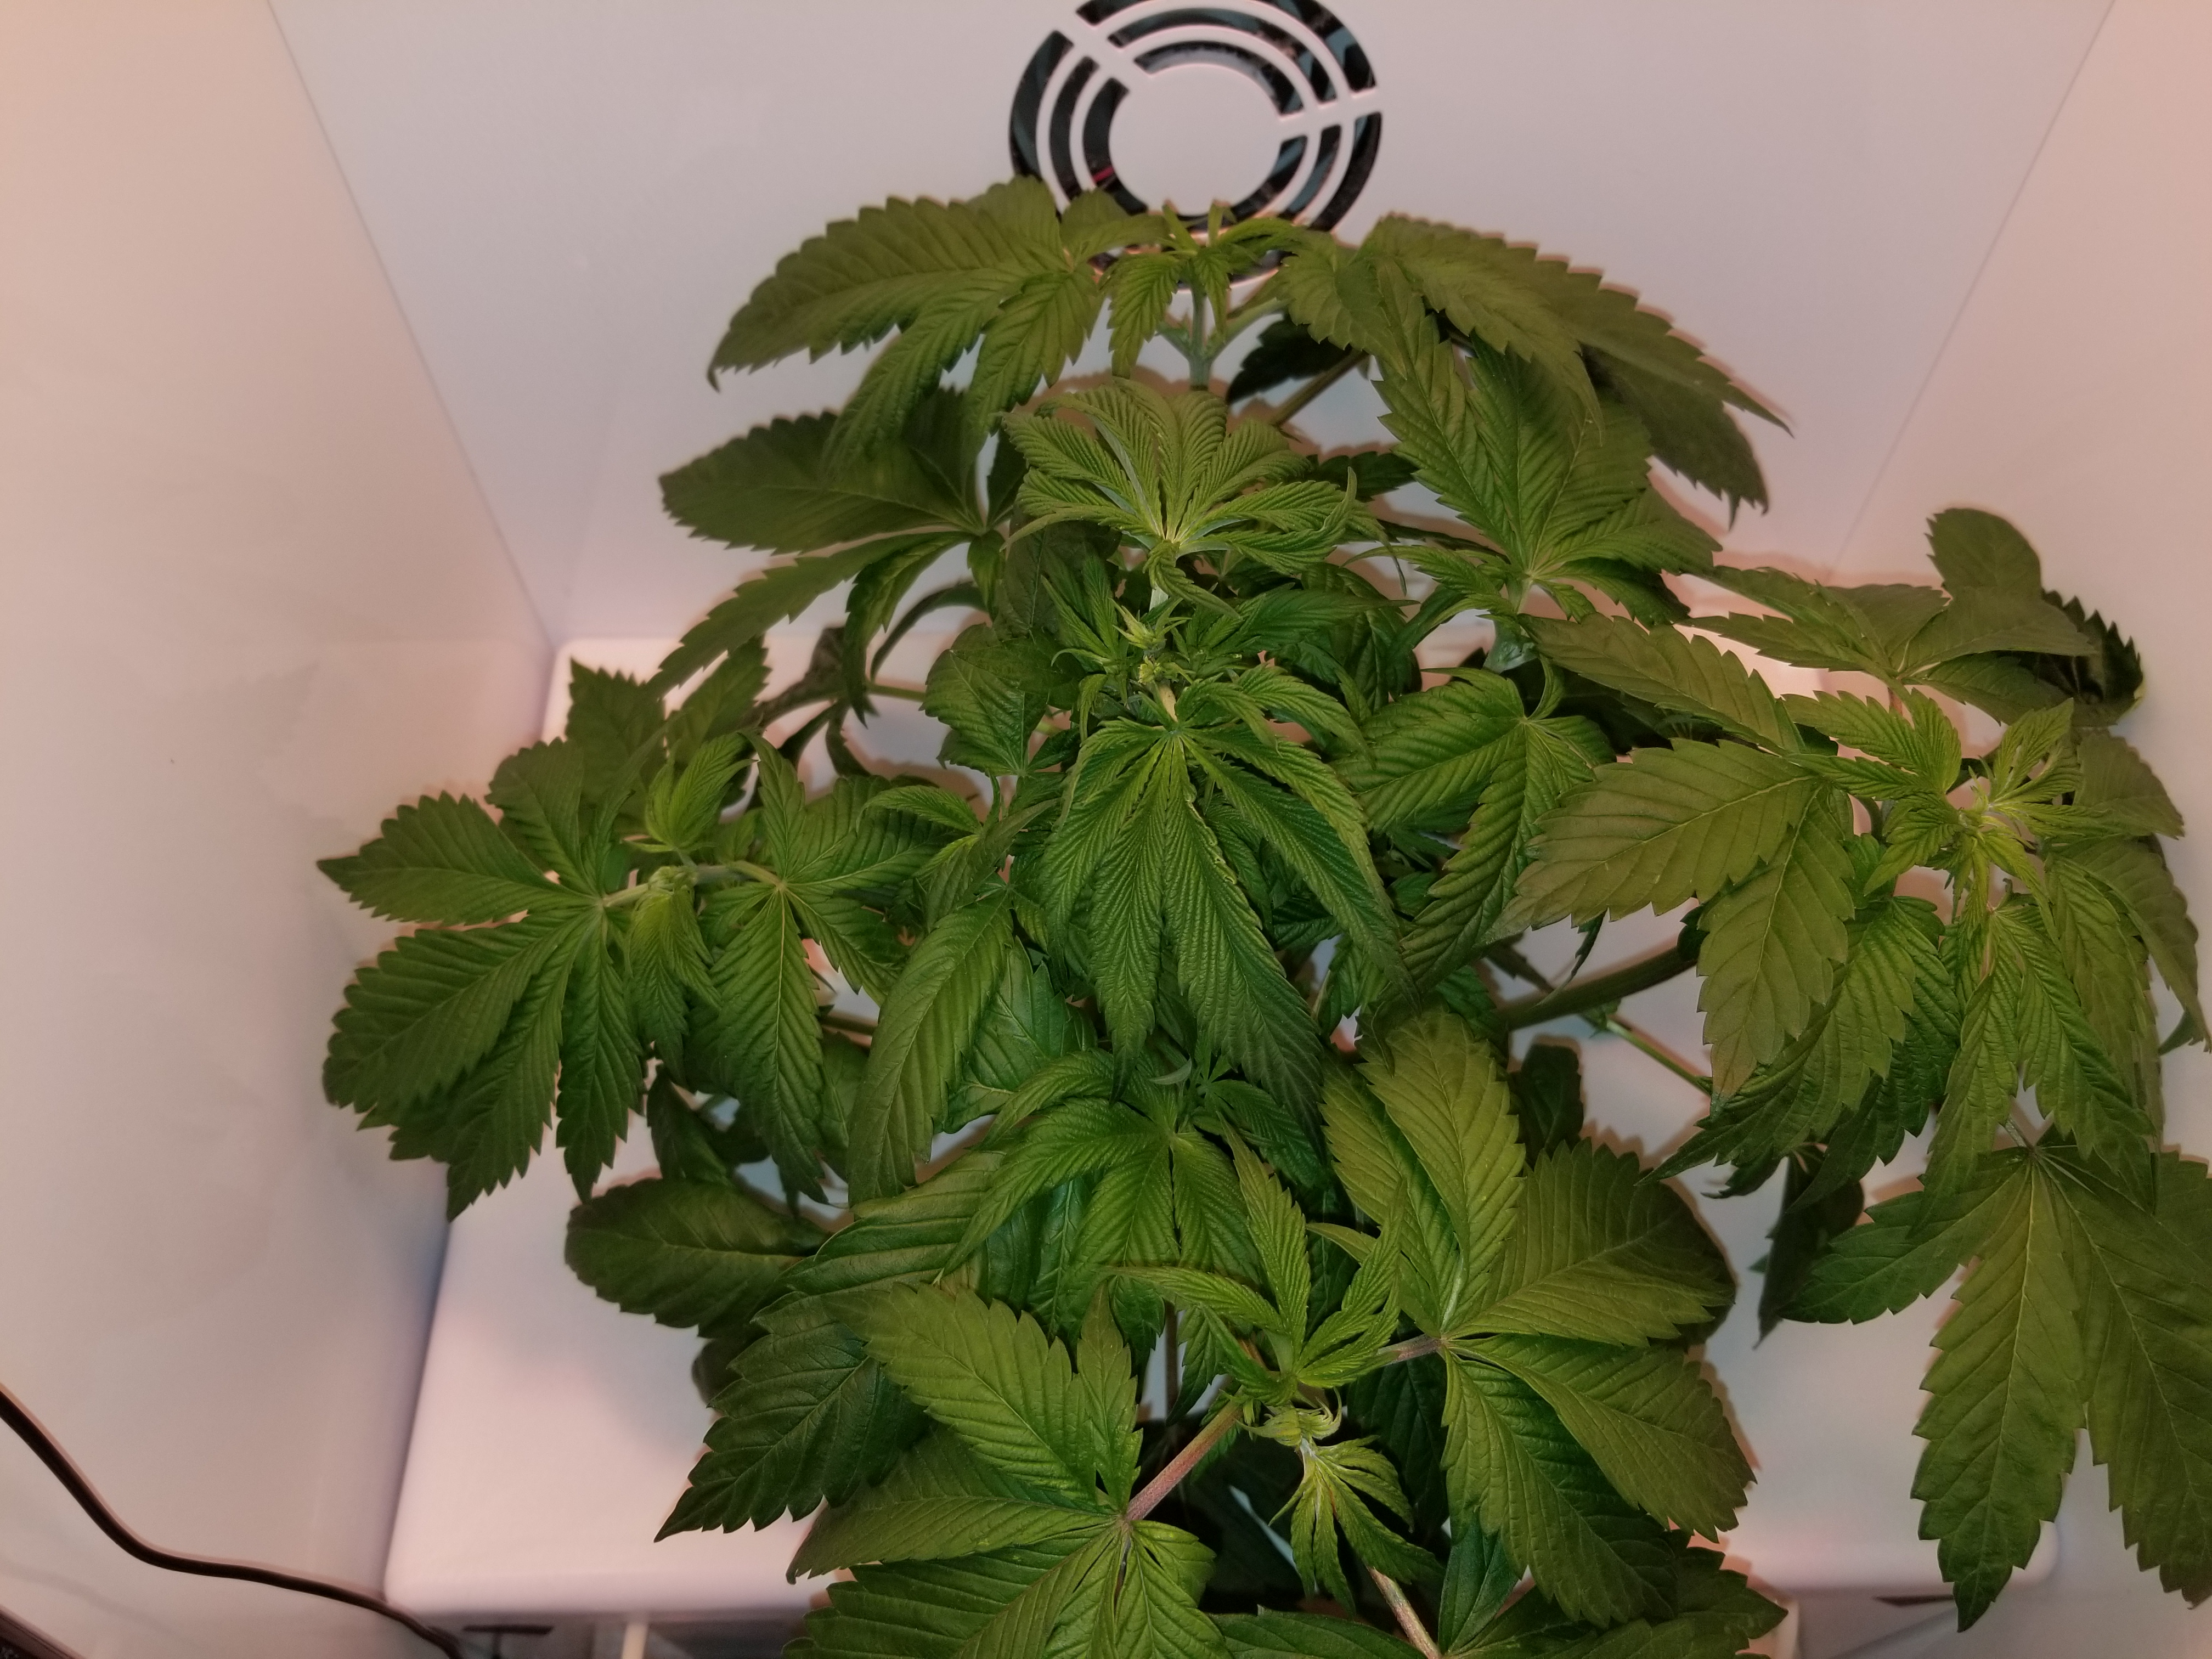
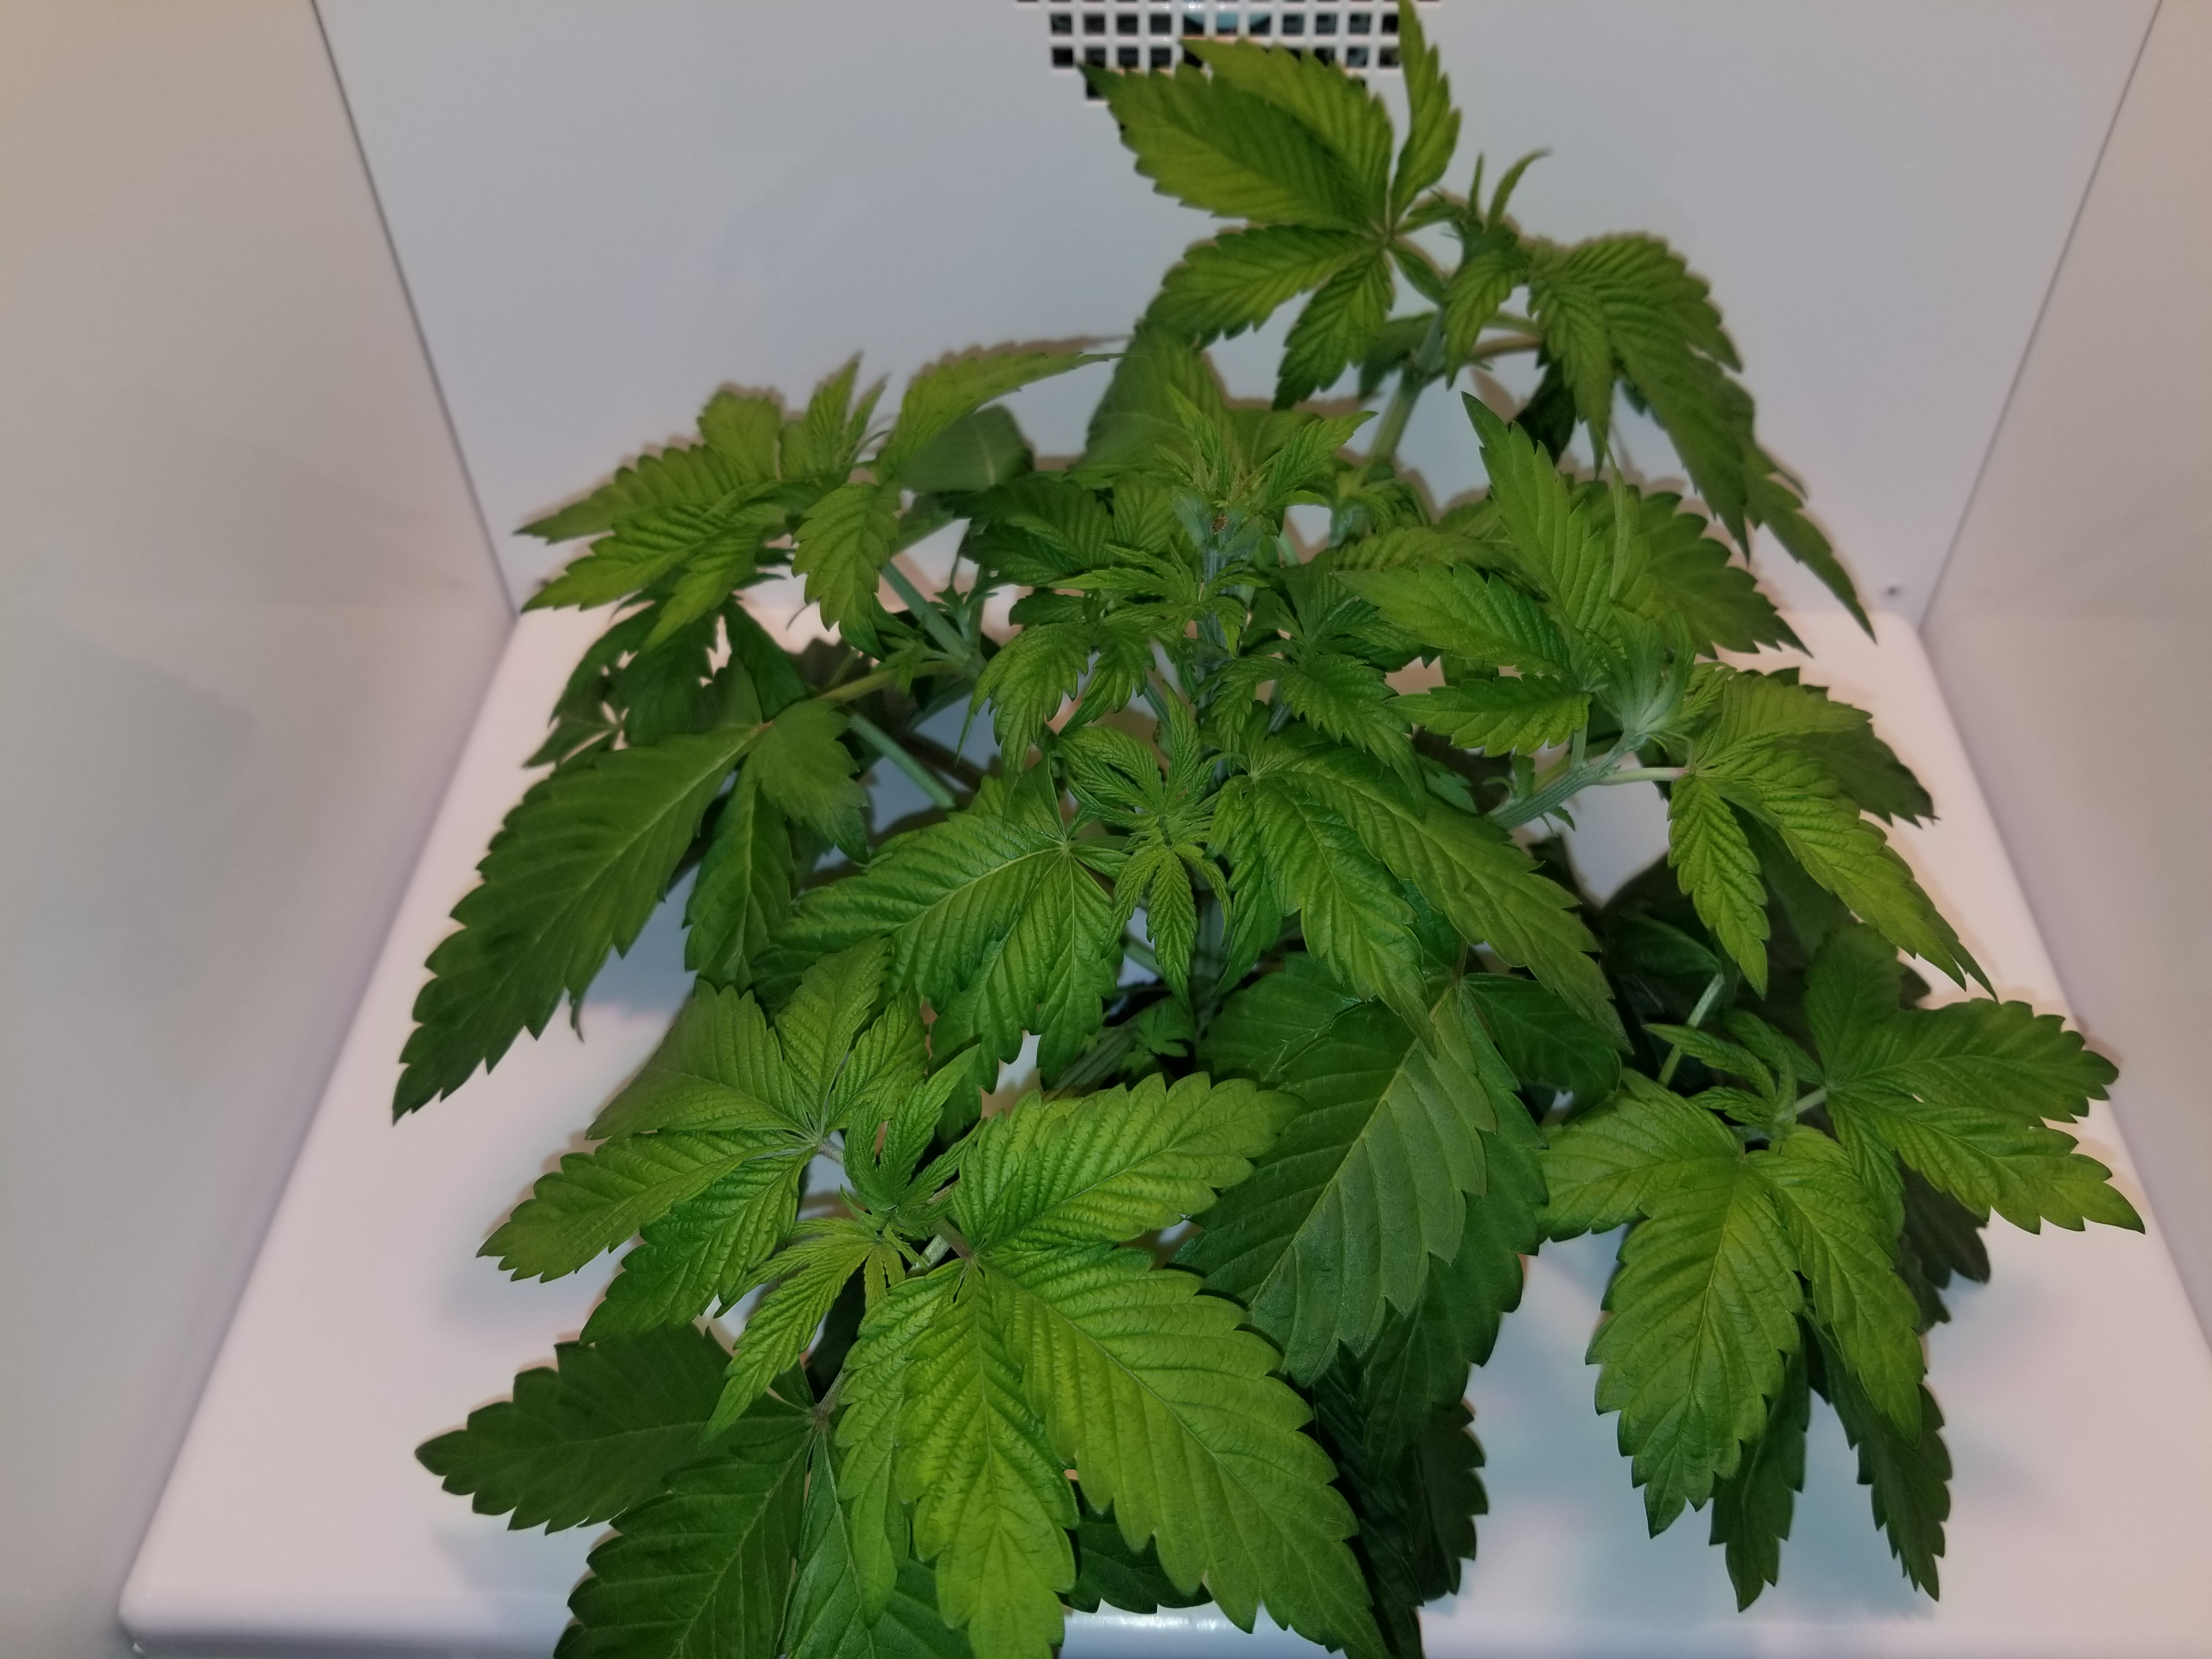
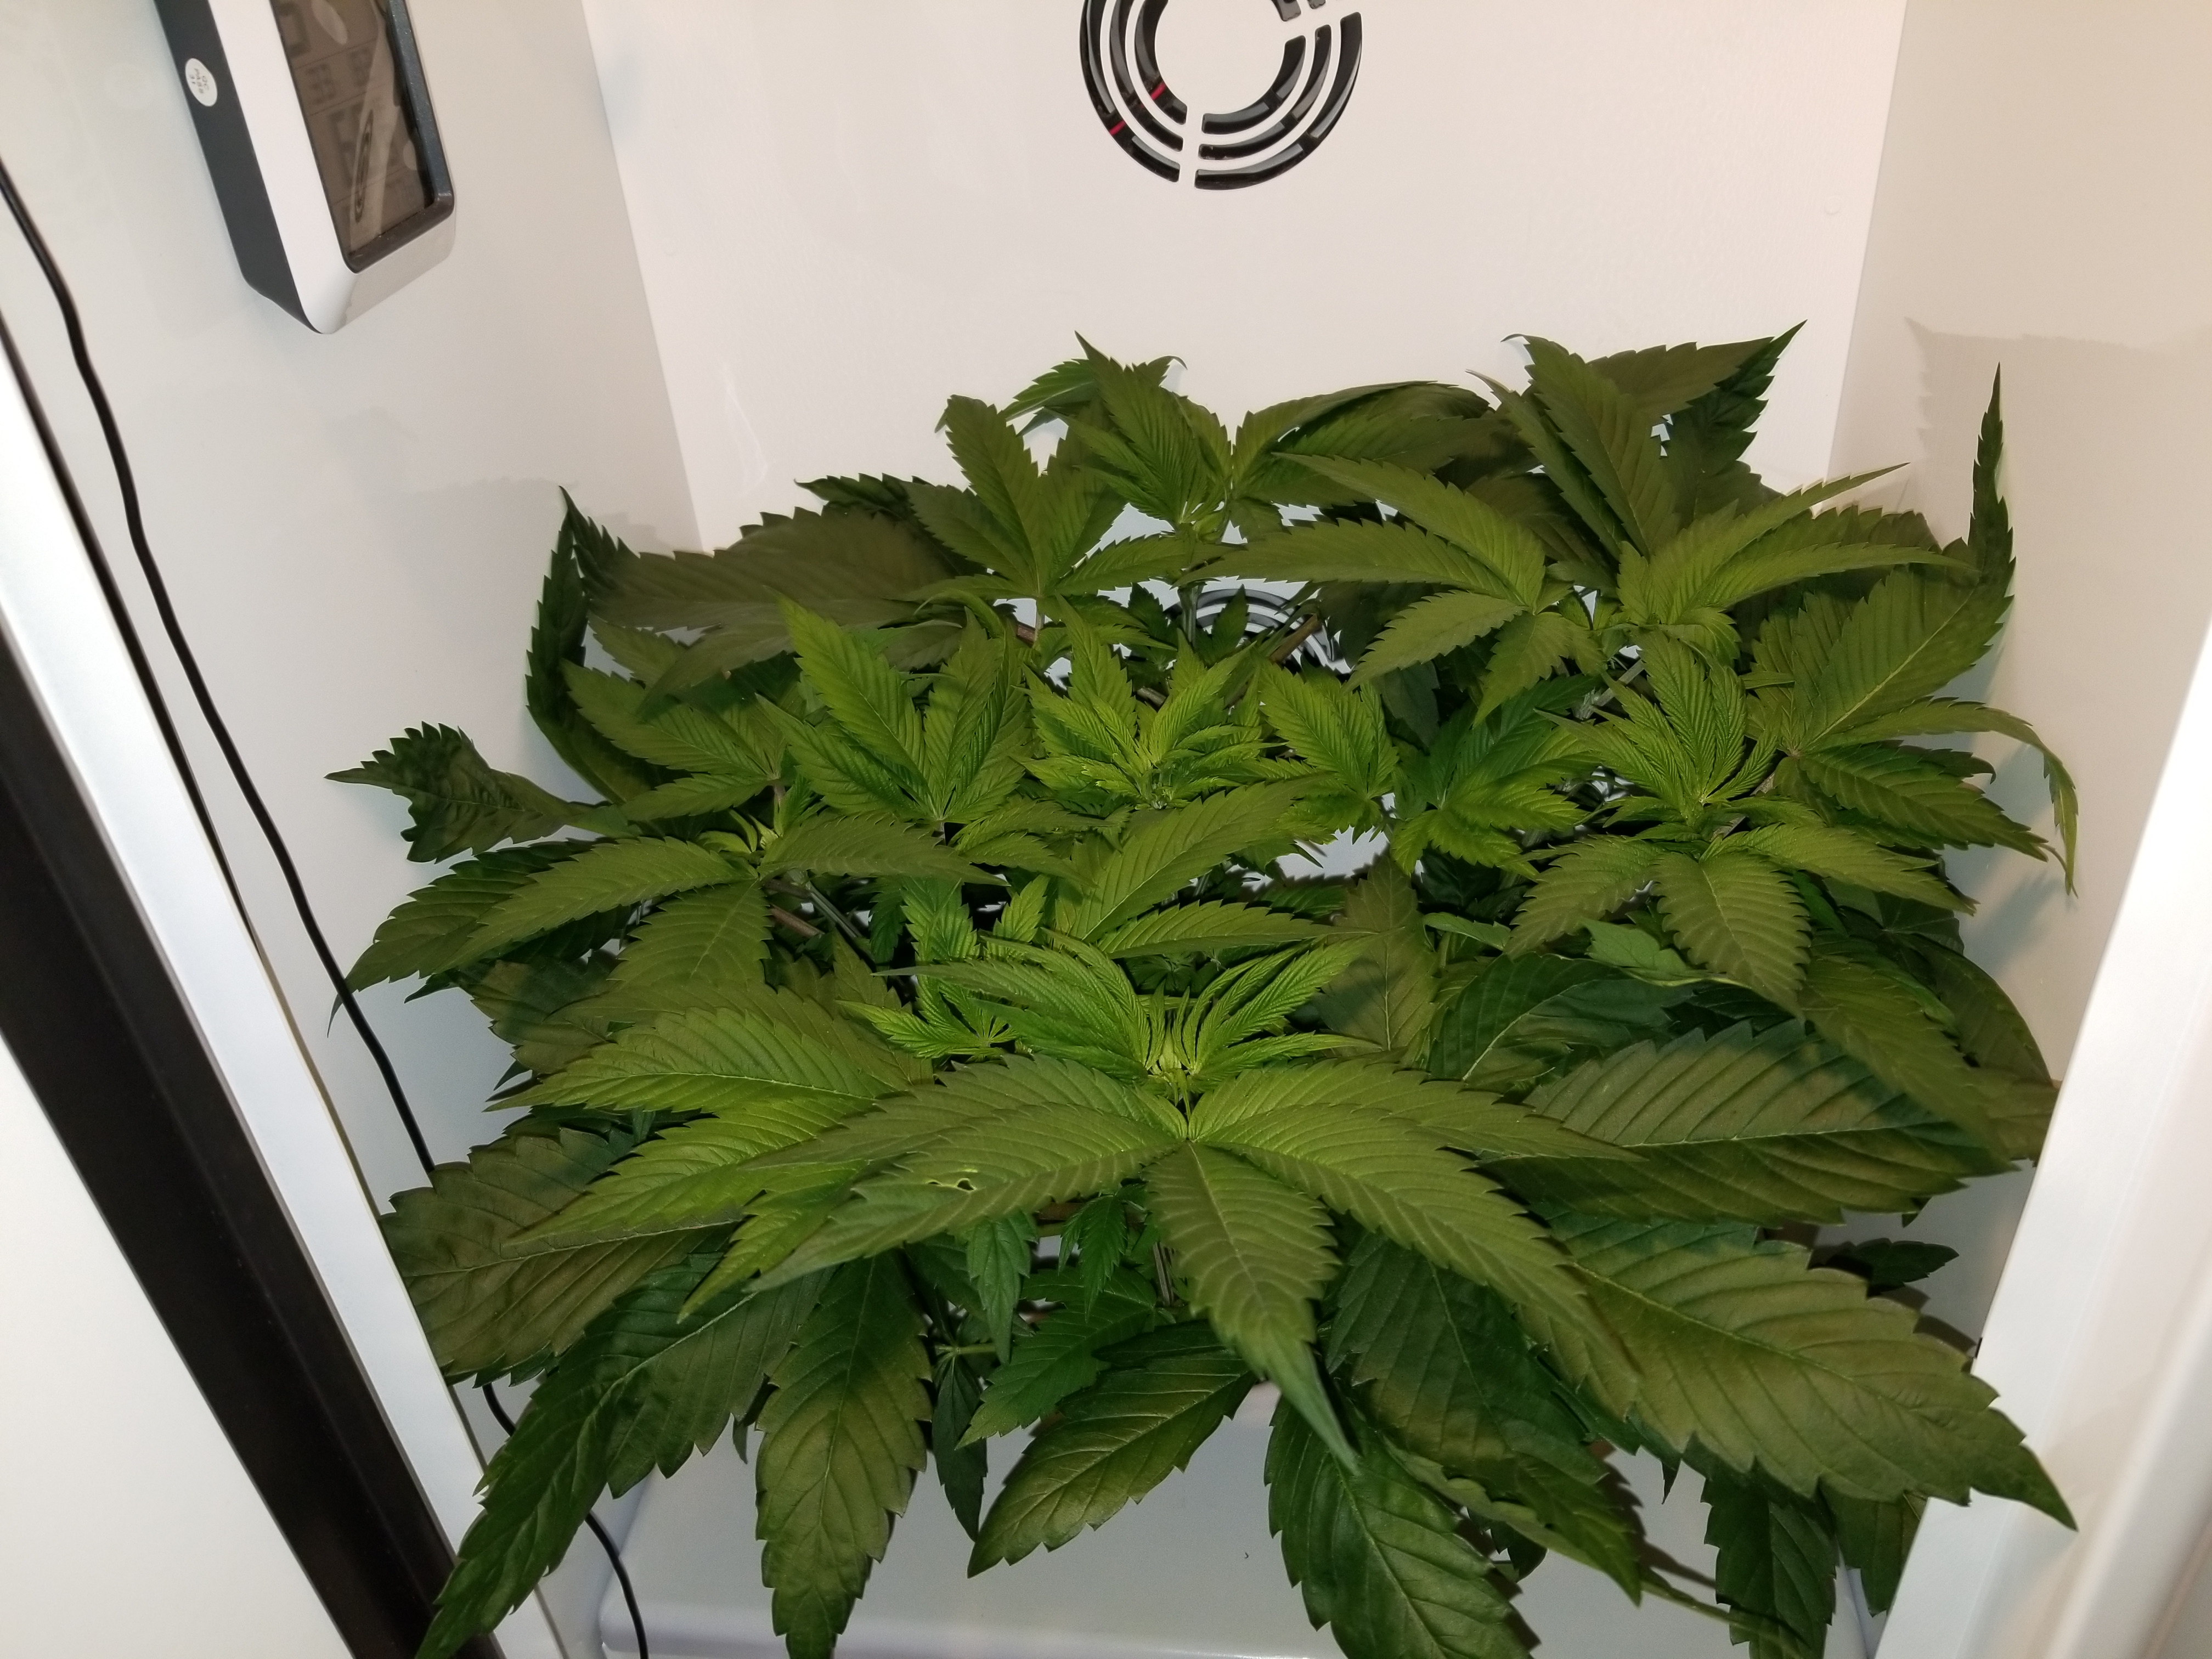
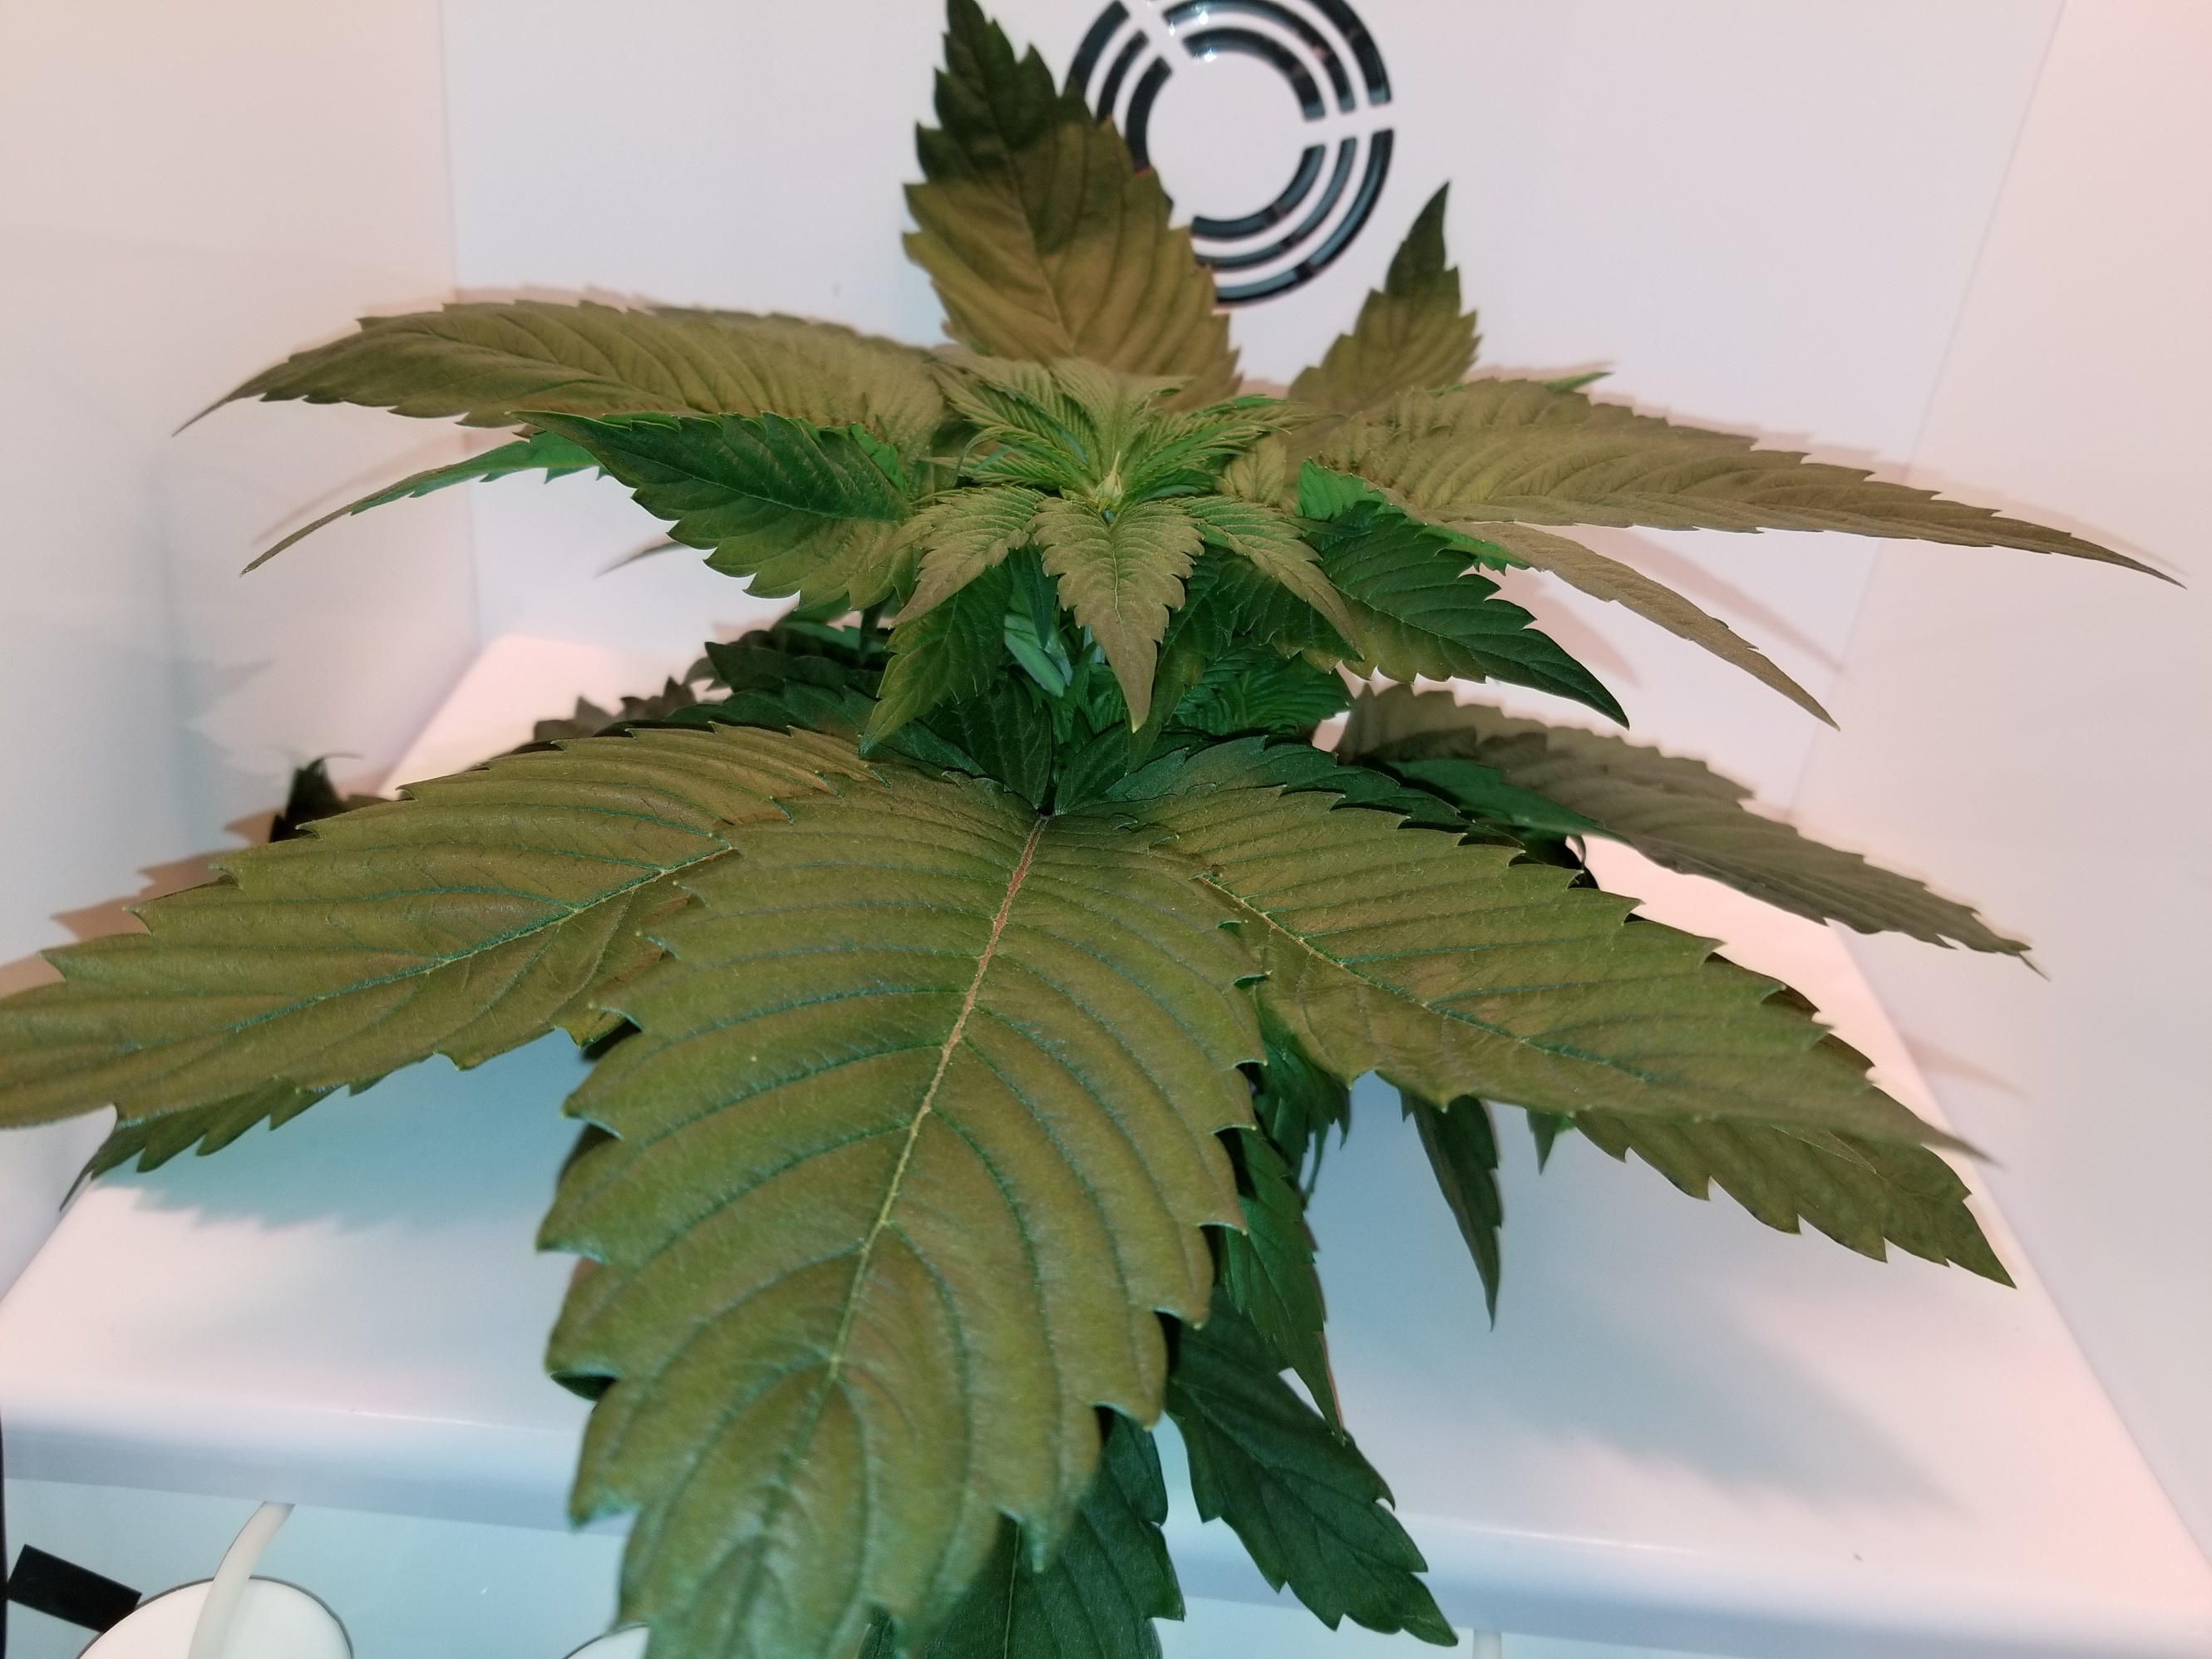
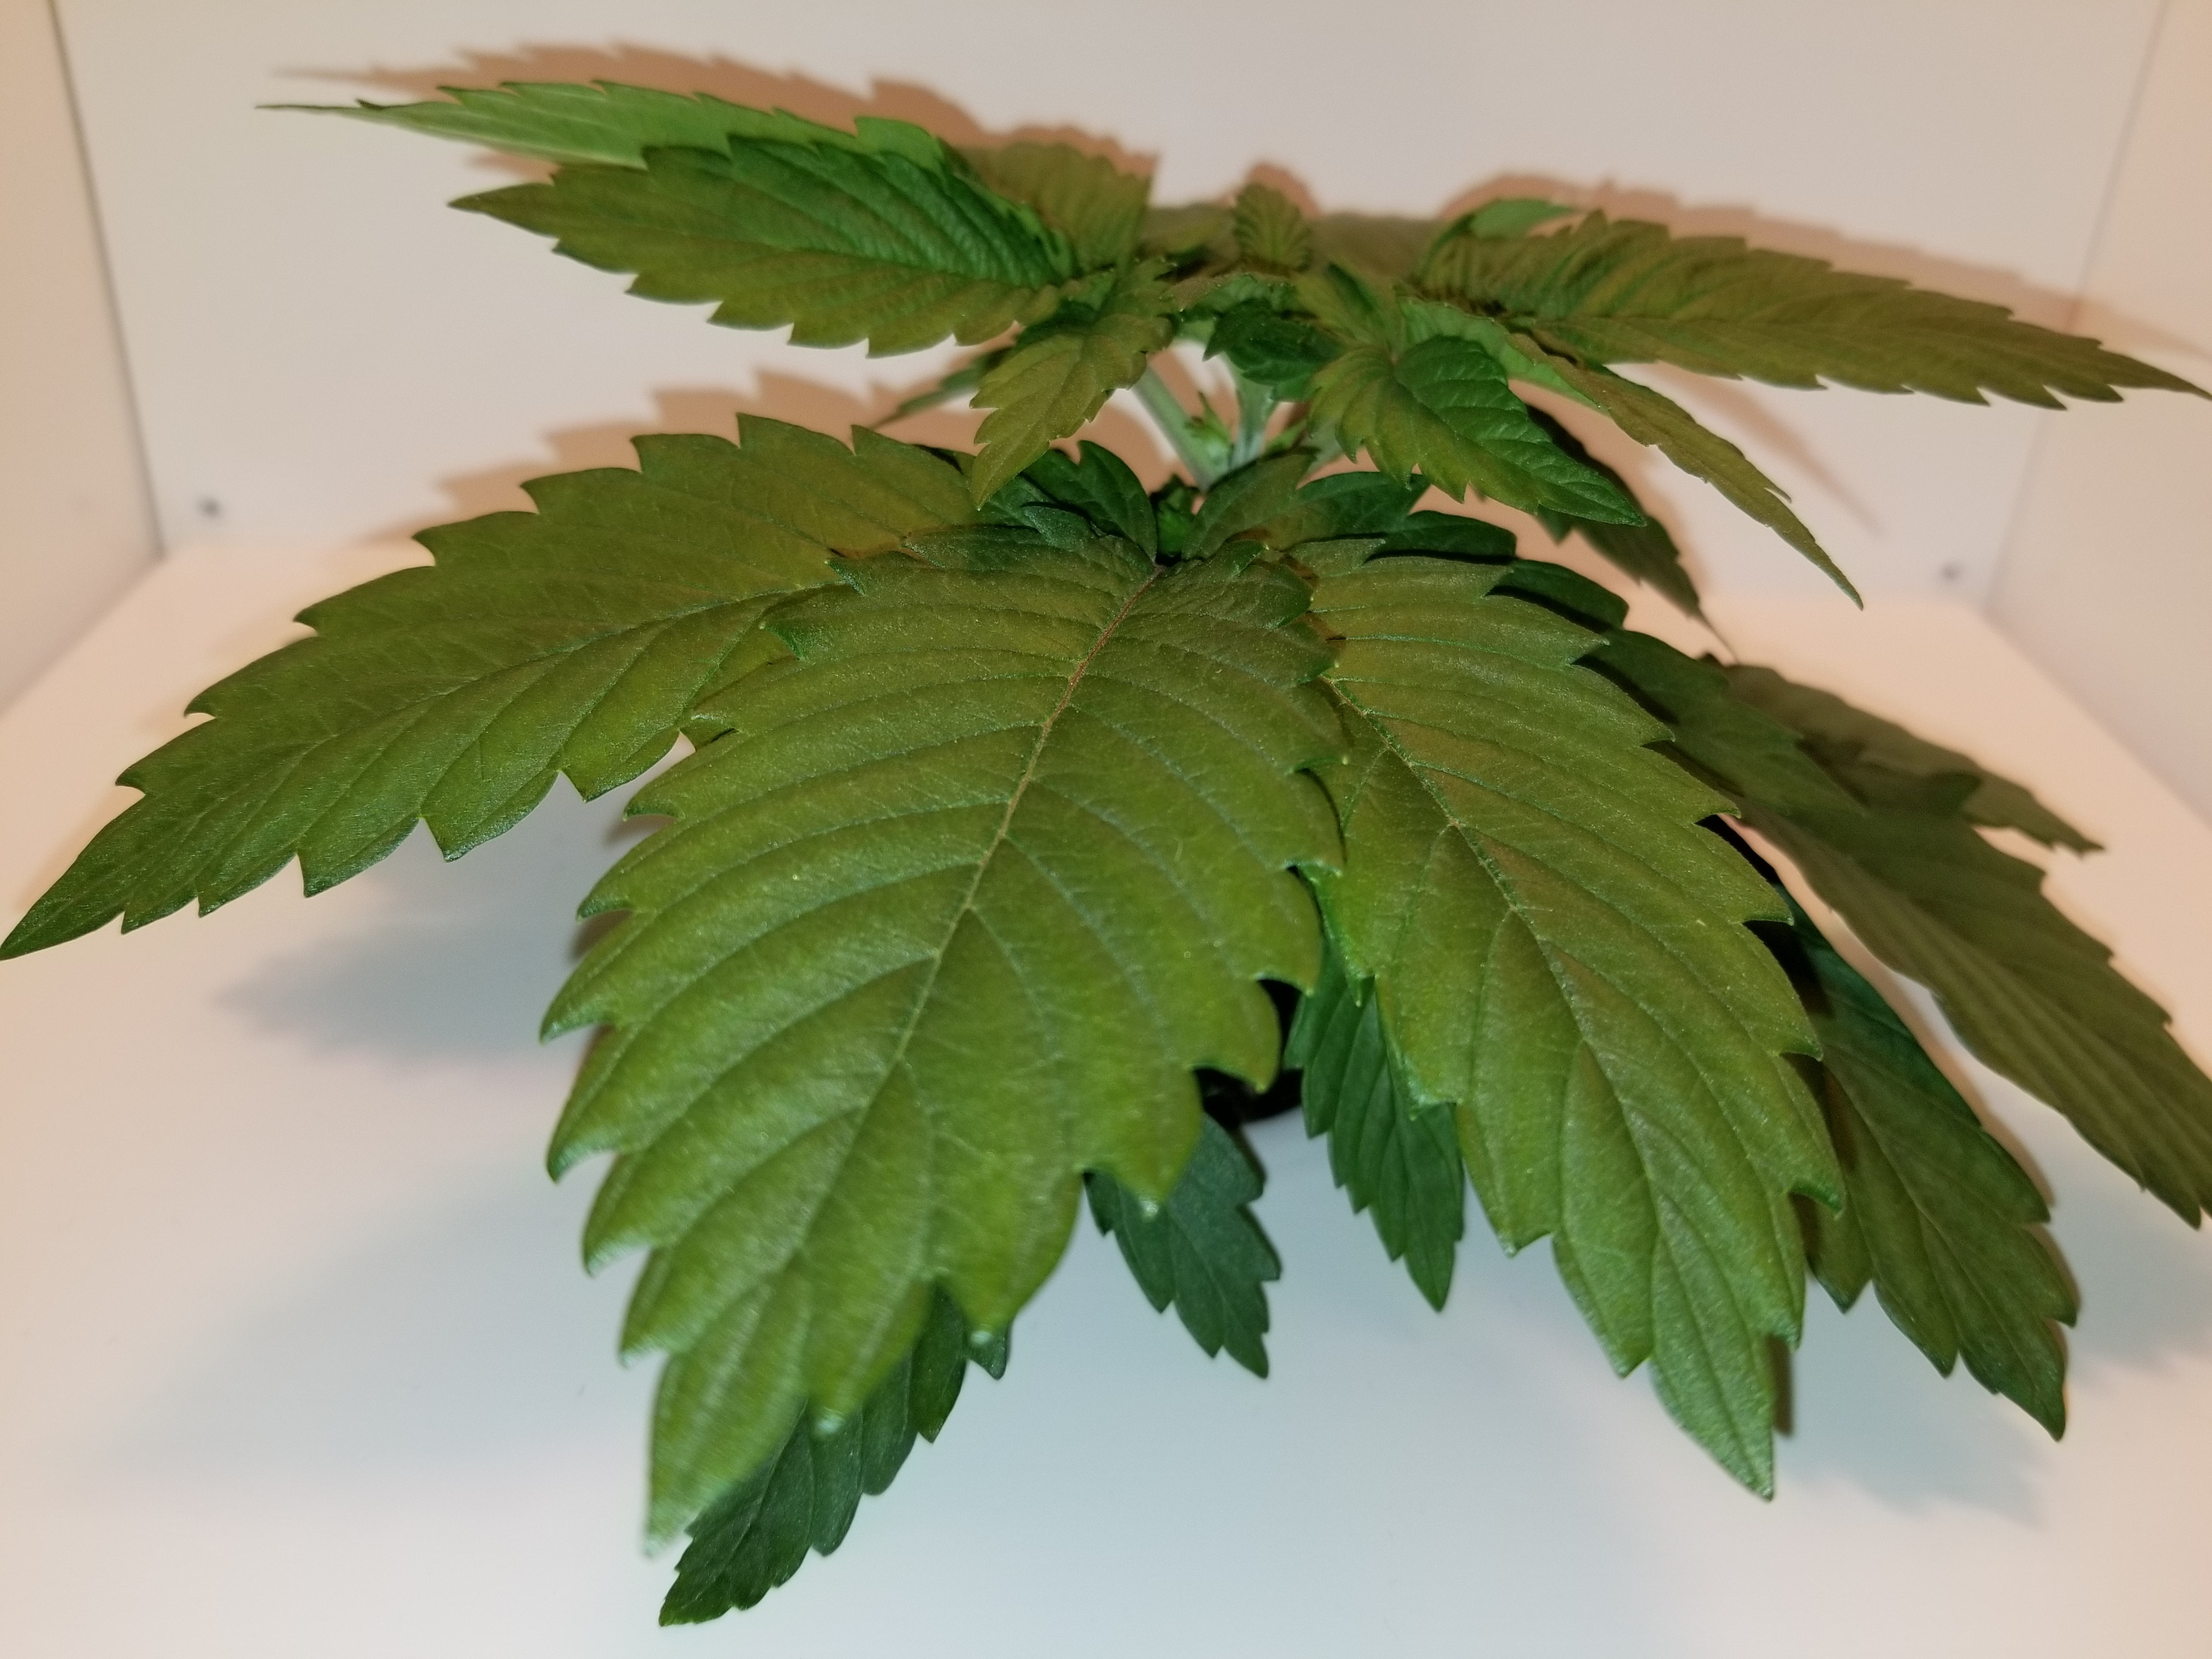
DAY 18: Early Vegetation (Day 8 /14)

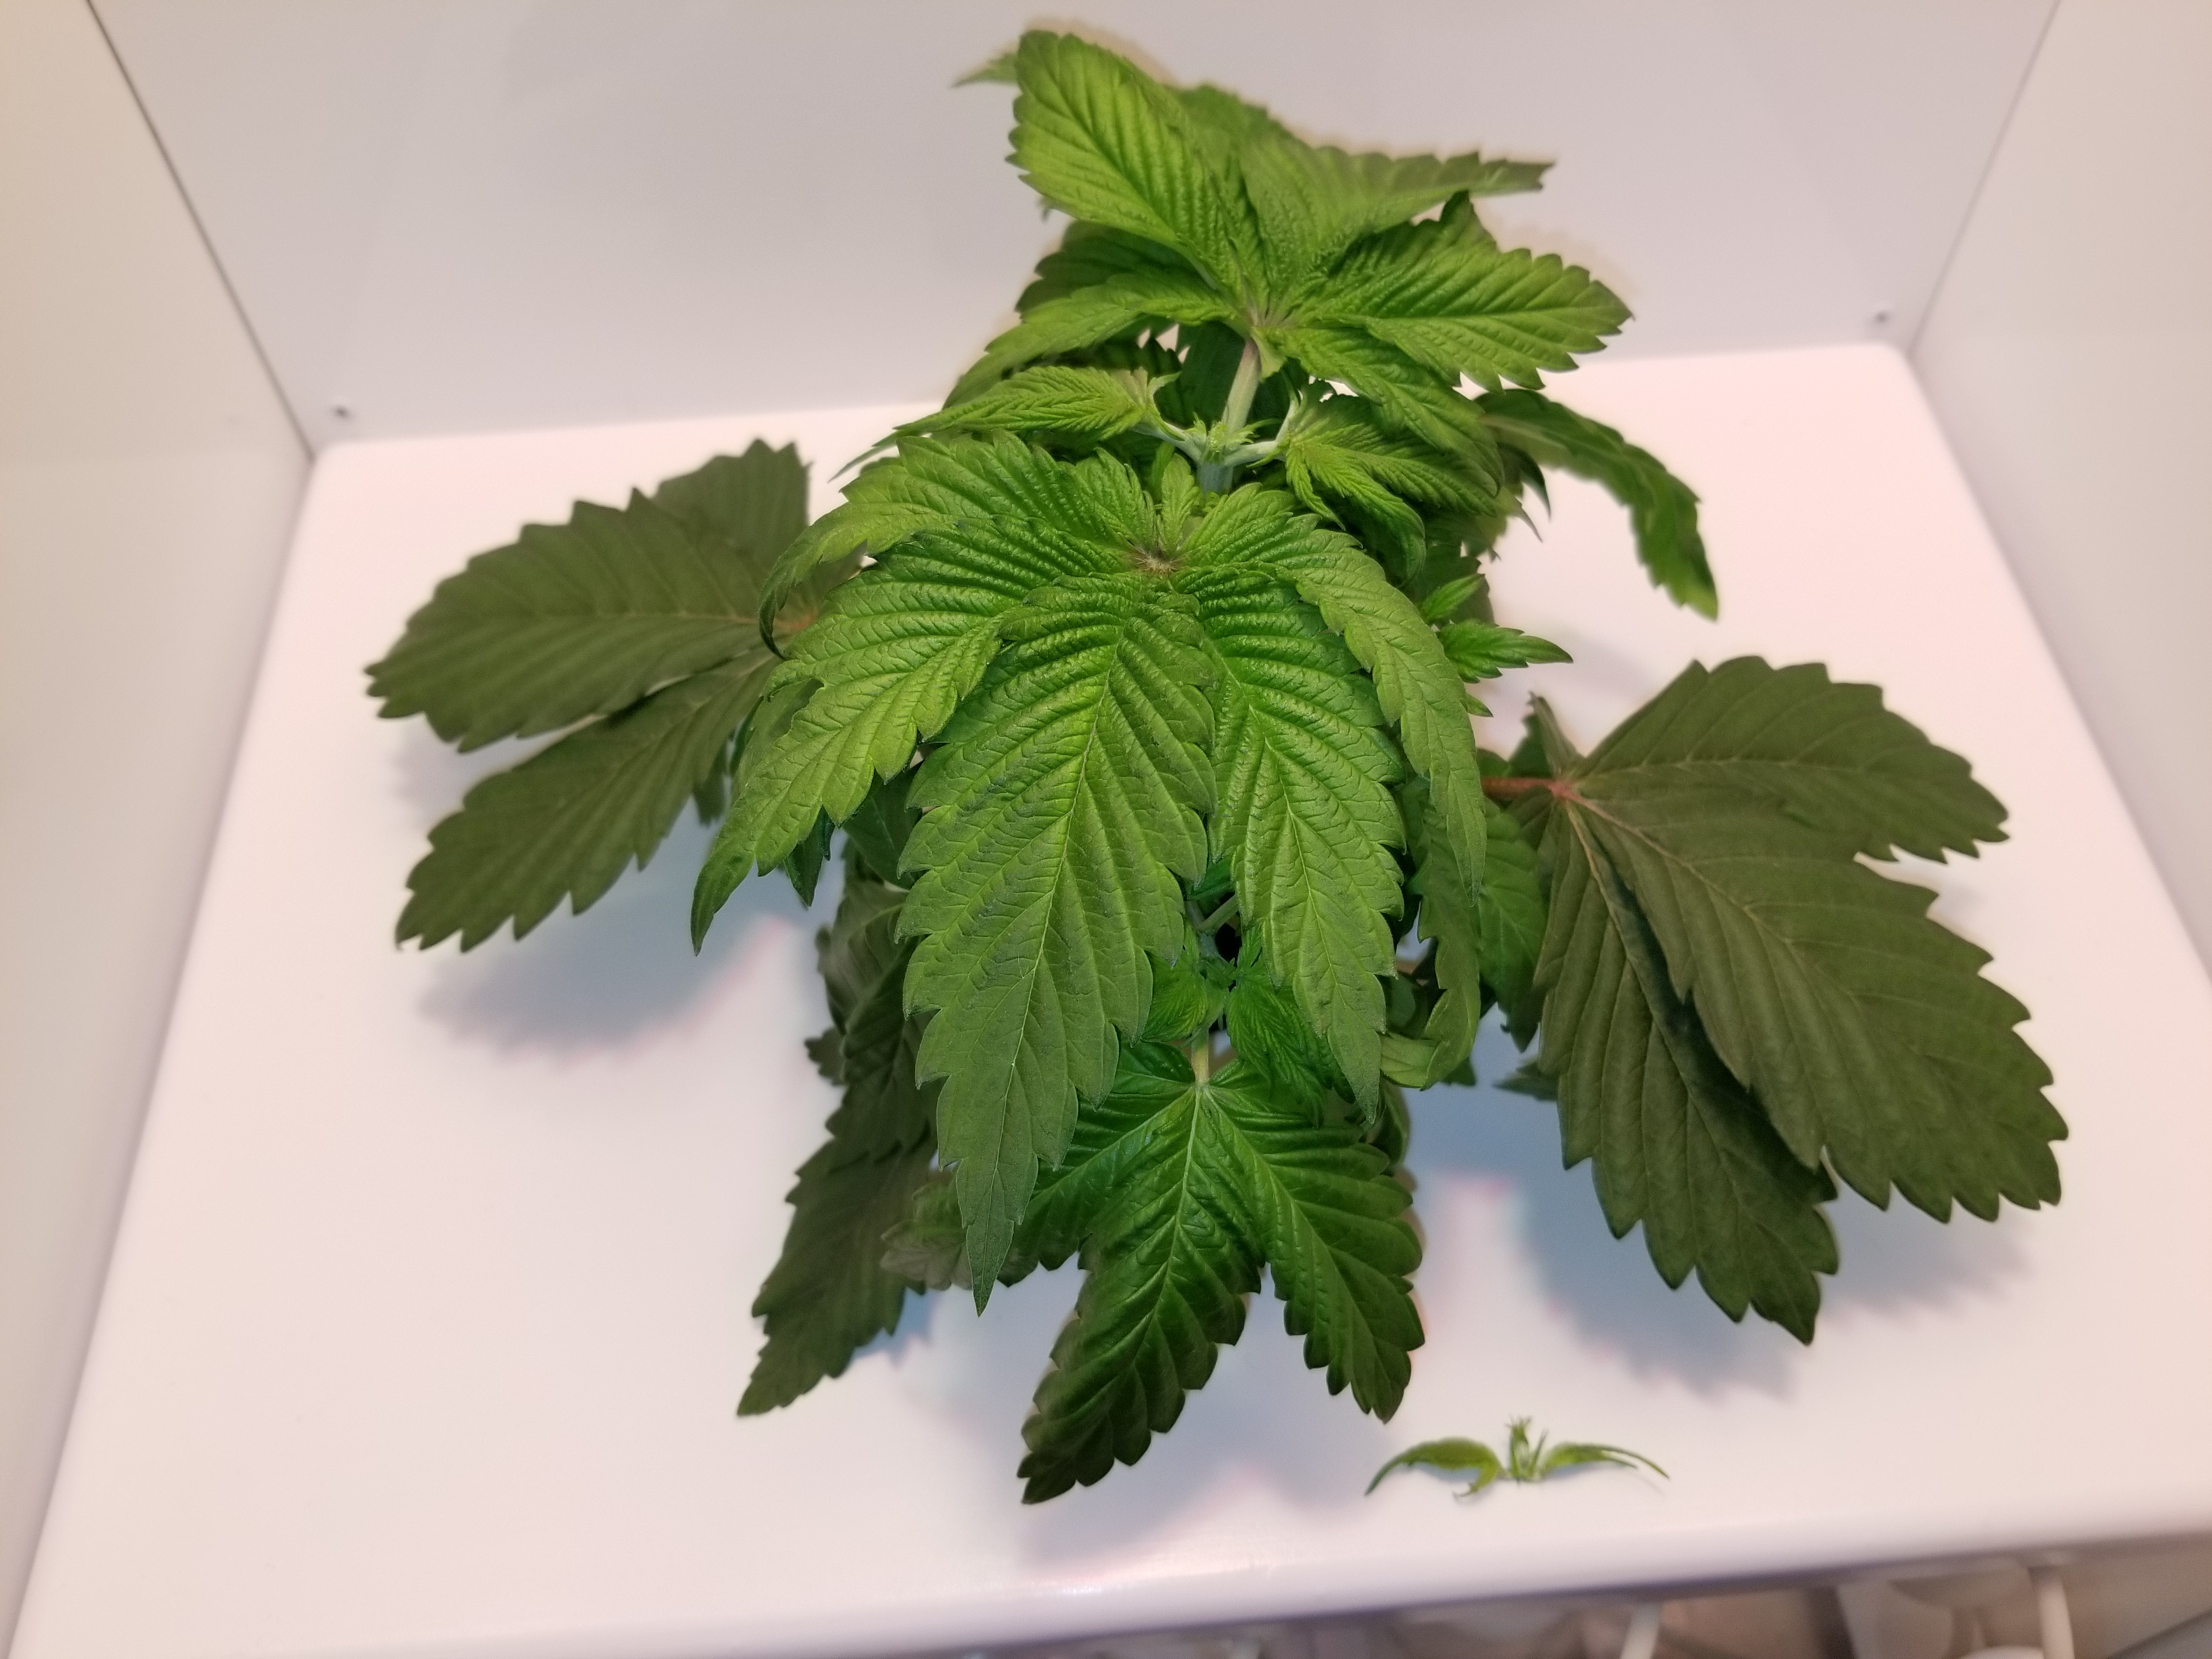
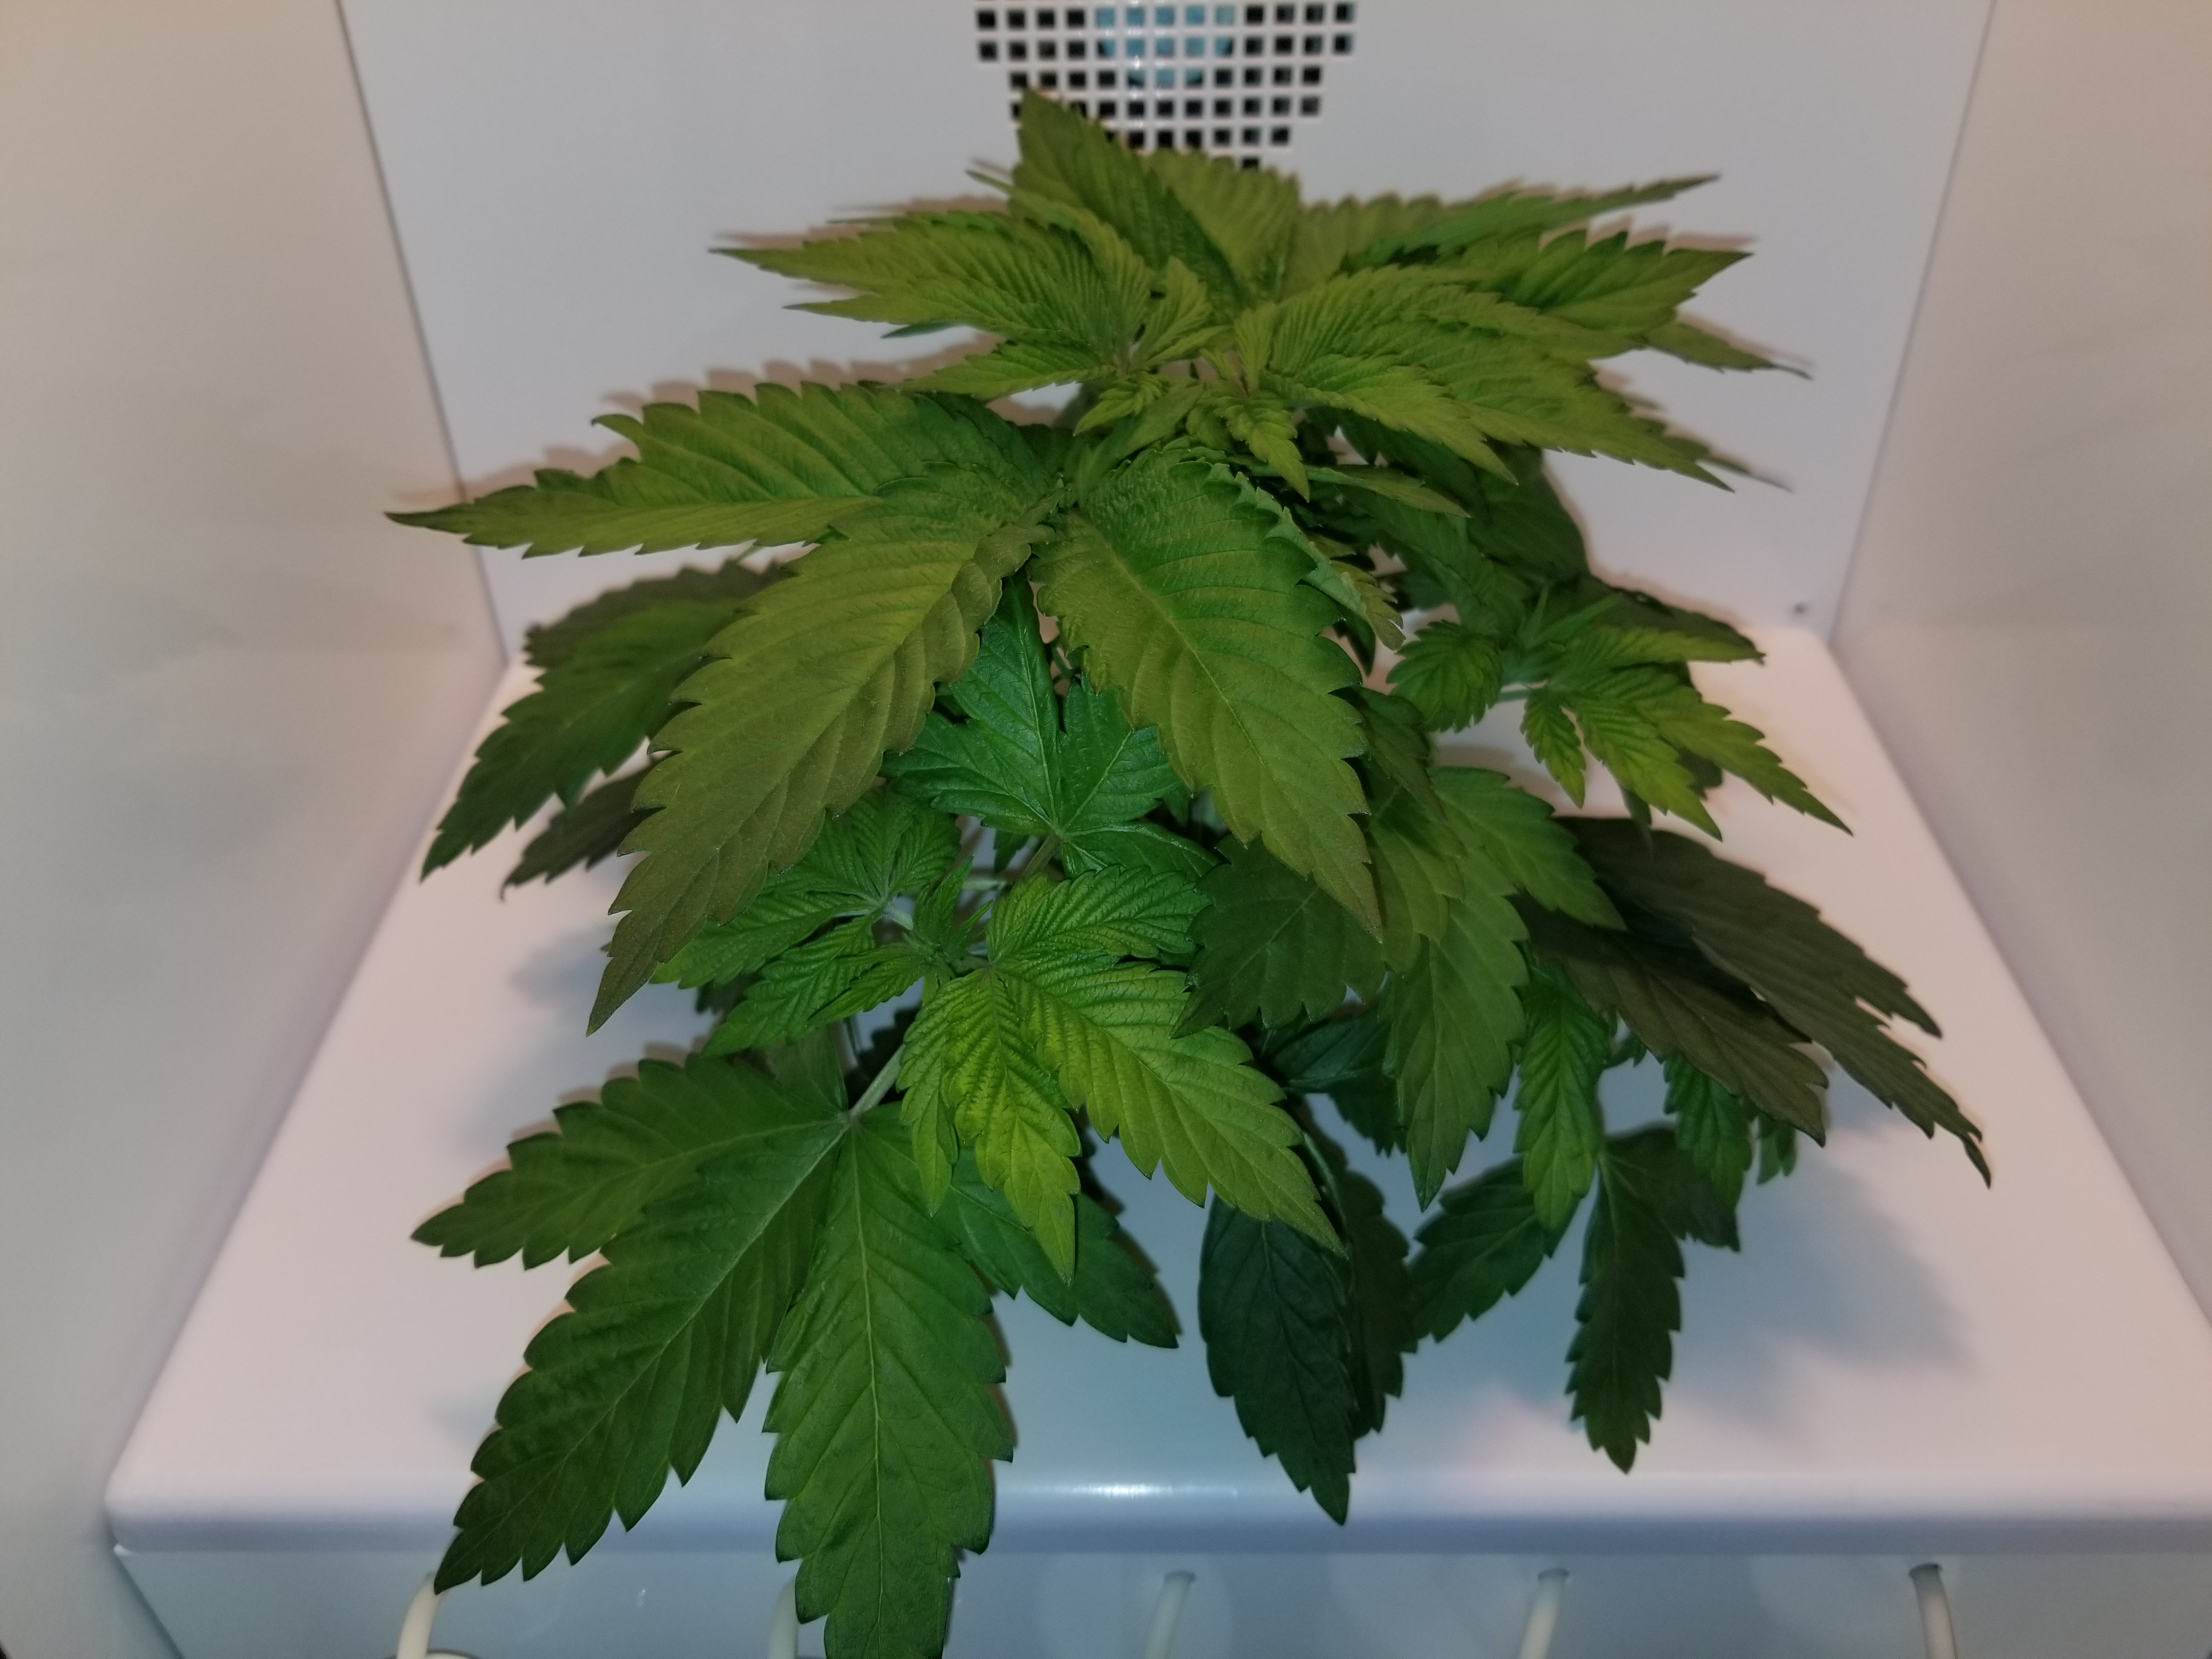
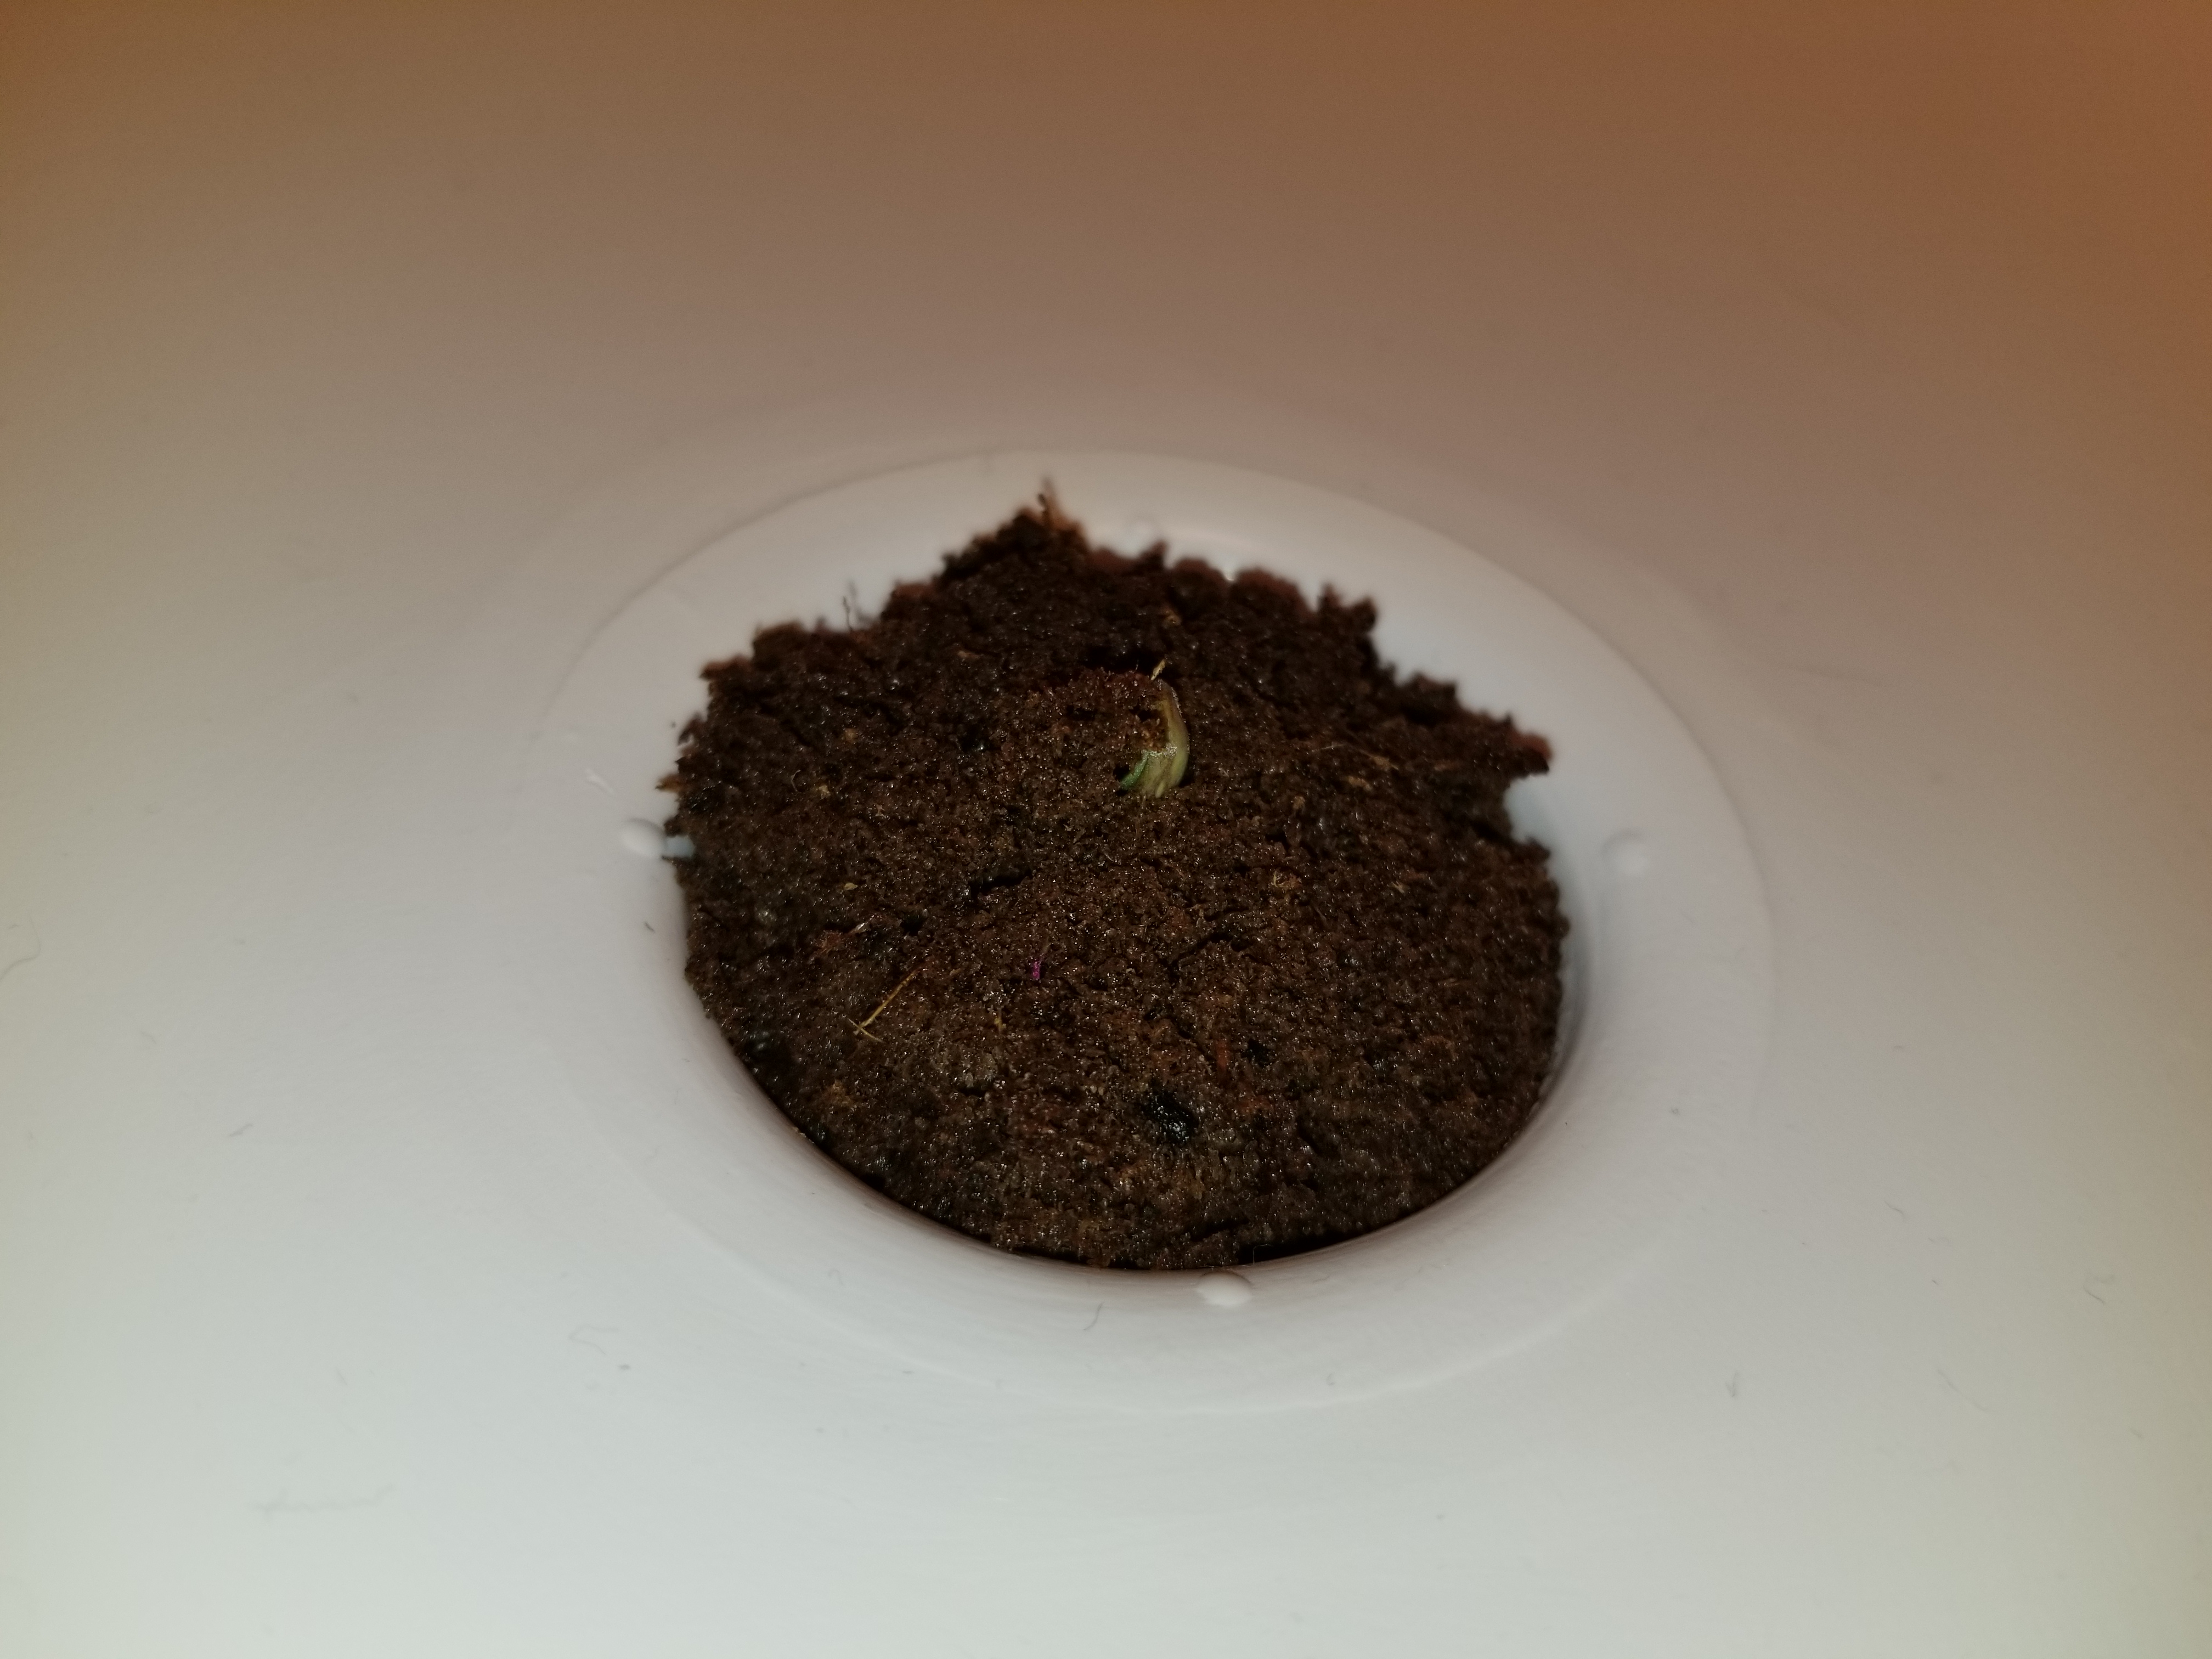
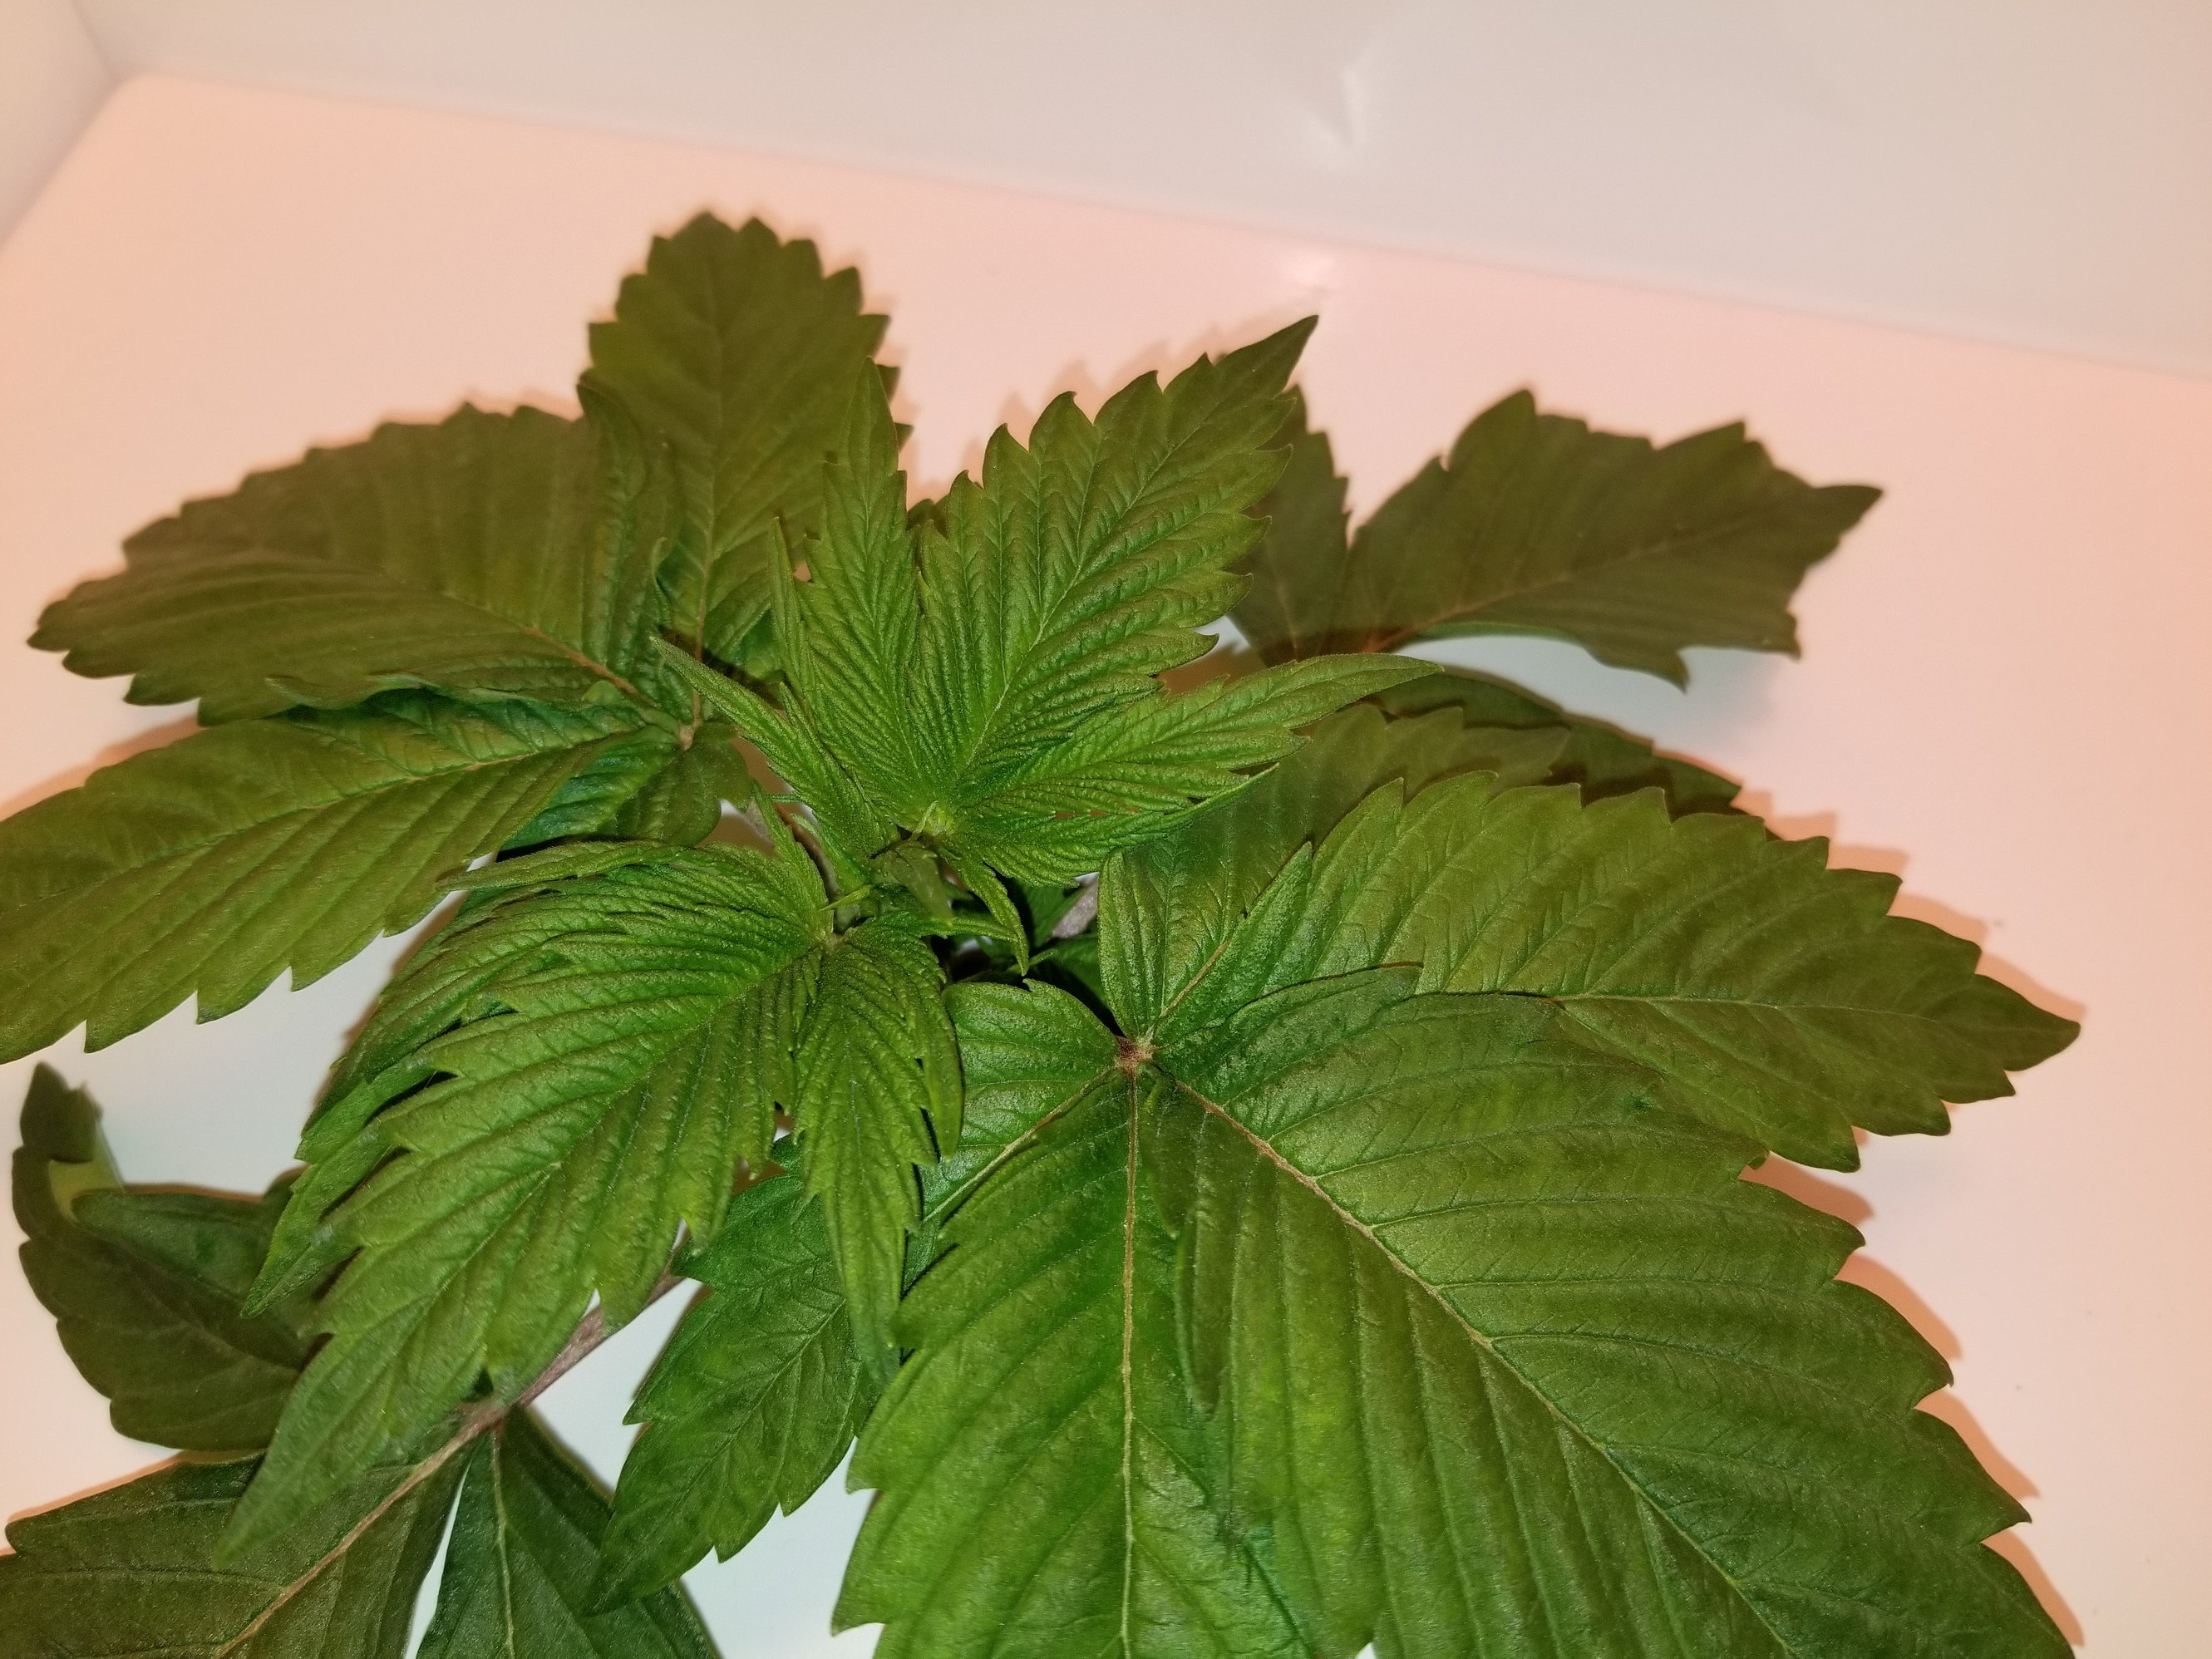
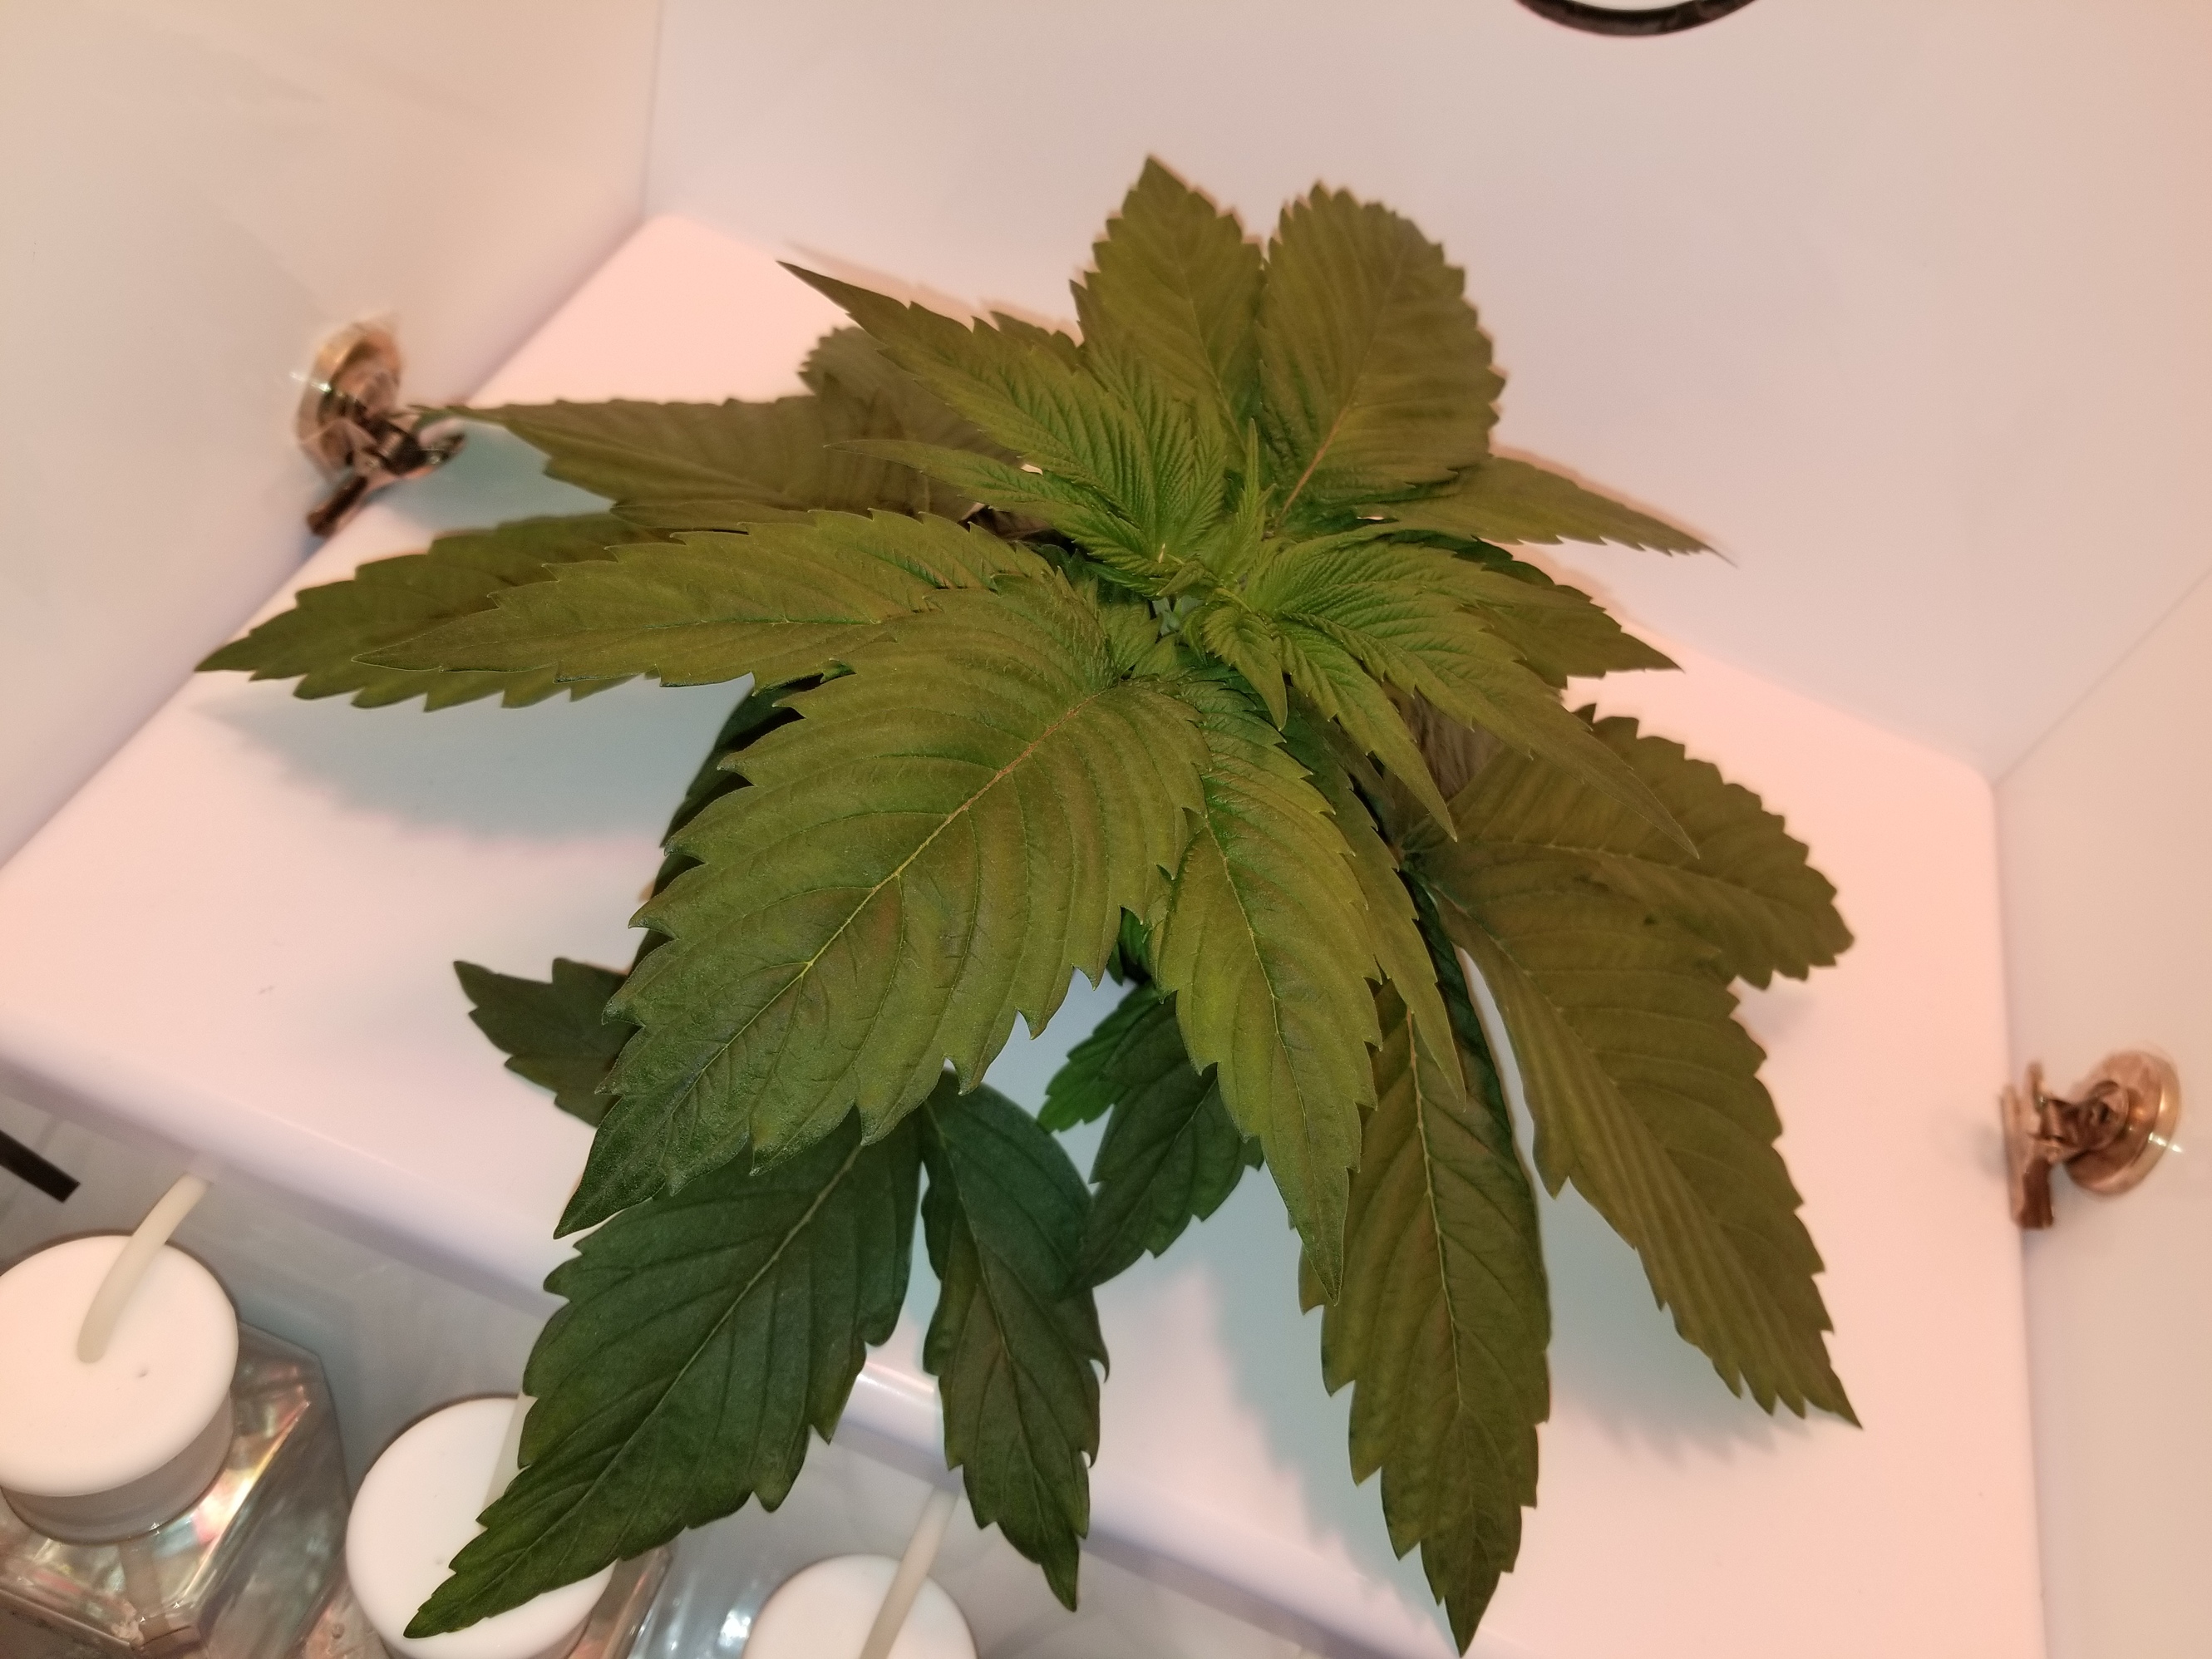
One is growing faster than the other but they’re both slowly making progress day by day.

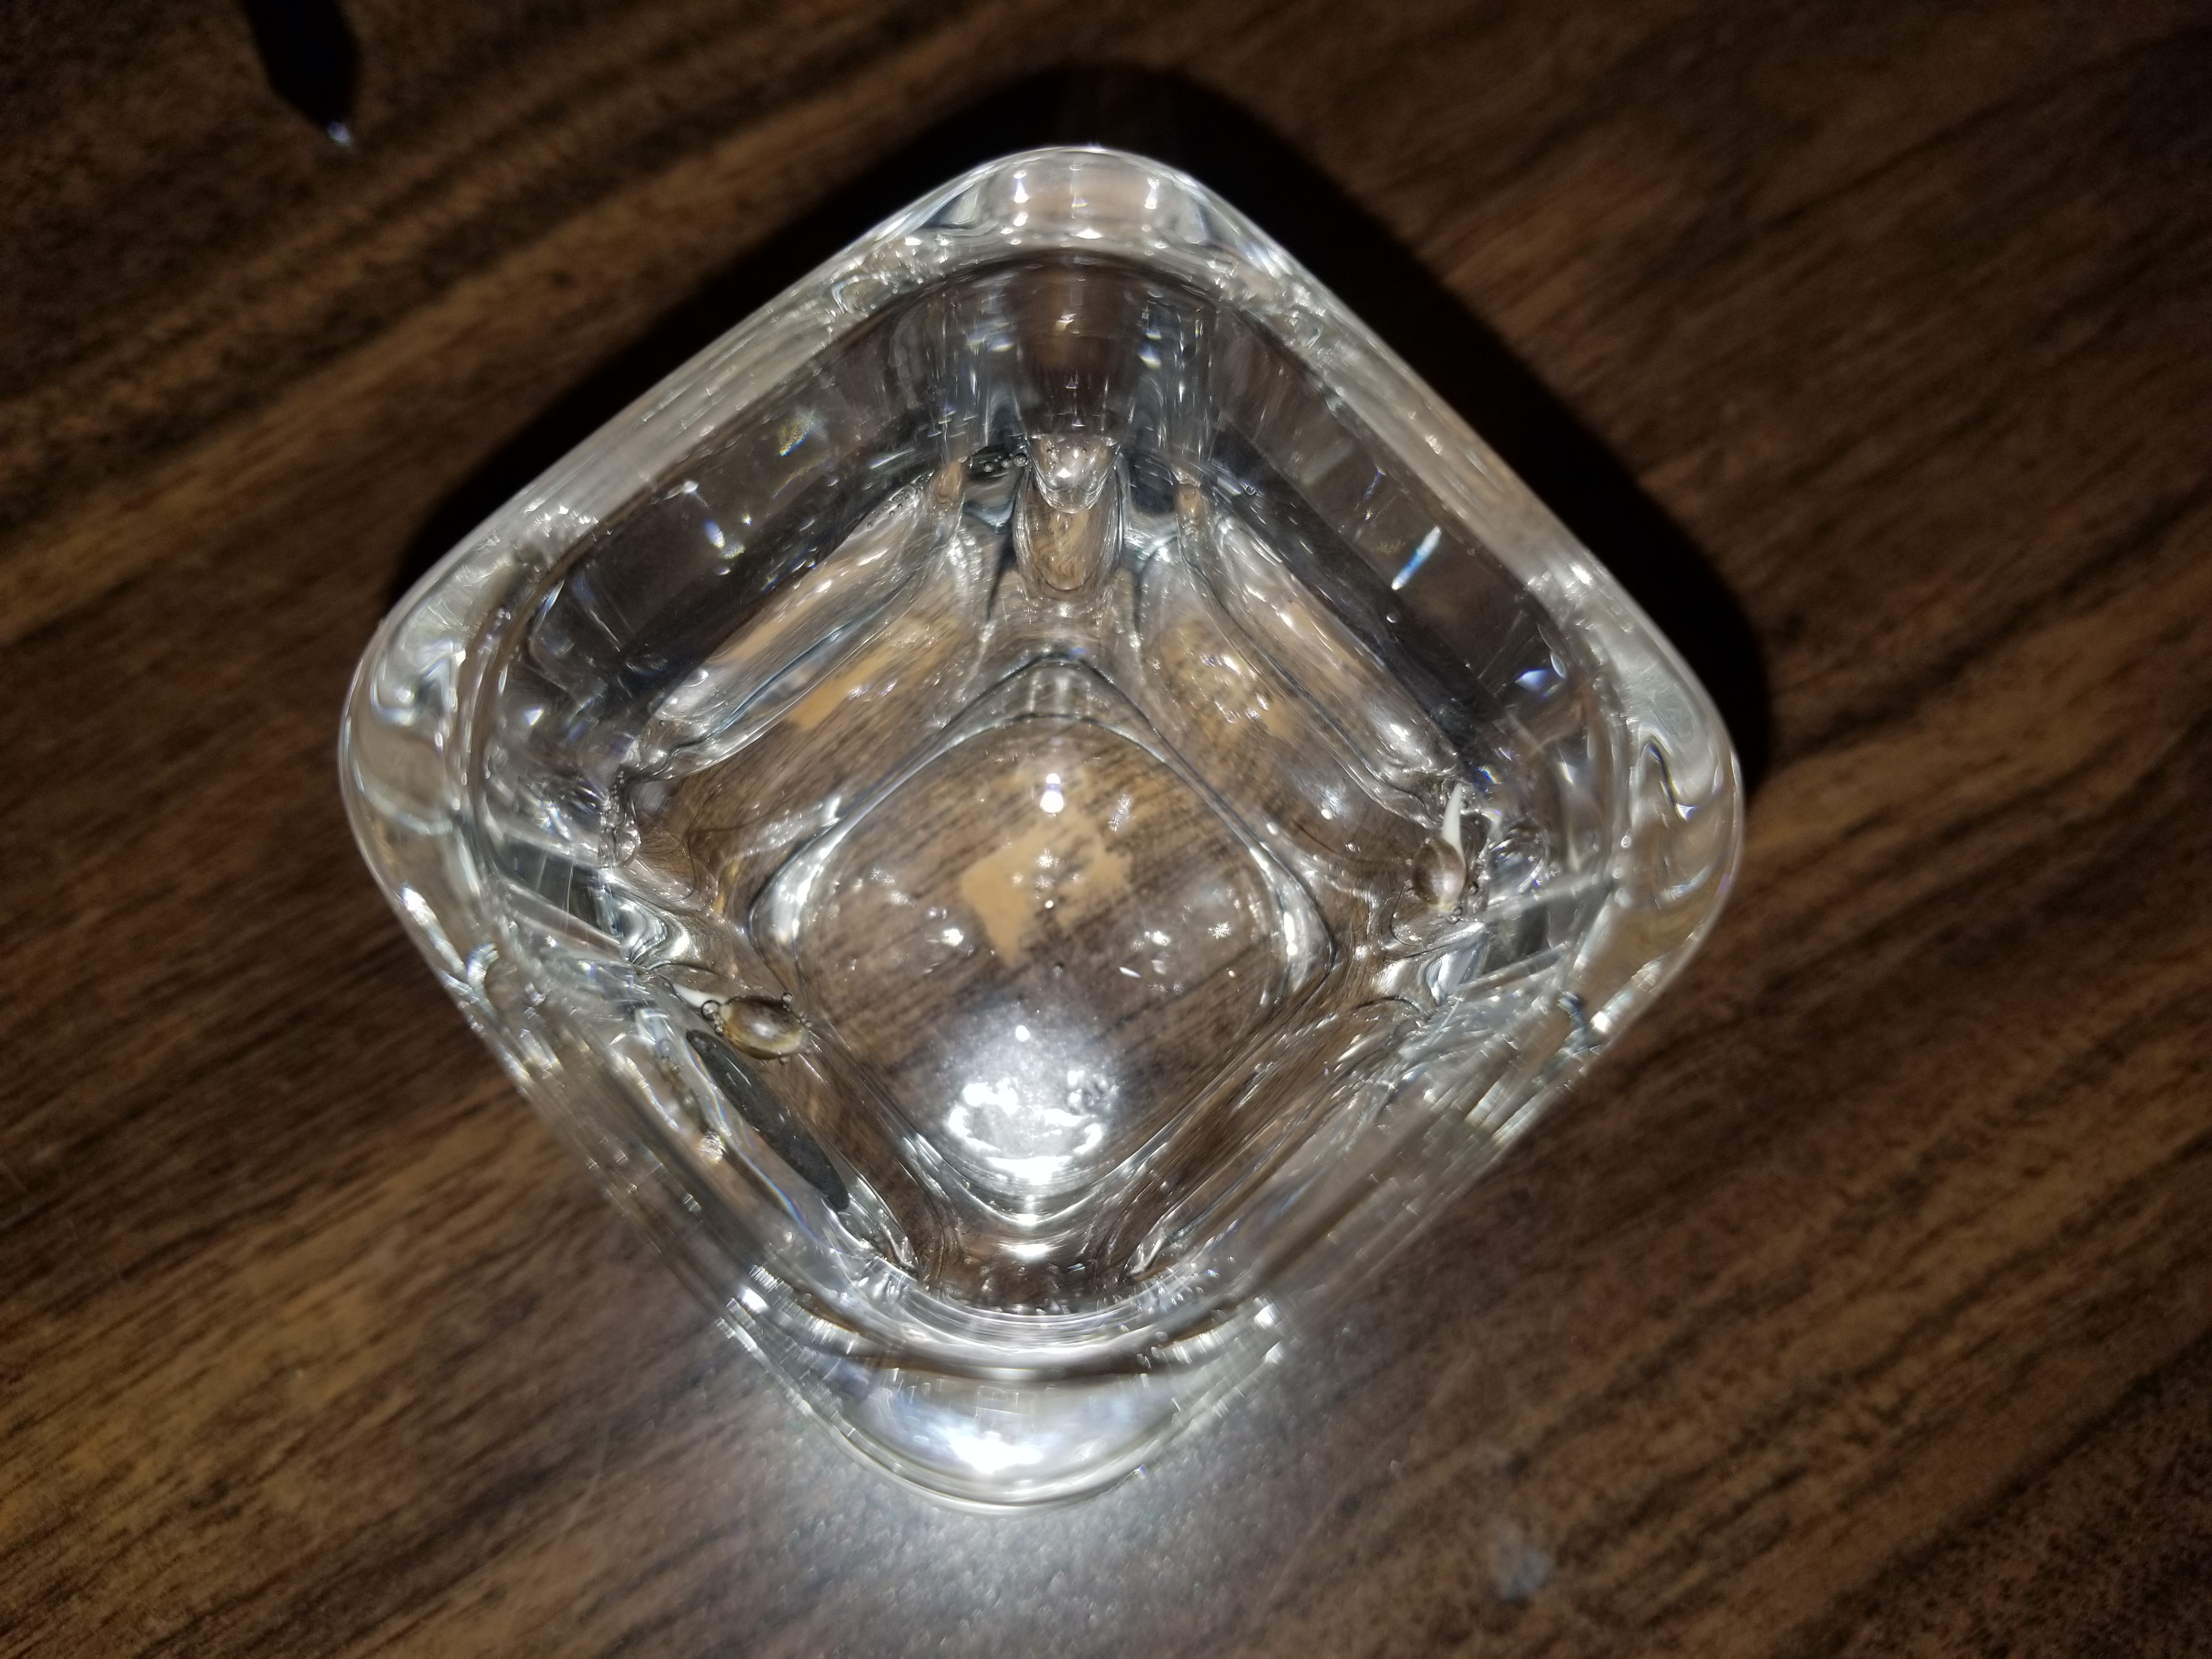
I’m thinking the cooler ambient temps (from AC) may have kept them from sprouting as quickly as some of my others have, some strains seem to care less about that. Next time will also go back to just planting in the cocopod without germinating in a warm shot glass first, as that is probably a better way to acclimate them to my environment and would be my guess as to why it’s the recommended way. I think there was a bit of shock from the initial transplant that caused them to take a bit longer to grow after they emerged from the ground.

When I first planted these seeds there’s a chance that the cocopods were soaked in water that had too high of a pH than it should’ve; next time will use properly pH’d water. That might’ve also contributed to the transplant shock when I moved the seeds from shot glass to cocopods.

Last week when doing a water change I also mixed up a very small pinch of recharge with some properly pH’d water and put some of that through the coco pod and put the rest in the res and that has seemed to help invigorate the root and upper growth in both. It clouded up the reservoirs slightly but that’ll clear up after a couple of drain/fills – I probably won’t be adding any more recharge from this point on, it was just used to get some help balancing the pH in the cocopods.

So far they’ve only been fed distilled water mixed with about 2-3mL of sensi cal/mag xtra and 12-15mL of a dr marijane mixture (substitute for hydroguard I’m testing out). Haven’t been looking at pH readings myself, but the bottle levels aren’t budging much and the probes are calibrated; have just been trusting that the grobo is watching that.

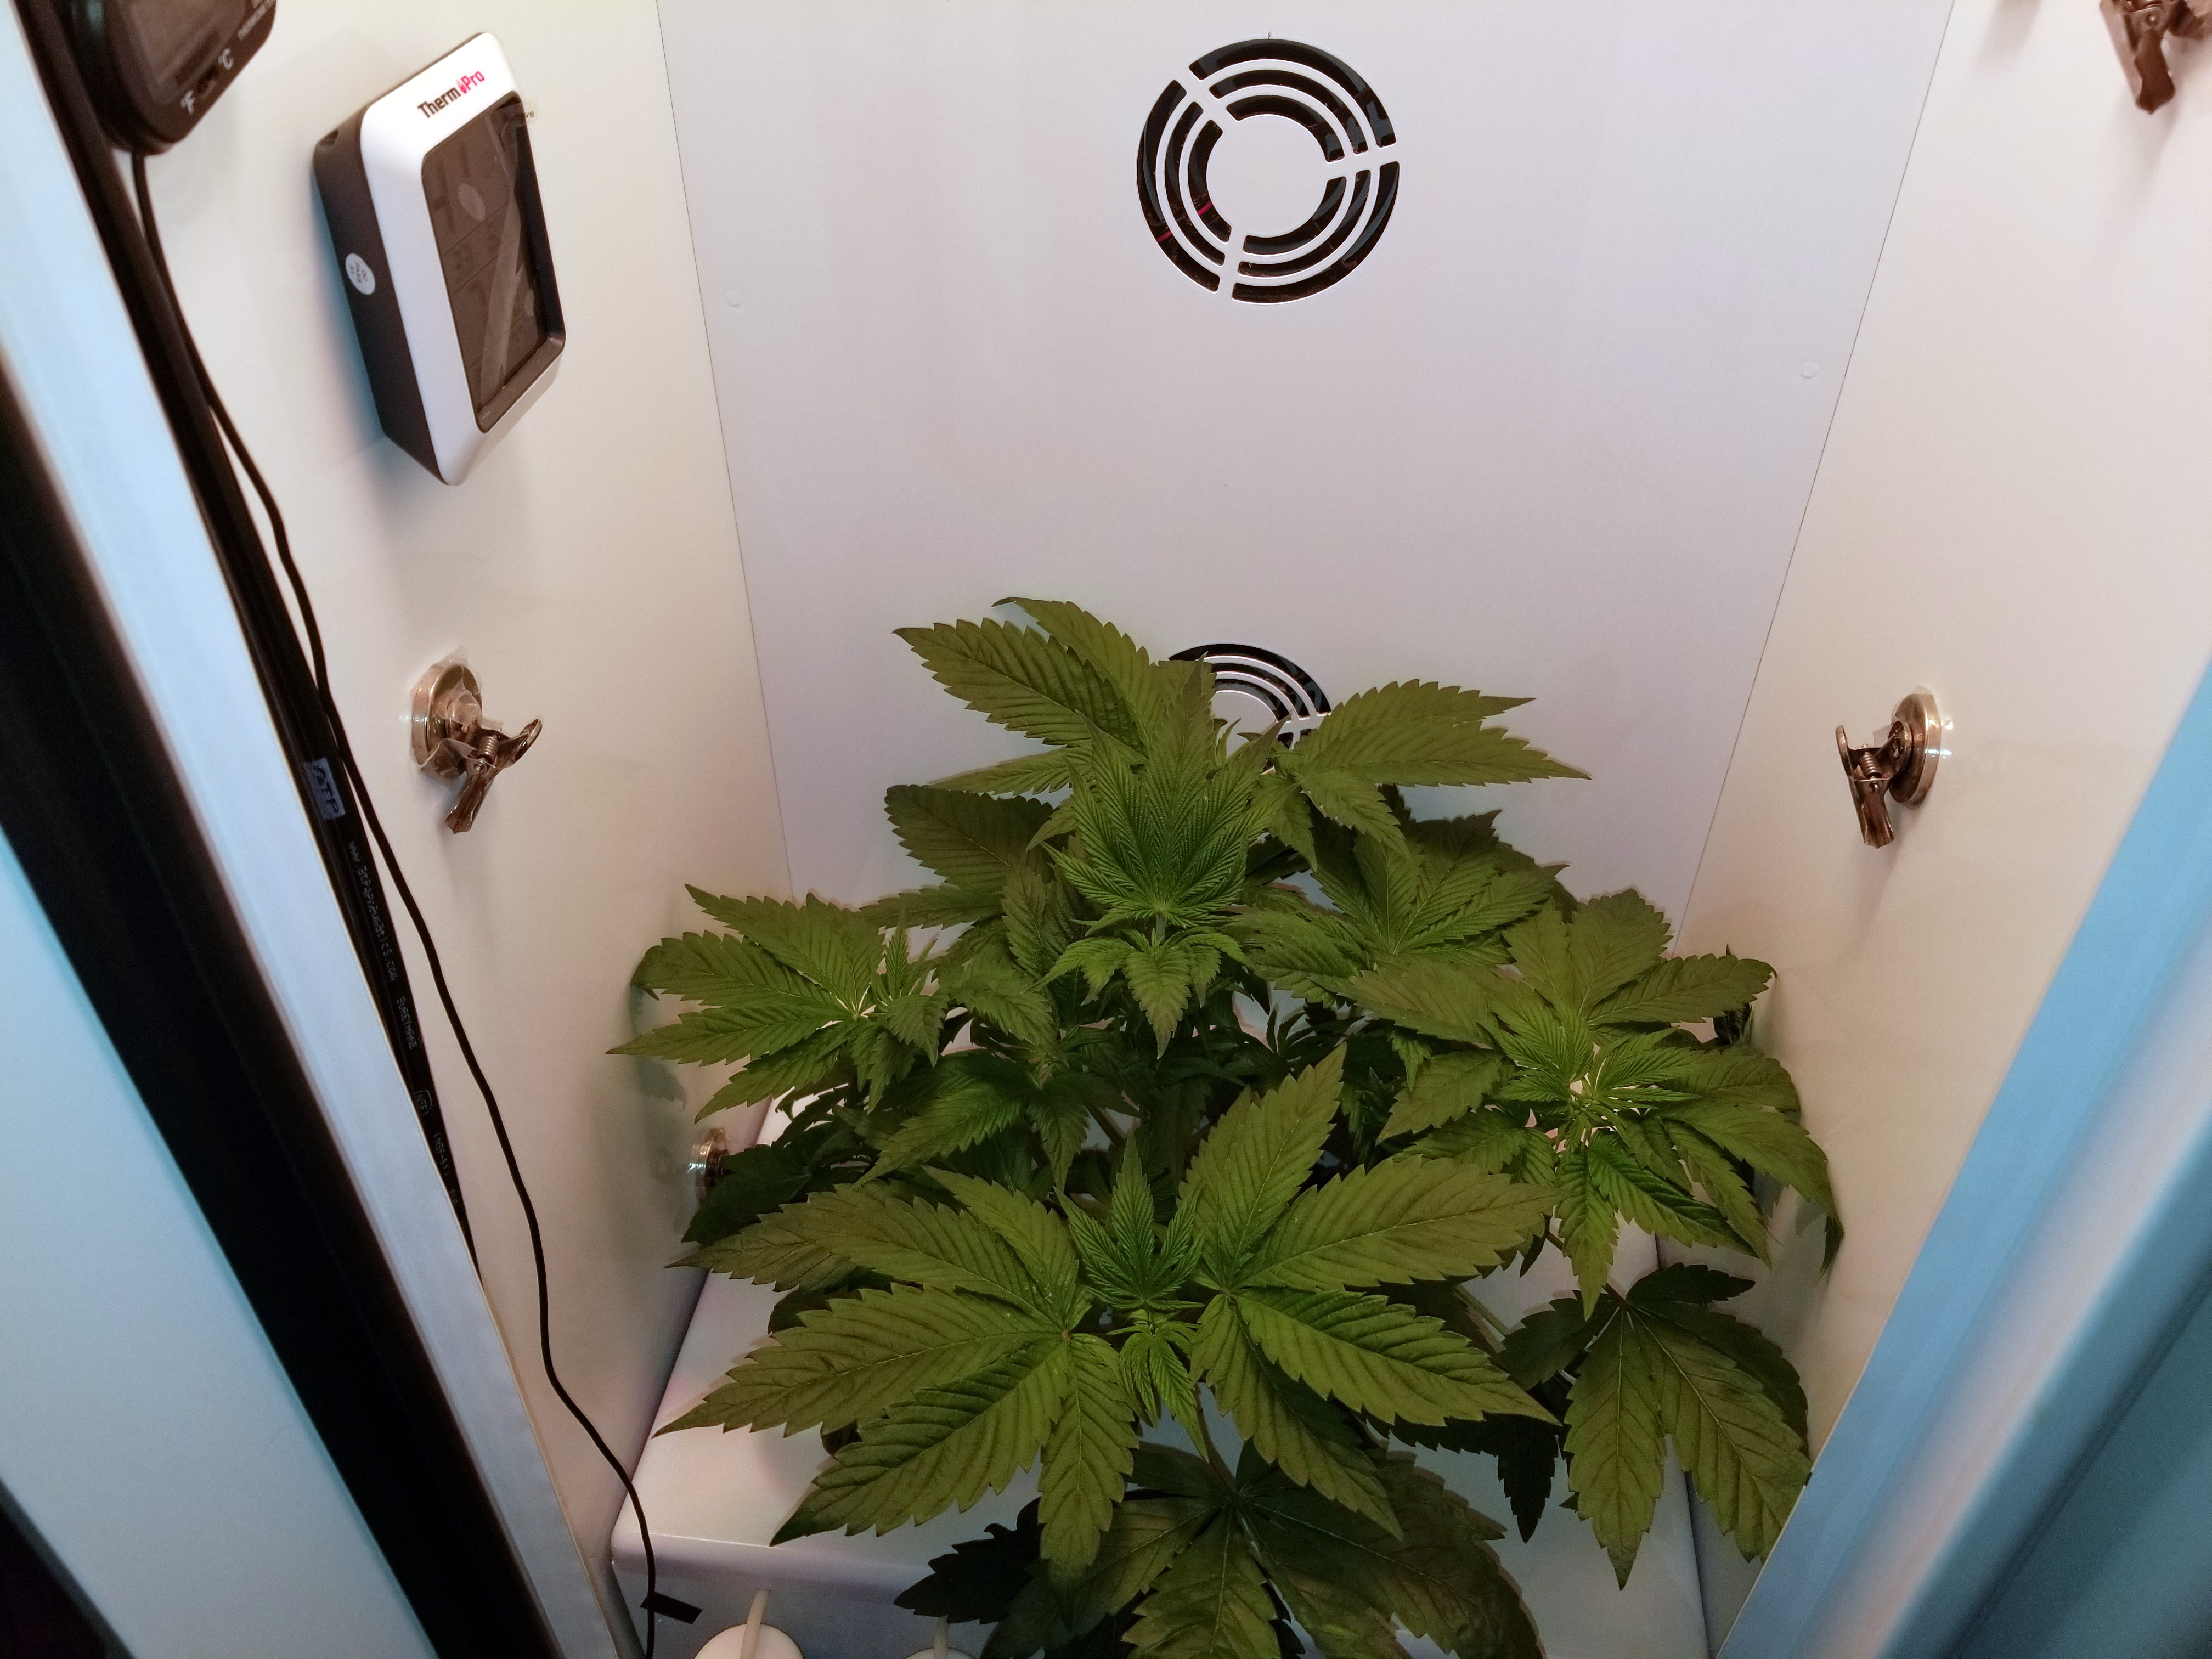
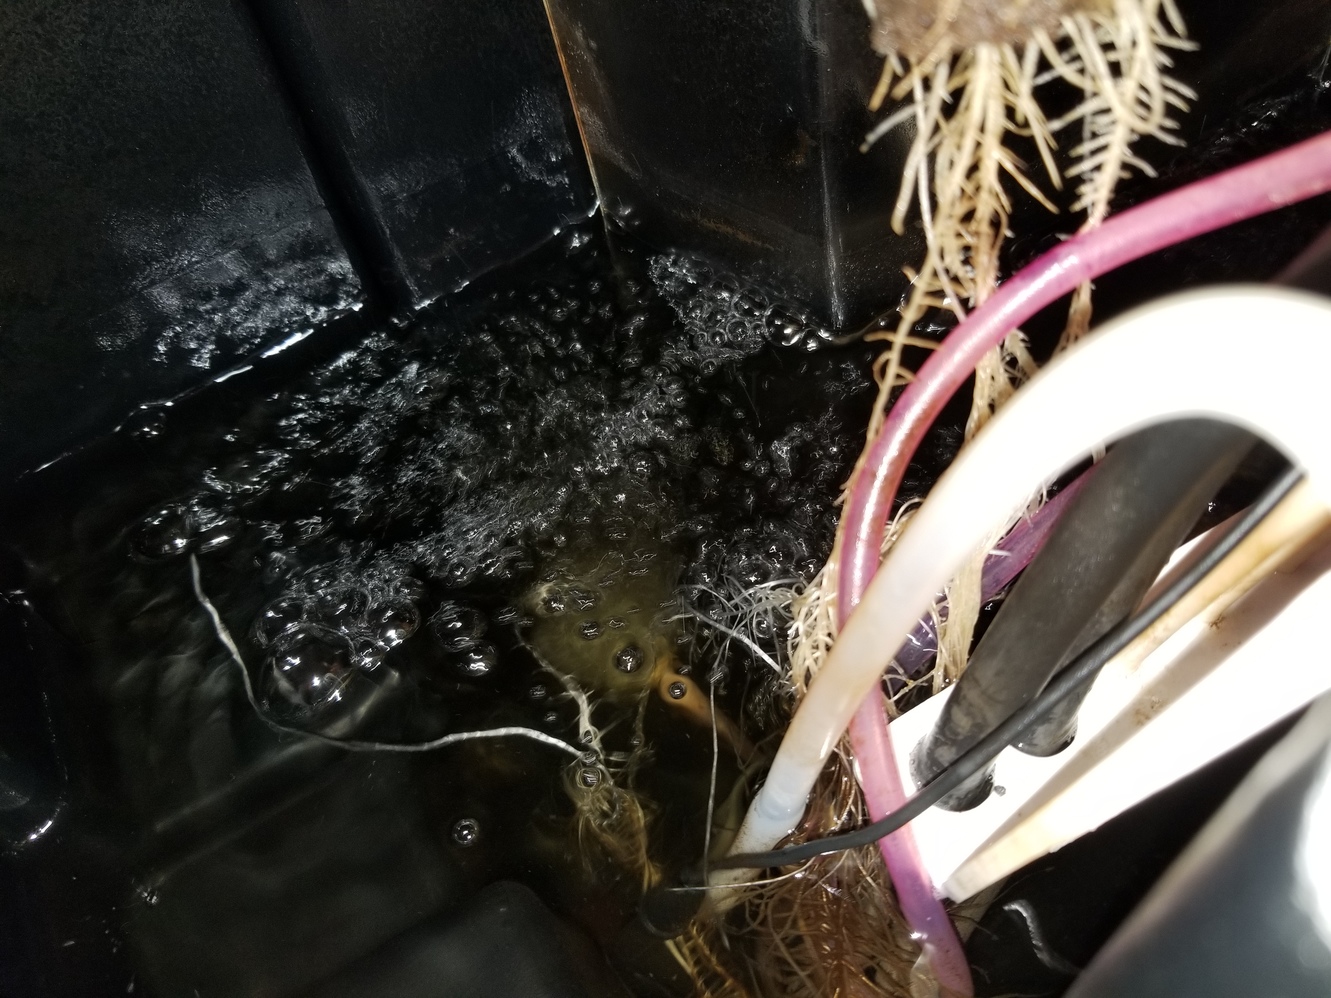
The majority of the time the water temps are 69-70°F with the temps inside grobo around 75°F, and humidity is relatively stable between 40-50%, although sometimes the inside temps of grobo need to be kept around 72°F in order to keep the water temps down. Some of the initial days of this grow the water temps crept up to 73-74°F and were left that way for a few hours at a time in an effort to stimulate some more growth.

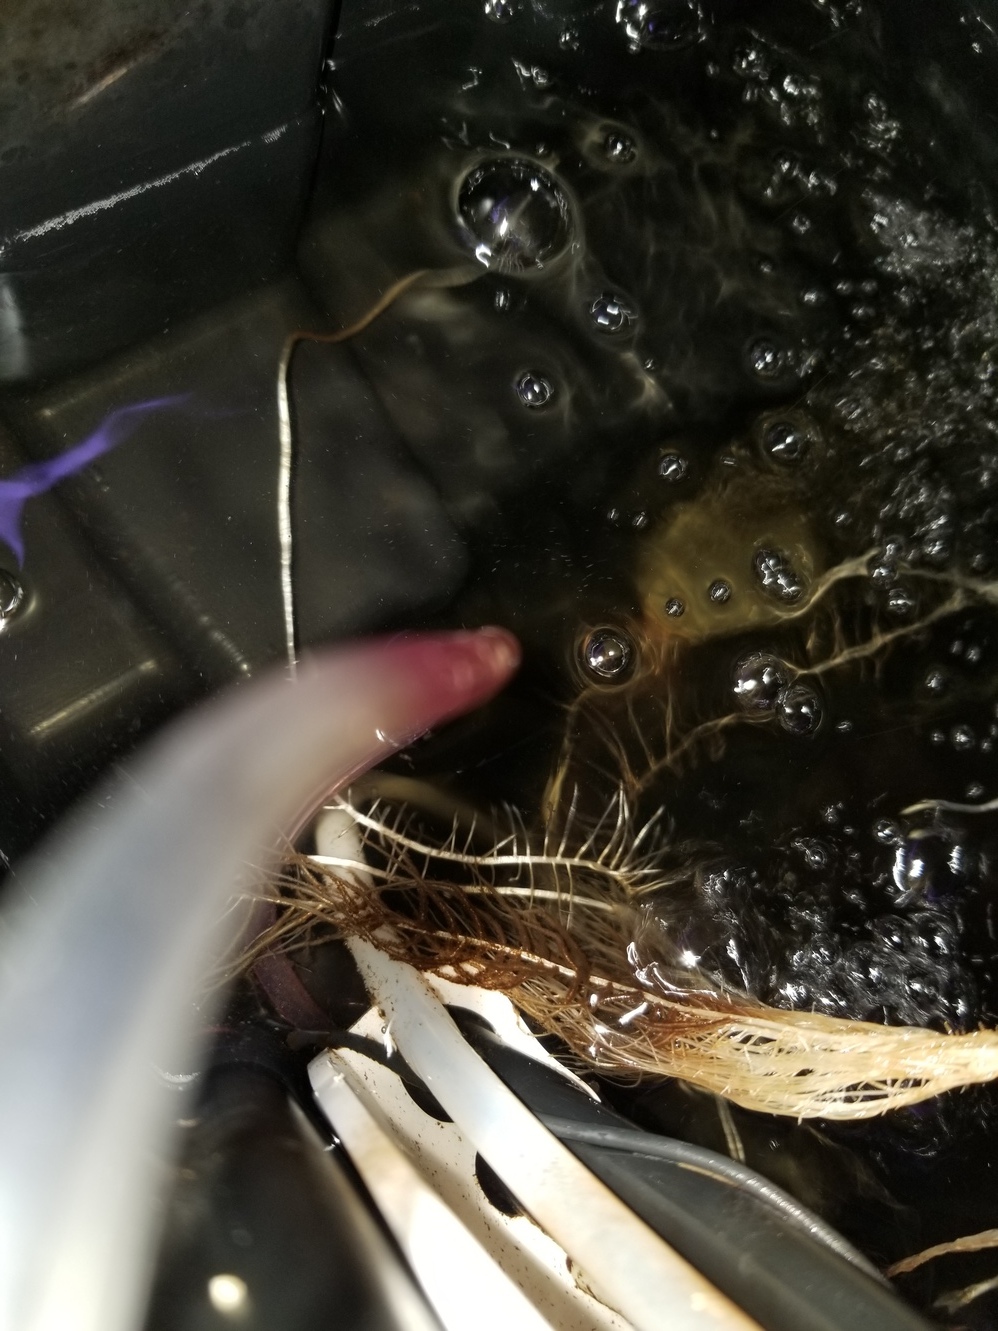
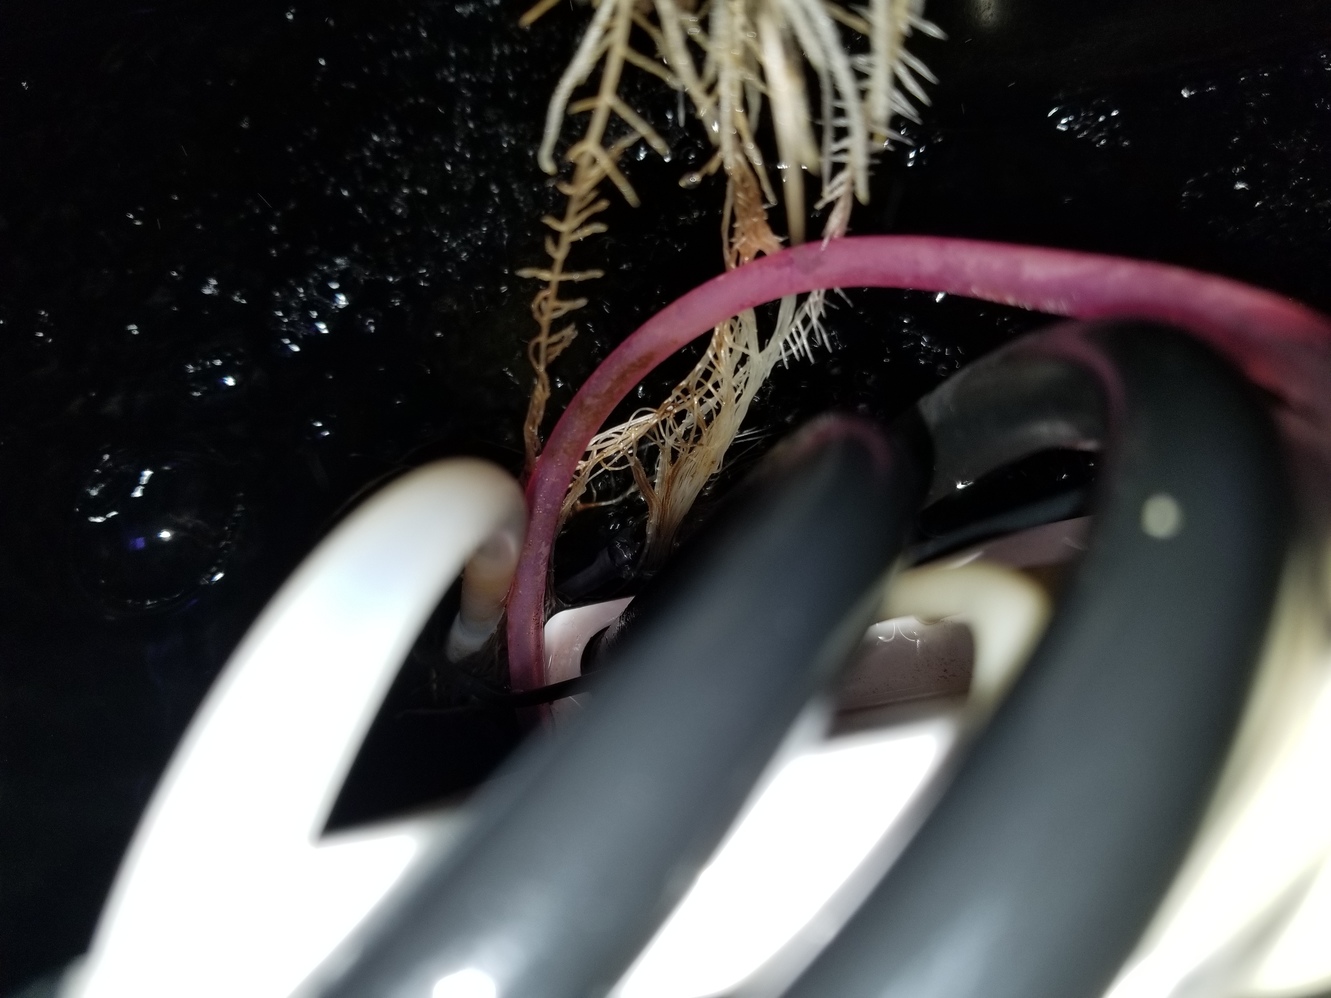
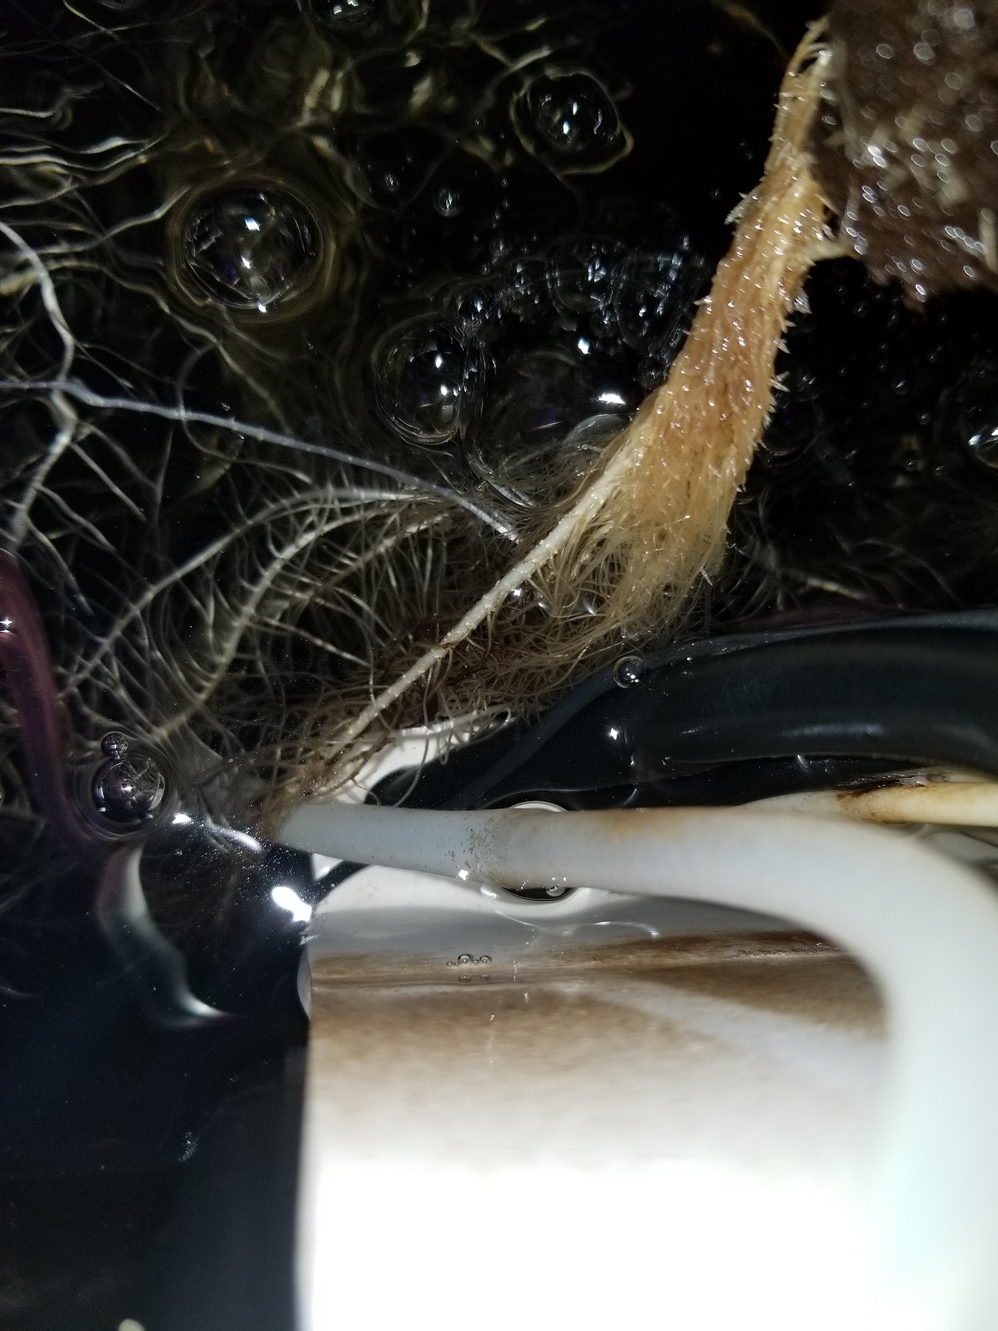
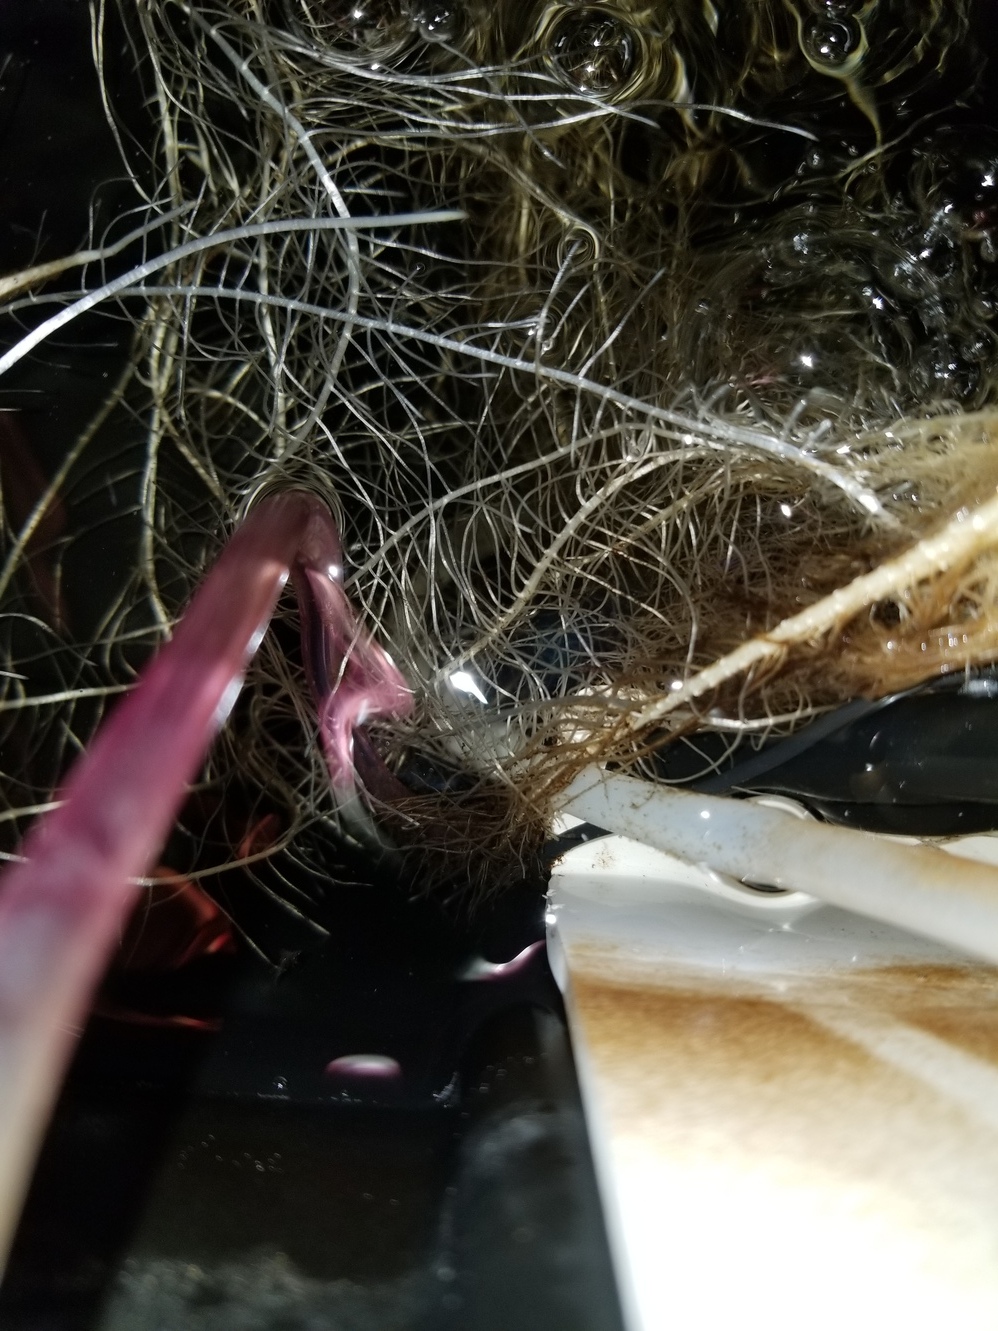
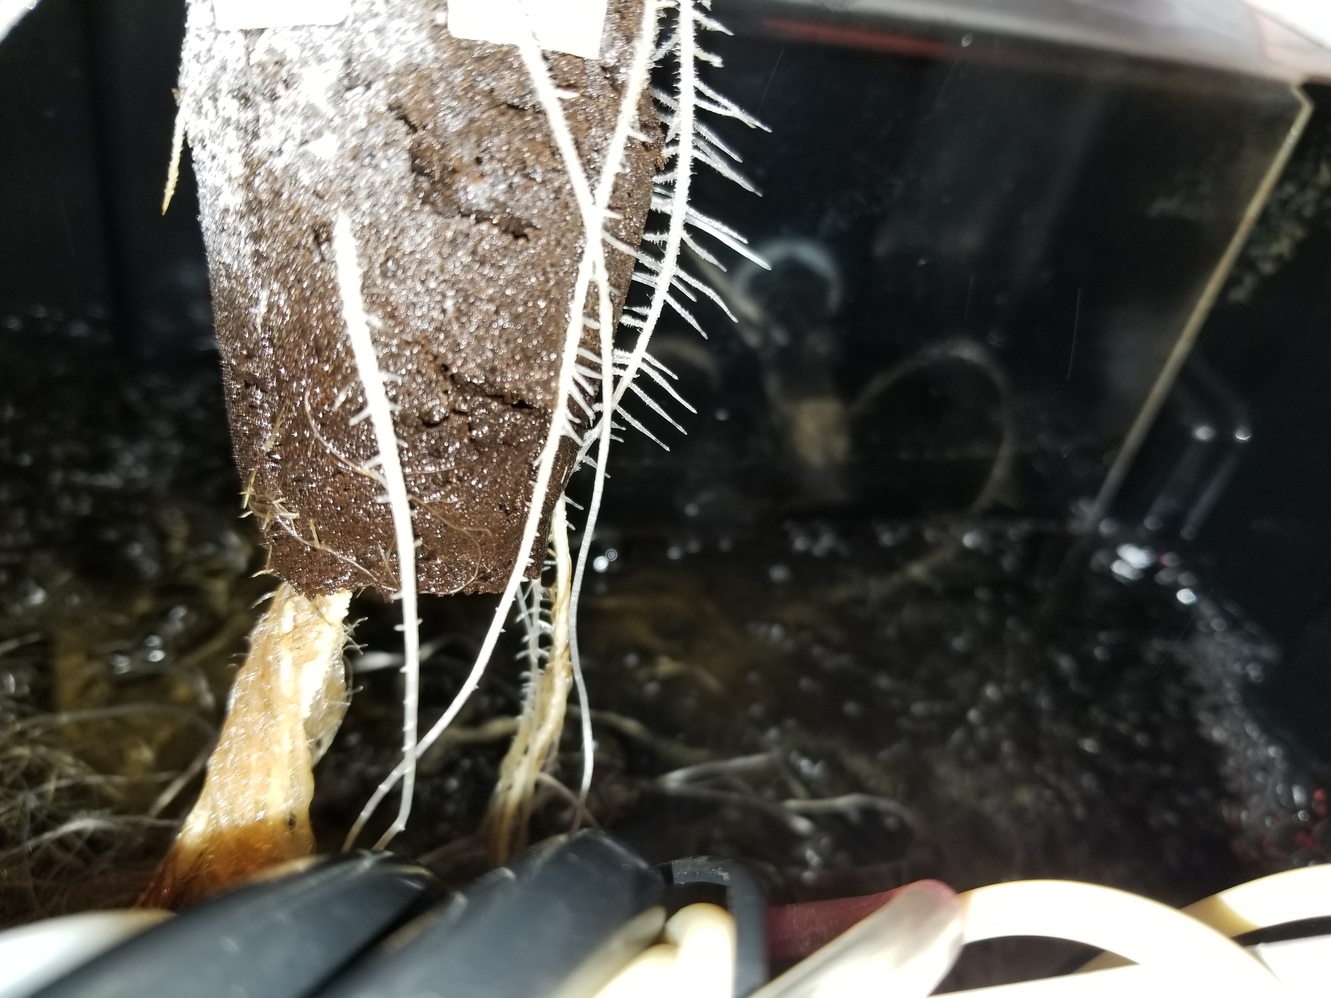
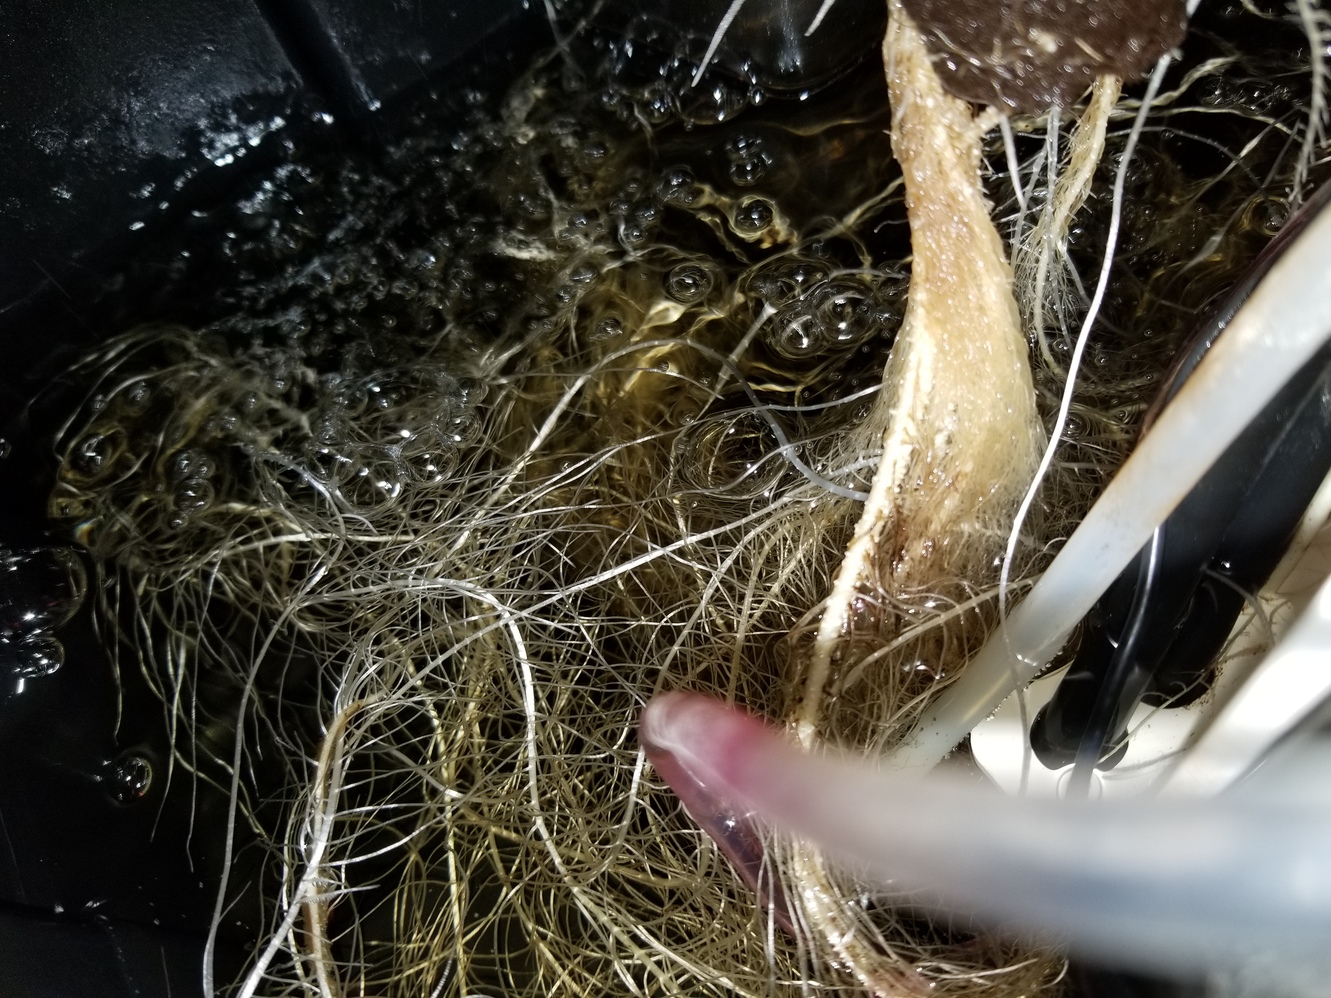
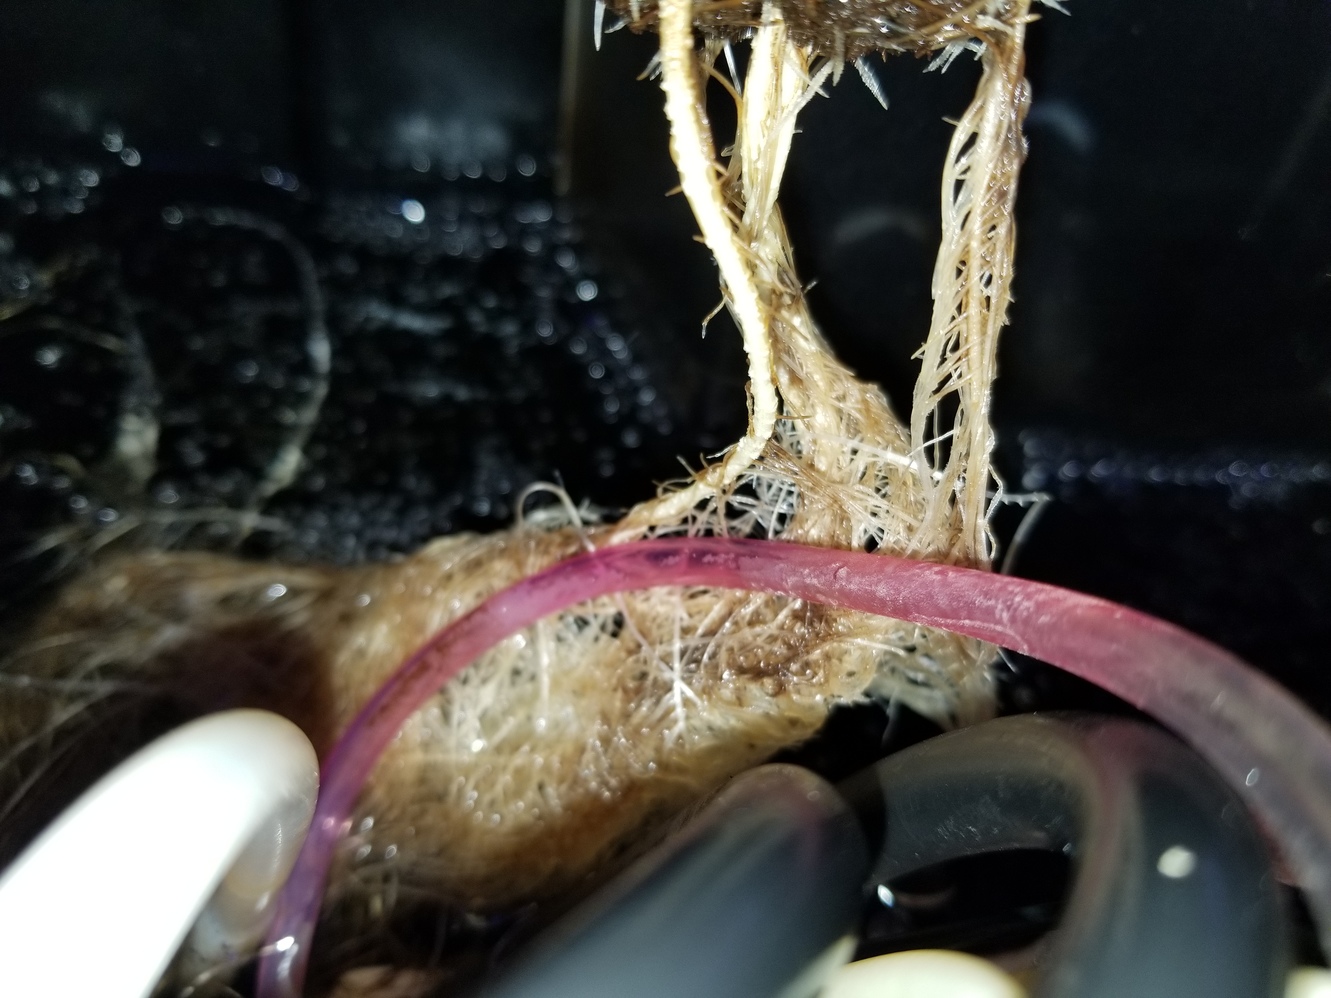
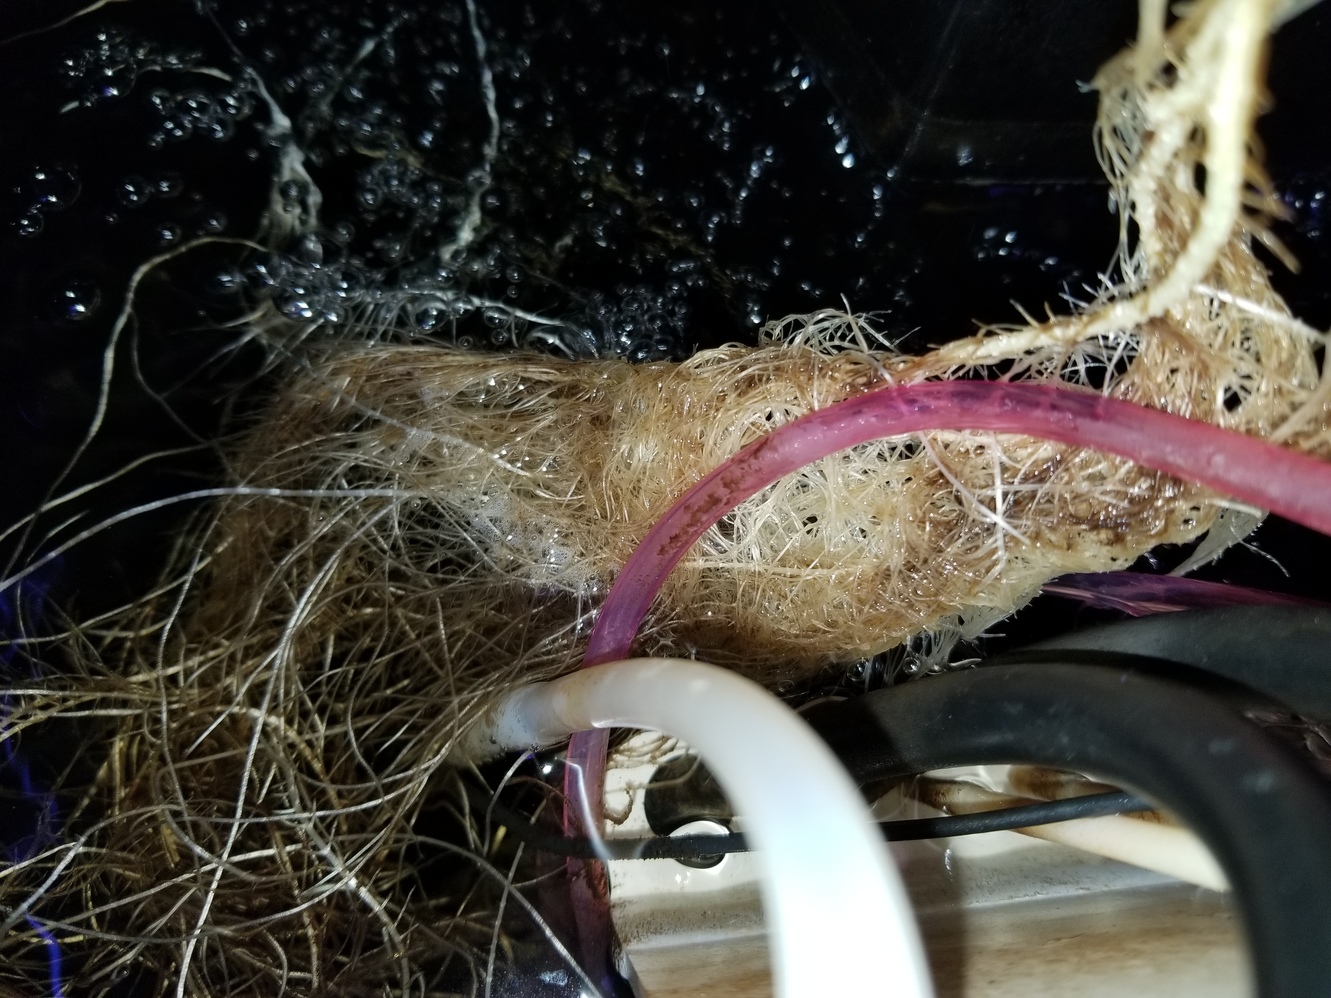
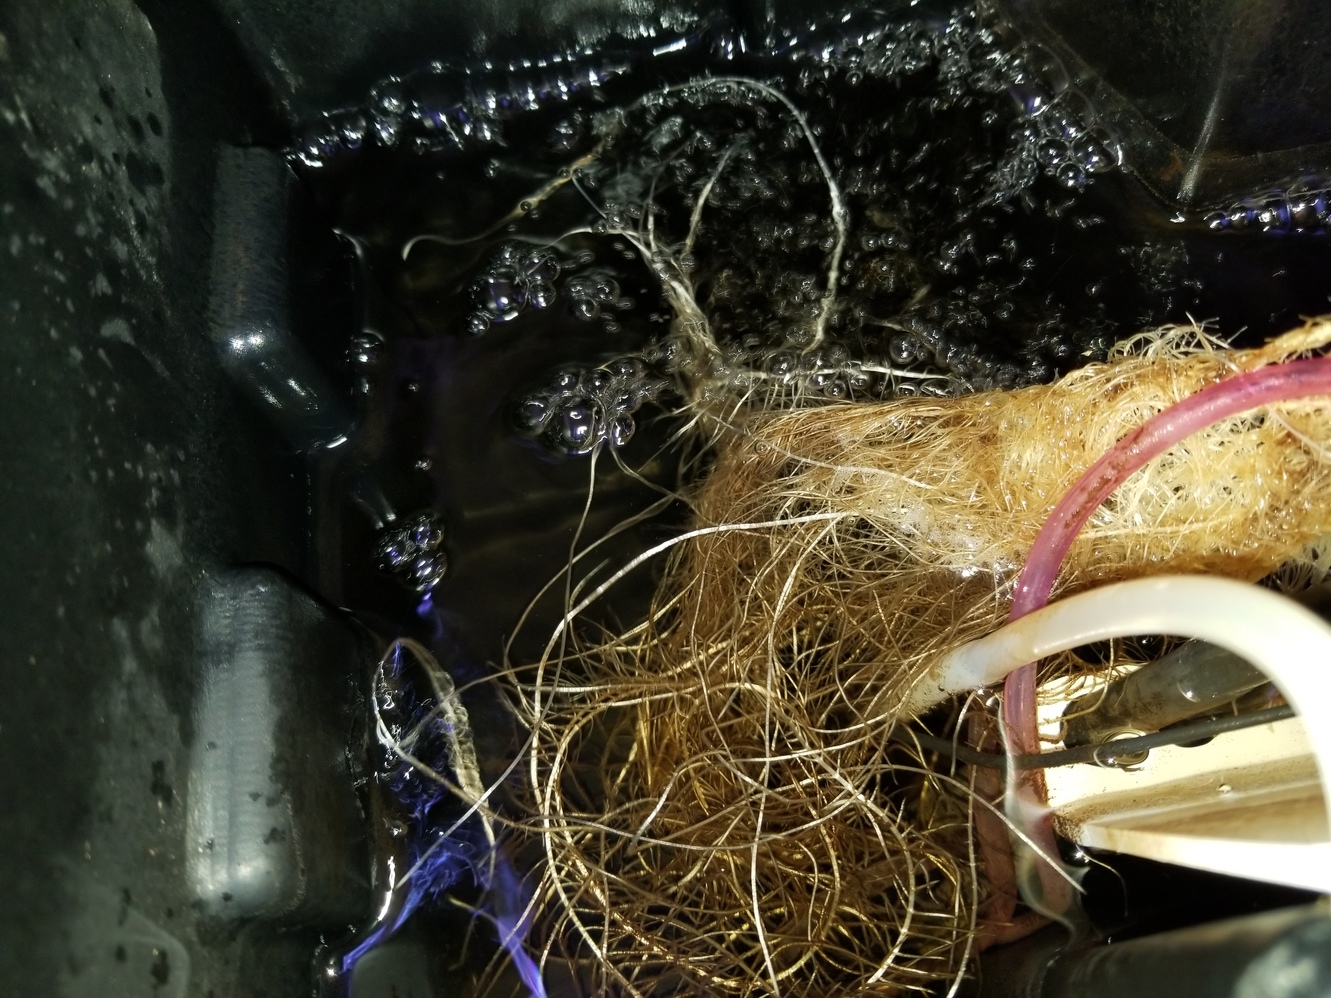
I have noticed some extra funk down below that looks like caramel or mud in some spots or like fuzzy dark powder coating the roots, which also appeared in my last grow when my hydroguard seemed to stop being effective. I don’t think it is the recharge causing it, as it was already starting prior to that drain/fill and wasn’t even used in my last grow. My suspicion is that (once mixed with water) the Dr Marijane doesn’t last more than 2-3 months, or at least where it’s currently being stored.

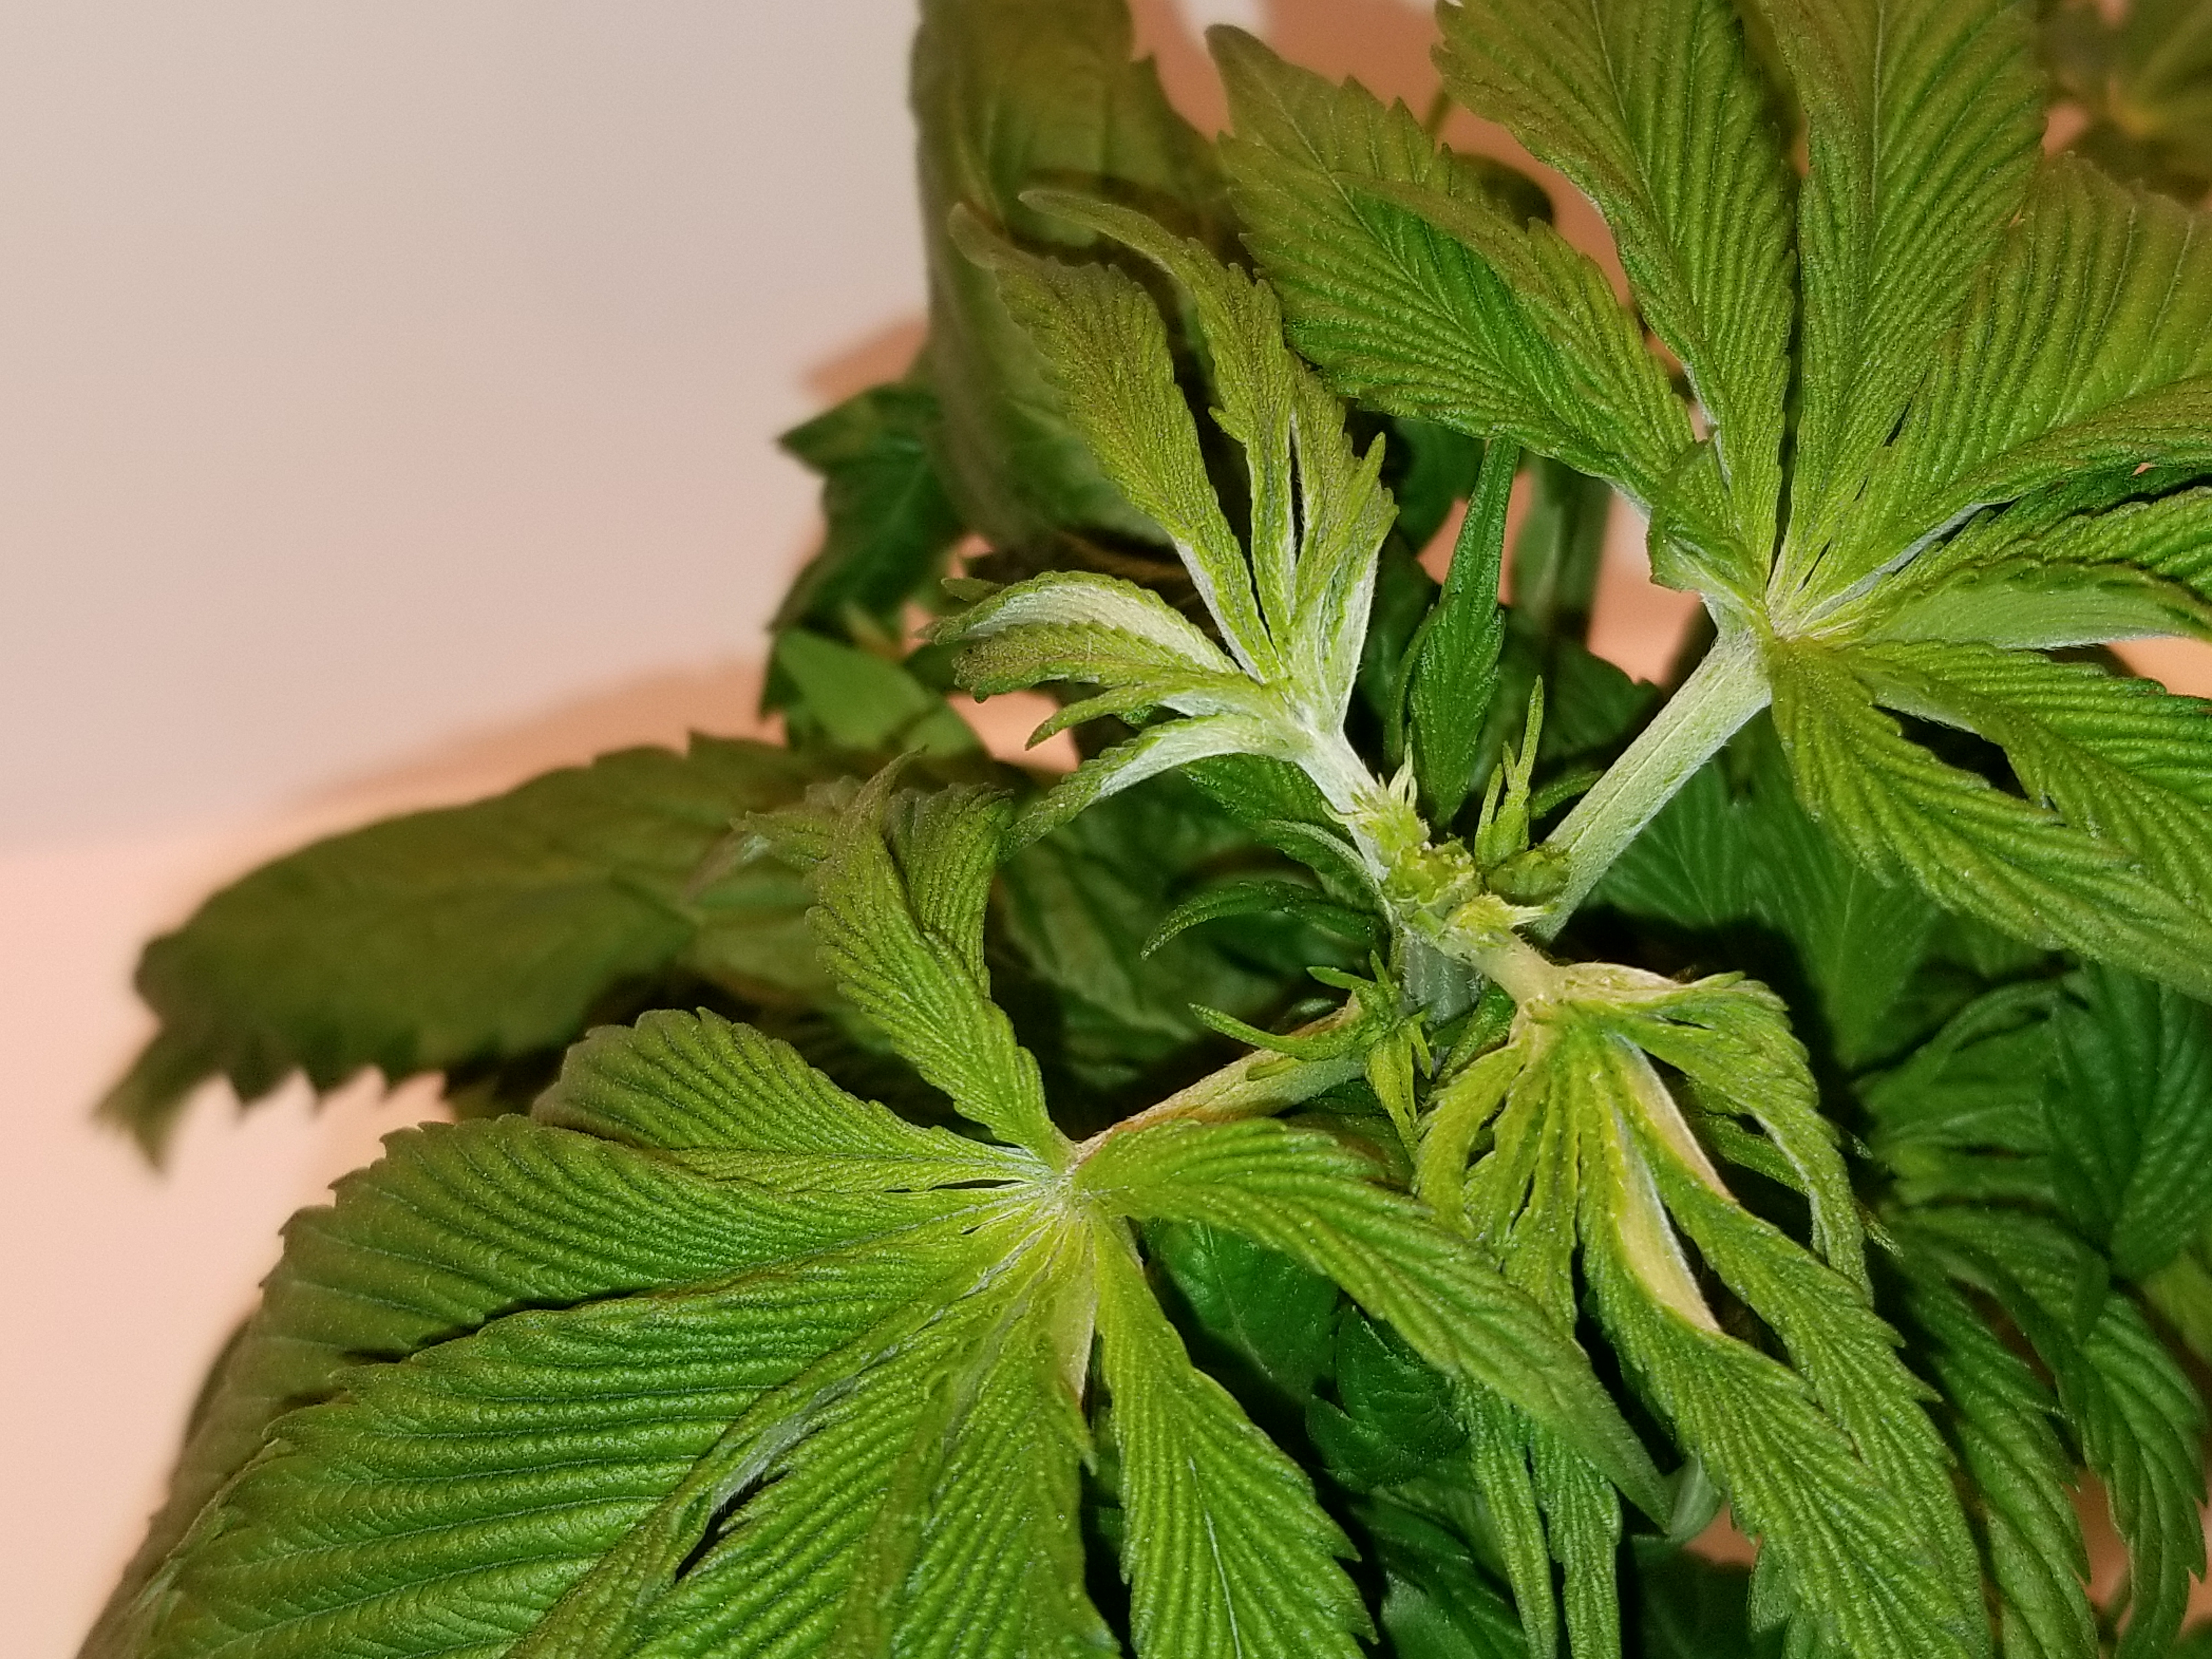
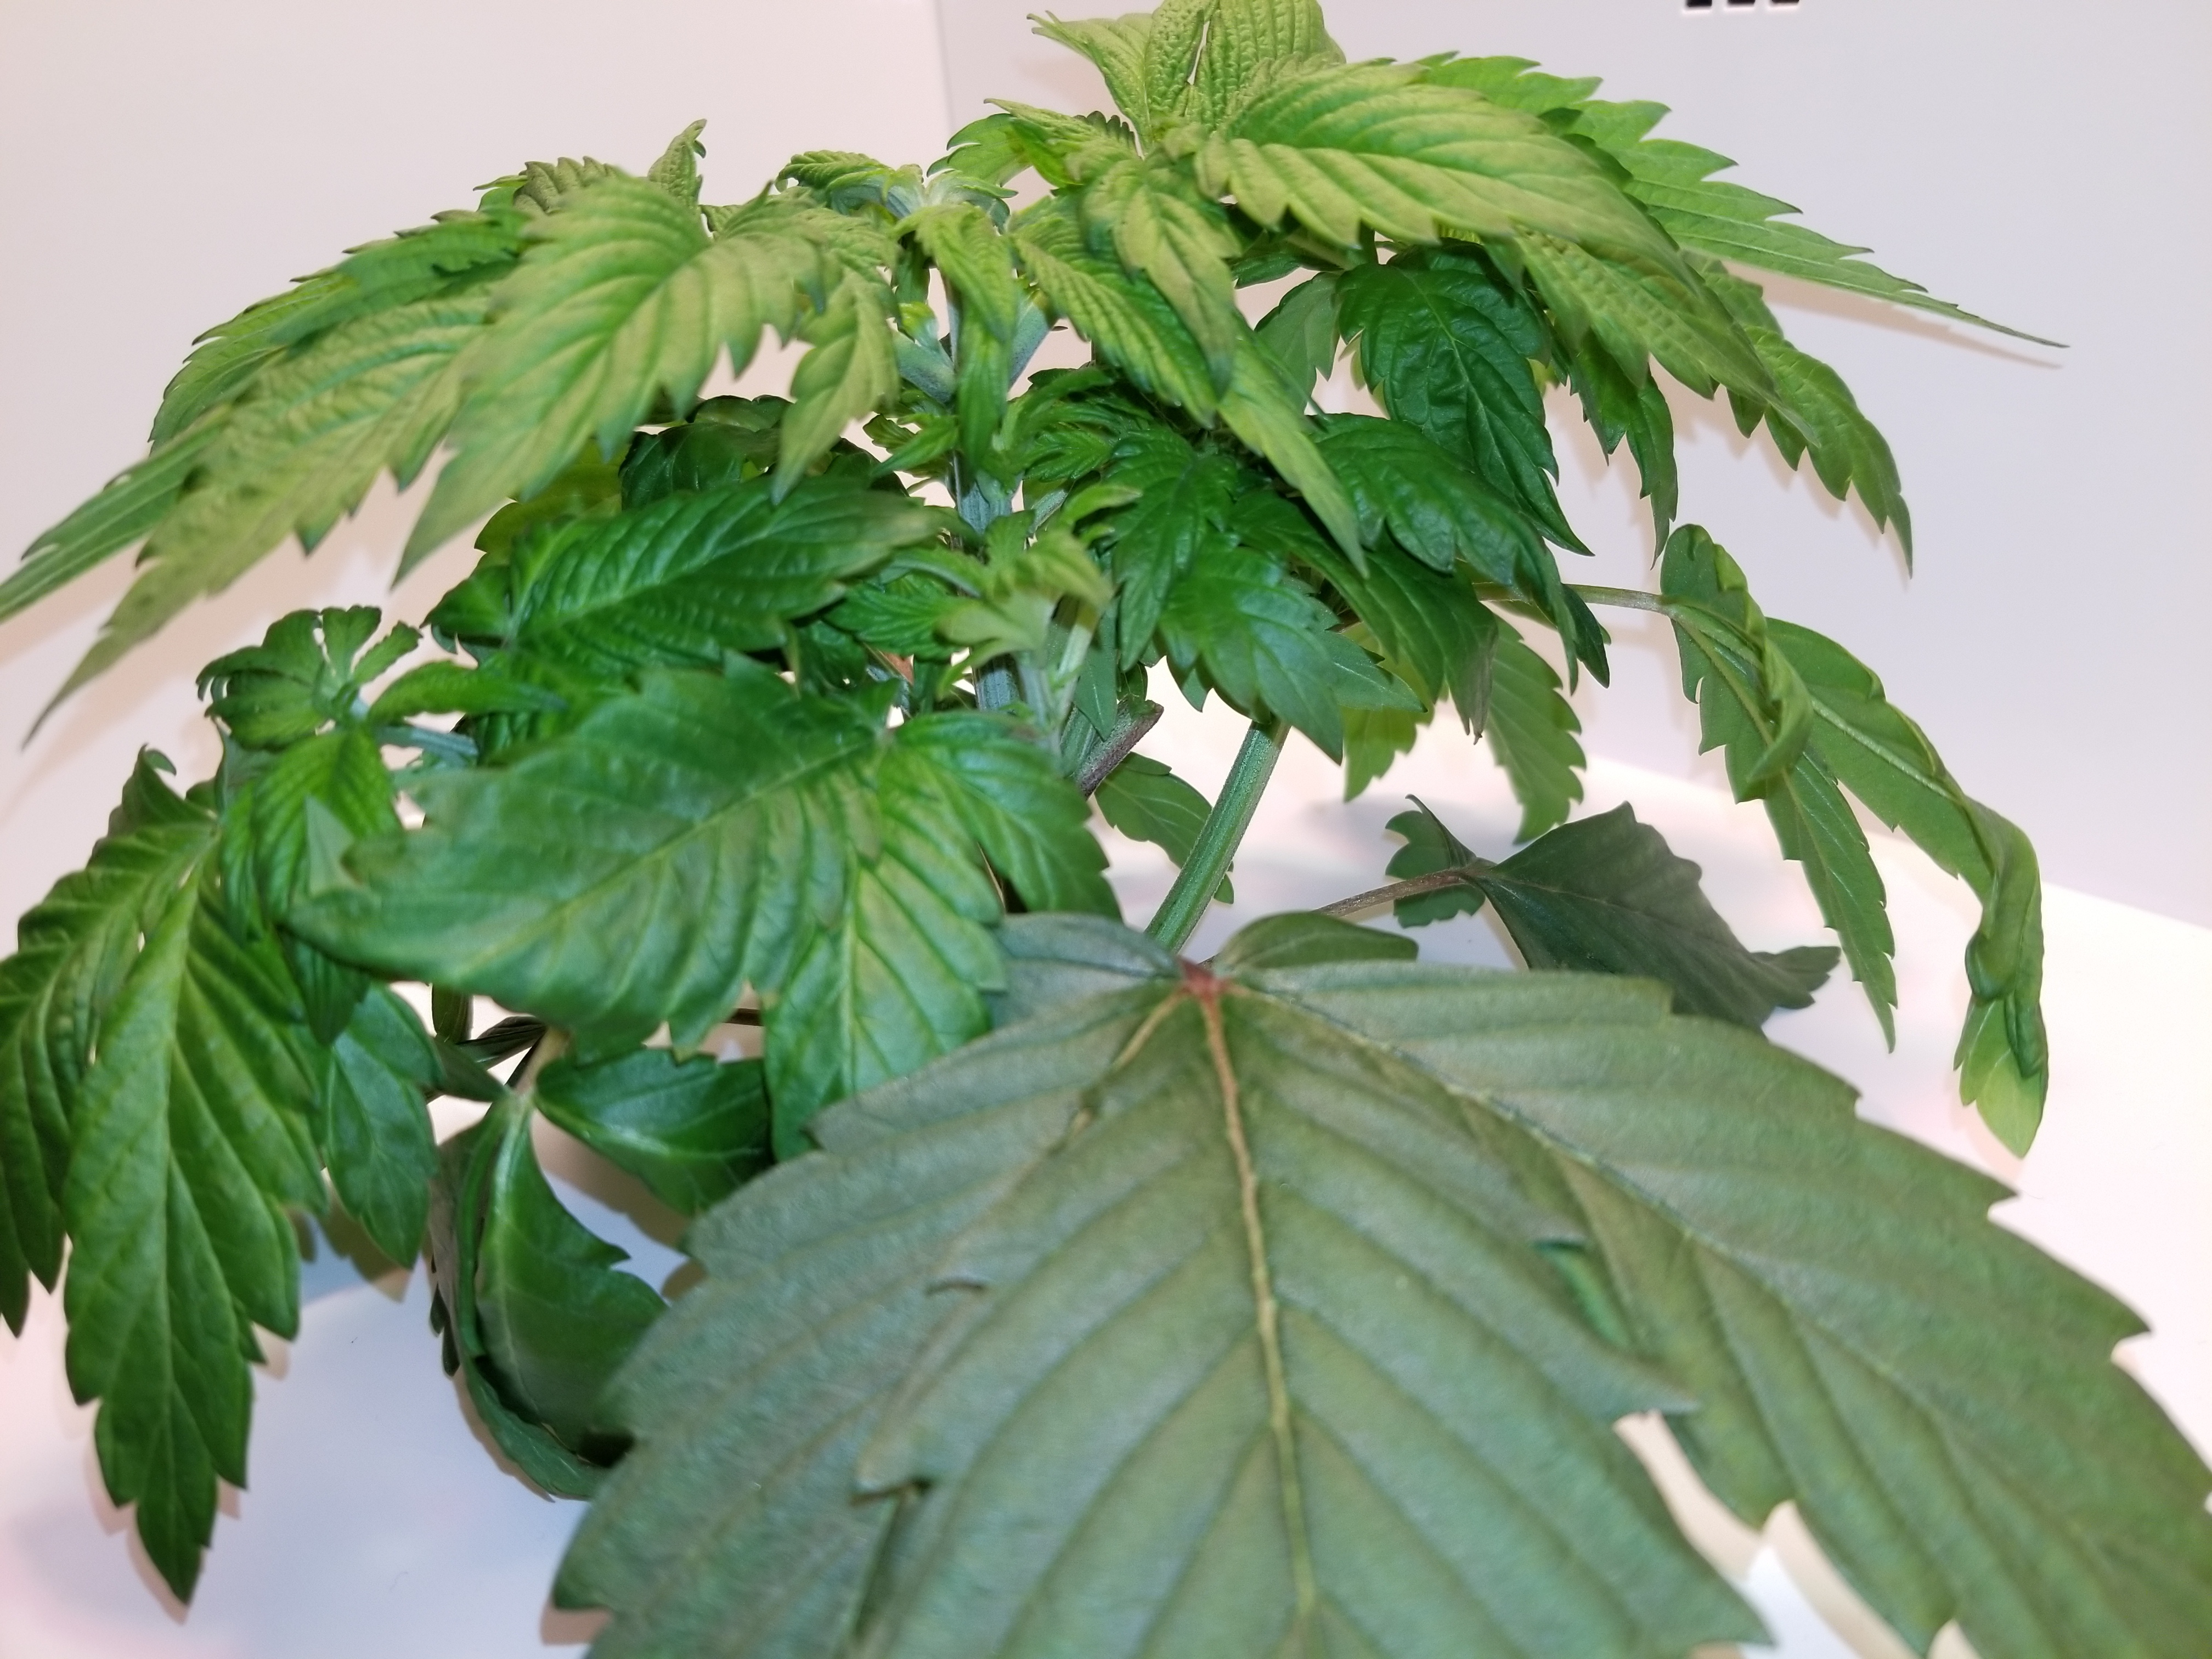
The way the stems are twisting is also telling me that there’s a struggle going on down below, so there’s even more evidence pointing toward the (nearing-4-months-old solution of) dr marijane solution potentially losing its effectiveness.

The plan is to mix up a new (smaller) batch and apply it to see if a similar treatment as before gets rid of that brown stuff again. It’s also possible that it works to clean up the res but doesn’t actually do much to protect in high temp scenarios, that’s still yet to be determined. For now will mix a new batch every month to keep it fresh and see how that works out.


#1


#2

5 Likes

Have still been fighting against root rot but seem to be winning. Every day there’s more roots and a touch less brown stuff.

They’re about to get haircuts to expose the lower leaves to some light; have been waiting for a sign that things are on the upturn down below before stressing them much more than that is already.

Have been using a little extra Dr Marijane lately (last drain/fill gave 100mL dose to each from the stronger 500mL mix) and it seems to be helping, albeit slowly. I’ve been snapping a quick pic if I remember to each day to log the progress of that.

Besides being slowed down there hasn’t been any other visible detriment to the growth; she’s green as can be even in the darkest corners underneath and they are continually growing. They seem happy, if it weren’t for the slow growth I probably wouldn’t have checked or noticed the root situation.

Temps have been good in general:

  • water temp is typically around 65-69°F but on a couple of mornings it hit 72-74°F again
  • ambient air temp in 70-75°F range, a bit lower lately due to lower temps outdoors

DAY 20: Early Vegetation (Day 10/14)

Plant #1:

Plant #2:


DAY 21: Early Vegetation (Day 11/14)

Plant #1:


DAY 22: Early Vegetation (Day 12/14)

Plant #1:


DAY 23: Early Vegetation (Day 13/14)

Plant #1:


Plant #2:


DAY 24: Early Vegetation (Day 14/14)

Plant #1:


DAY 25: Late Vegetation (Day 1/14)

Plant #1:

Plant #2:


DAY 27: Late Vegetation (Day 3/14)

Plant #1:


Plant #2:


DAY 28: Late Vegetation (Day 4/14)

Plant #1:


DAY 29: Late Vegetation (Day 5/14)

Plant #1:

Plant #2:


DAY 30: Late Vegetation (Day 6/14)

Plant #1:

Plant #2:


DAY 31: Late Vegetation (Day 7/14)

Plant #1:


Plant #2:


5 Likes

Great save champ :muscle: 
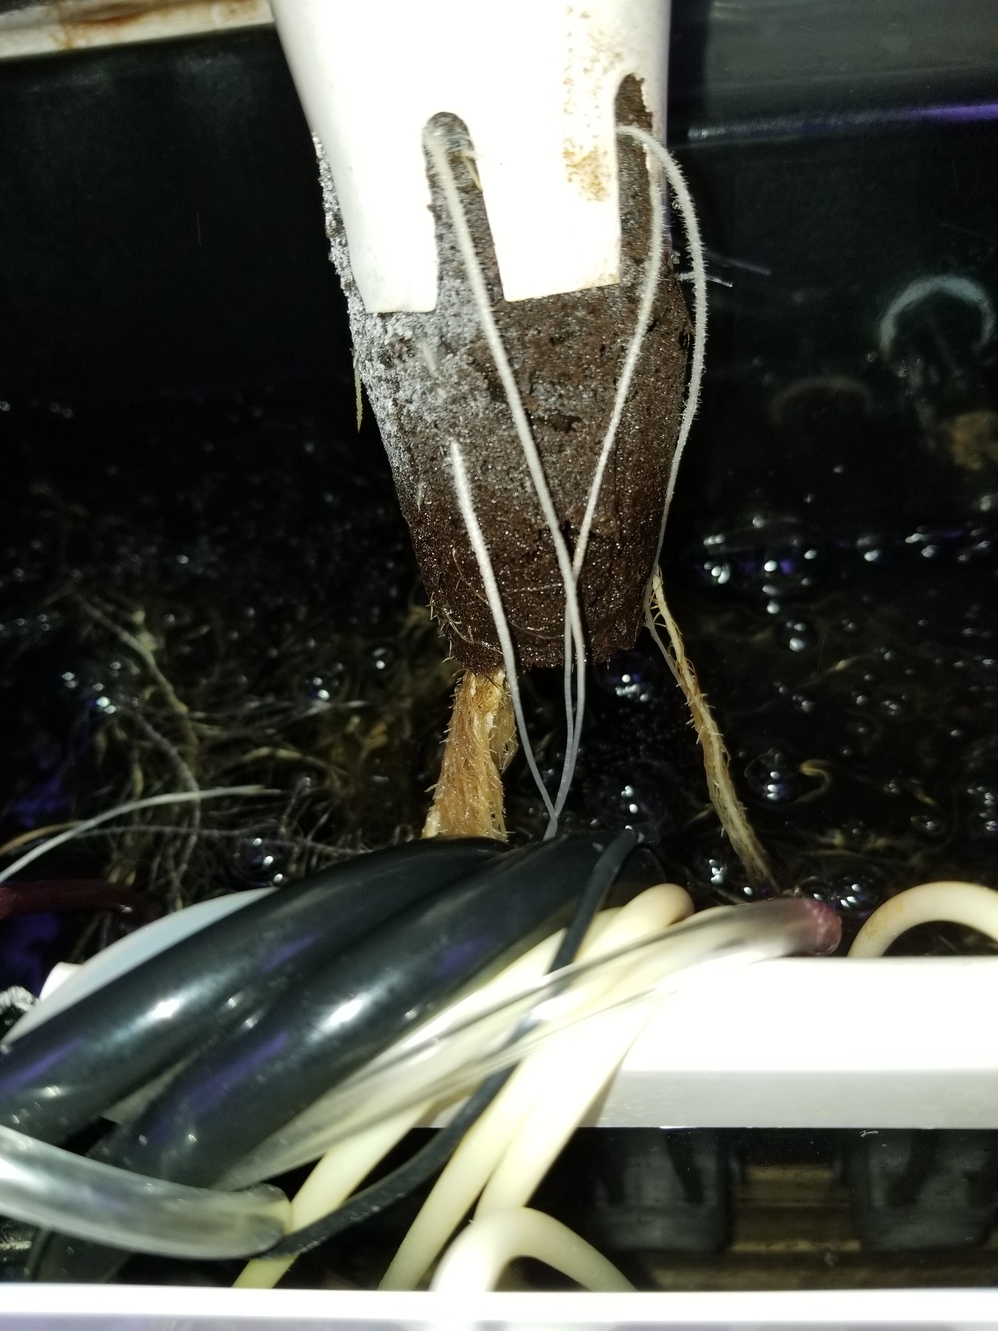
any theories on what may have onset the rot?

2 Likes

So far the thought is one or combination of:

  • Took a chance on continuing to use a bottle of Dr. Marijane that I mixed up months prior, mainly to determine if it was still effective or not. I’ll be mixing smaller bottles more frequently and if this doesn’t resurface then perhaps it was mainly due to that. If it does keep recurring too often I’ll have to switch back to hydroguard or find something else. When freshly mixed, it (DrMJ) does seem to (slowly) get rid of the brown slime without requiring me to wash it off the roots, but that might only be when water temps are kept in check. I might bomb the res again with an even larger amount of DrMJ to see what that does on the smaller plant.

  • Let the water get too warm too often, particularly earlier on as they seemed to be a bit shocked after moving from the warm shot glass into the cold coco pod. Perhaps the warm shot glass is where the pathogen was introduced as well; another reason to simplify the process and just germinate from seed in the pod from the beginning.

  • Have been using a different brand of cal/mag that has added N (Sensi CalMag Xtra) during this grow, there’s potentially too much N in res because of this. If it’s not being used by plant then the excess might’ve contributed to the outbreak when water was warm enough to, which may have provided a boost for pathogen at that time. This would explain why it progressed so quickly more recently as compared to in the past.

  • Both units are due for an all-walls-off deep cleaning to scrub around the outside of the res. It’s been about a year since I’ve done that. It’s possible this is the main reason it keeps recurring, though I’m more likely to believe it’s from the water source itself or from dust/etc landing in res.

6 Likes

Thanks for the detailed response as usual. All of the items you’ve listed could certainly have created/contributed to the rot. I take it you have performed a “walls off” deep clean in the past? What was that experience like? How long did it take? Any pointers on doing so?

1 Like

When I got the 2nd unit (used) I brought it home and took the walls off to clean it. That really helps to clean the bottom portion of the unit but can be a bit tricky to get them off and on again.

Just had a look and unfortunately I didn’t save any good pics from that operation, at least none that show how/what was done.

I’ll have to get some better shots with that in mind next time. :camera_flash:

3 Likes

Very good advice, as always. Much appreciated.

DAY 35: Late Vegetation (Day 11/21)

This is what was done tonight along with a water change:

  • Trimmed the bigger leaves off to expose everything underneath.
  • Topped the main stem.
  • Added stronger dose of the DrMj mix (x4 to #1, and x8 to #2).
  • Extended schedule by +7 days to give some healing time from the trim and topping.

The roots are looking good! :relieved:


Plant #1 pre-trim:


Plant #1 post-trim:


Plant #1 top:


Plant #2 pre-trim:


Plant #2 post-trim:

Plant #2 top:

2 Likes

Awesome play by play, quite a reaction to your defoliation.

4 Likes

DAY 38: Late Vegetation (Day 14/21)

They took well to the trimming and haven’t skipped a beat.

Will be cutting down to a minimum dose of DrMj from here on out. The pics of the 2nd plant shows the excess that was left after it cleaned off the roots - it looks like a more transparent light brown slime in place of the dark brown slime. The roots seem to grow unhampered through it, unlike the dark brown slime that was making the roots shrivel up, stop growing, and go brown themselves.

I’ve been remembering to push open and spread out the budding leaves at the new nodes as much as possible which does seem to be keeping node spacing (and stretching) to a minimum where it was done. It does have to be done daily, though, as they tend to return to praying positions by the next morning.

Plant #1:


Plant #2:


DAY 40: Late Vegetation (Day 16/21)

Decided to give them another trim to open up more of the bud sites. The current plan is to lollipop on the last day of veg and then let them flip over to transition together without any more extension of veg.

Plant #1 pre-trim:

Plant #1 post-trim:

Plant #1 next-morning:

Plant #2 pre-trim:

Plant #2 post-trim:

Plant #2 next-morning:

3 Likes

Your plants look like they took really well to the trimmings. Glad you got your roots under control too! Good stuff!

3 Likes

Do you unbunch the leaves so that they don’t stretch to try to do it themselves? Is that the theory behind that? Curious!

1 Like

Check out this video @pyromancy, starting at 3:14 or so is where he demonstrates the technique:

This can be done to every stem, not just the main one!

5 Likes

Wow, awesome! The plant seems like it doesn’t mind it :wink:

3 Likes

I’ve been thinking about reusing those solutions. This is great to know. Thanks!

2 Likes

Day 46: Transition (Day 1/14)

On this first day of the light schedule change (aka the “flip to flower”,) I trimmed nearly everything away that wasn’t at the very top of a stem. The plan is to try not to do any more defoliation until day 20 where she’ll get stripped down again.

Plant #1 Pre-Schwazzing:

Plant #1 Post-Schwazzing:

Plant #2 Pre-Schwazzing:

Plant #2 Post-Schwazzing:


DAY 48: Transition (Day 3/14)

They don’t seem phased by the defoliation! :partying_face:

There are a few rips and tears in some of the leaves that (I believe) are mainly from the leaves growing against each other under the older canopy or were otherwise caused by mistake while I was pruning or pushing the budding nodes open sooner. I’ve been watching some of them get bigger with the leaves and am certain it’s not a pest causing that.

Plant #1:

Here’s a spot on this one around where I topped, a small bit of the new leaf was cut by accident and this is how it’s been growing (center of pic):

Plant #1 after spreading open the nodes and tucking some leaves:

Plant #2:

Plant #2 after spreading open the nodes and tucking some leaves:


Plant #2 Reservoir Video

I captured a video to show the result of placing my added airstones at the corners of the sensor shield. The idea was to force the roots toward the opposite corner, away from the sensors.

That seems to have worked, though I’m now wondering if the corner with all the roots in it doesn’t have enough bubbles? Should I add another stone in that corner, too? :thinking: :hammer:

2 Likes