Critical Purple Auto.... the repeater

Here we grow again! I started a critical purple auto again for my third grow. I started the seed in paper towel again. Im 2 for 2 on that method so I figured I’d keep it the same. It’s from the same seed pack as my 1st grow so Im hoping the tendencies are the same. After this, I may never grow an auto in the grobo again. After doing one of each, I like the control and finesse that goes with the photo. Auotos feel like constant damage control until time of flower. Lol… I know everyone has their preferences but thats my two cents on it. Im really going it to “test the limits” of what they recommend for autos this time around. My 1st one kept growing so im going to treat it more like a photo (of course I cant control when it switches still and obviously I won’t switch the lighting). But im going to top it, use lst, lollipopping, supercropping, and hooks/cables to try to control it. I have a feeling that putting some extra stress on it will help it start flowering sooner or at least stunt its vertical growth enough to keep it from reaching the lights but I guess we will see.

Before starting this grow, I did a very detailed cleaning. I emptied the reservoir dry and removed the airstones. I soaked the airstones in hydrogen peroxide and I did a reservoir fill to 50% with vinegar water. Then I scrubbed the inside and drained it. Then I did a full fill and drain with tap water. Then I put the airstones back on after soaking for 2 hrs and did a fill to 75% with hydrogen peroxide and let the bubblers run for about 45 min. I sprayed the entire inside with hydrogen peroxide and did another wipe down and drain. Then another fill/drain with tap water. Then I let it sit for 48 hrs to ensure everything was dry. I will probably do that between every grow going forward.

I cleaned my sensors with a brush and cleaning solution from bluelabs and recalibrated before my 1st fill. If you are new, this is a must before each grow. You can get satchels of calibration solution from bluelabs or you can get bottles of other brands on Amazon or elsewhere online. Ive used both and they work the same. Ive found you get more bang for your buck if you buy bigger bottles though.

I’m excited to see the difference between this and #1 :raised_hands::blush:

11 Likes

Now imagine that cleaning regiment on 10 grobos… youd need kids… free labour right lol

3 Likes

Lmao… yea, now that would be a job! Cleaning one grobo twice a year like that is plenty for me :joy:

4 Likes

Nice man, I have had a similar idea about my Candy Cane seeds… trying to top it and train it because I know the genetics are super beastly…

I hope this goes according to plan for you, and you end up with a plant right in the sweet spot of the light instead of a borderline UNTAMEABLE beast!

3 Likes

Got a question for u I just received my hydroguard do I add it now or when I change the water an how much

2 Likes

You can go ahead and add some now. I would recommend 7.5 mL to 10 mL.

Also, on your next drain and fill… empty the water, add new water, let the Grobo nutrients dispense properly and mix, wait 30 minutes and add the Hydroguard directly into reservoir.

Keep adding it every drain and fill from there on out too for best results!

3 Likes

10ml is 1 teaspoon.

3 Likes

Ok thanks so I don’t have to mix it in the water then I can put it in directly :+1:t2: Great help an quick response thank u

Another question does the water temp have to be over 70 or is it a gd safety precaution as well

@Vicc said it well on a previous post …[quote=“Vicc, post:16, topic:7905”]
Optimal water temp for roots are 66-68 from most of the forums however anything 72 and above you should get hydroguard to help prevent root rot. This just covers root rot prevention and also helps root stay healthy. With lower water temps, the plant can tolerate higher environment temps. I live in California and my water temps is consistently at 82f and I was getting tired of rotating iced water bottles throughout the day so I gave in and got a water chiller. Its pretty expensive (around $300-500), however if you are comfortable with basic electronics, you can build a DIY water chiller for around $60 .
[/quote]

4 Likes

Ok , being a little more specific . I don’t have my water thermostat yet , waiting on it . Is it safe for me to add the hydroguard without knowing the temperature?

1 Like

that’s we’re she’s at now

3 Likes

Gotcha. I misunderstood. You are good to add no matter the temp :+1:

3 Likes

Thanks very much help bro

3 Likes

Welcome my little friend! :raised_hands:

7 Likes

I’m hoping I prevented a bad situation… I was inspecting the plant closely yesterday afternoon trying to figure out if it still had the shell on it or not and I was poking around at the pod to make sure the moisture felt appropriate. When doing so, I noticed that my root had turned and was growing up through the top. (Not to self and anyone else that germinates seeds before adding to the coco pod, add the seed as soon as root starts to pop). I waited a little longer than normal and you can see by the pic of the started seed that the root was already curling. After planting, it didn’t straighten itself out. I carefully used tweezers and removed the plant and was able to situate it properly with the root now going down. I also found the shell but wasn’t sure if I knocked it off or if it had already fallen. For the heck of it, the put shell back over the top of the plant once I had it positioned and secured. I checked on it this morning and was happy to see it had kicked the shell on its own. And some green leaves popped. Fingers crossed she survives :crossed_fingers:
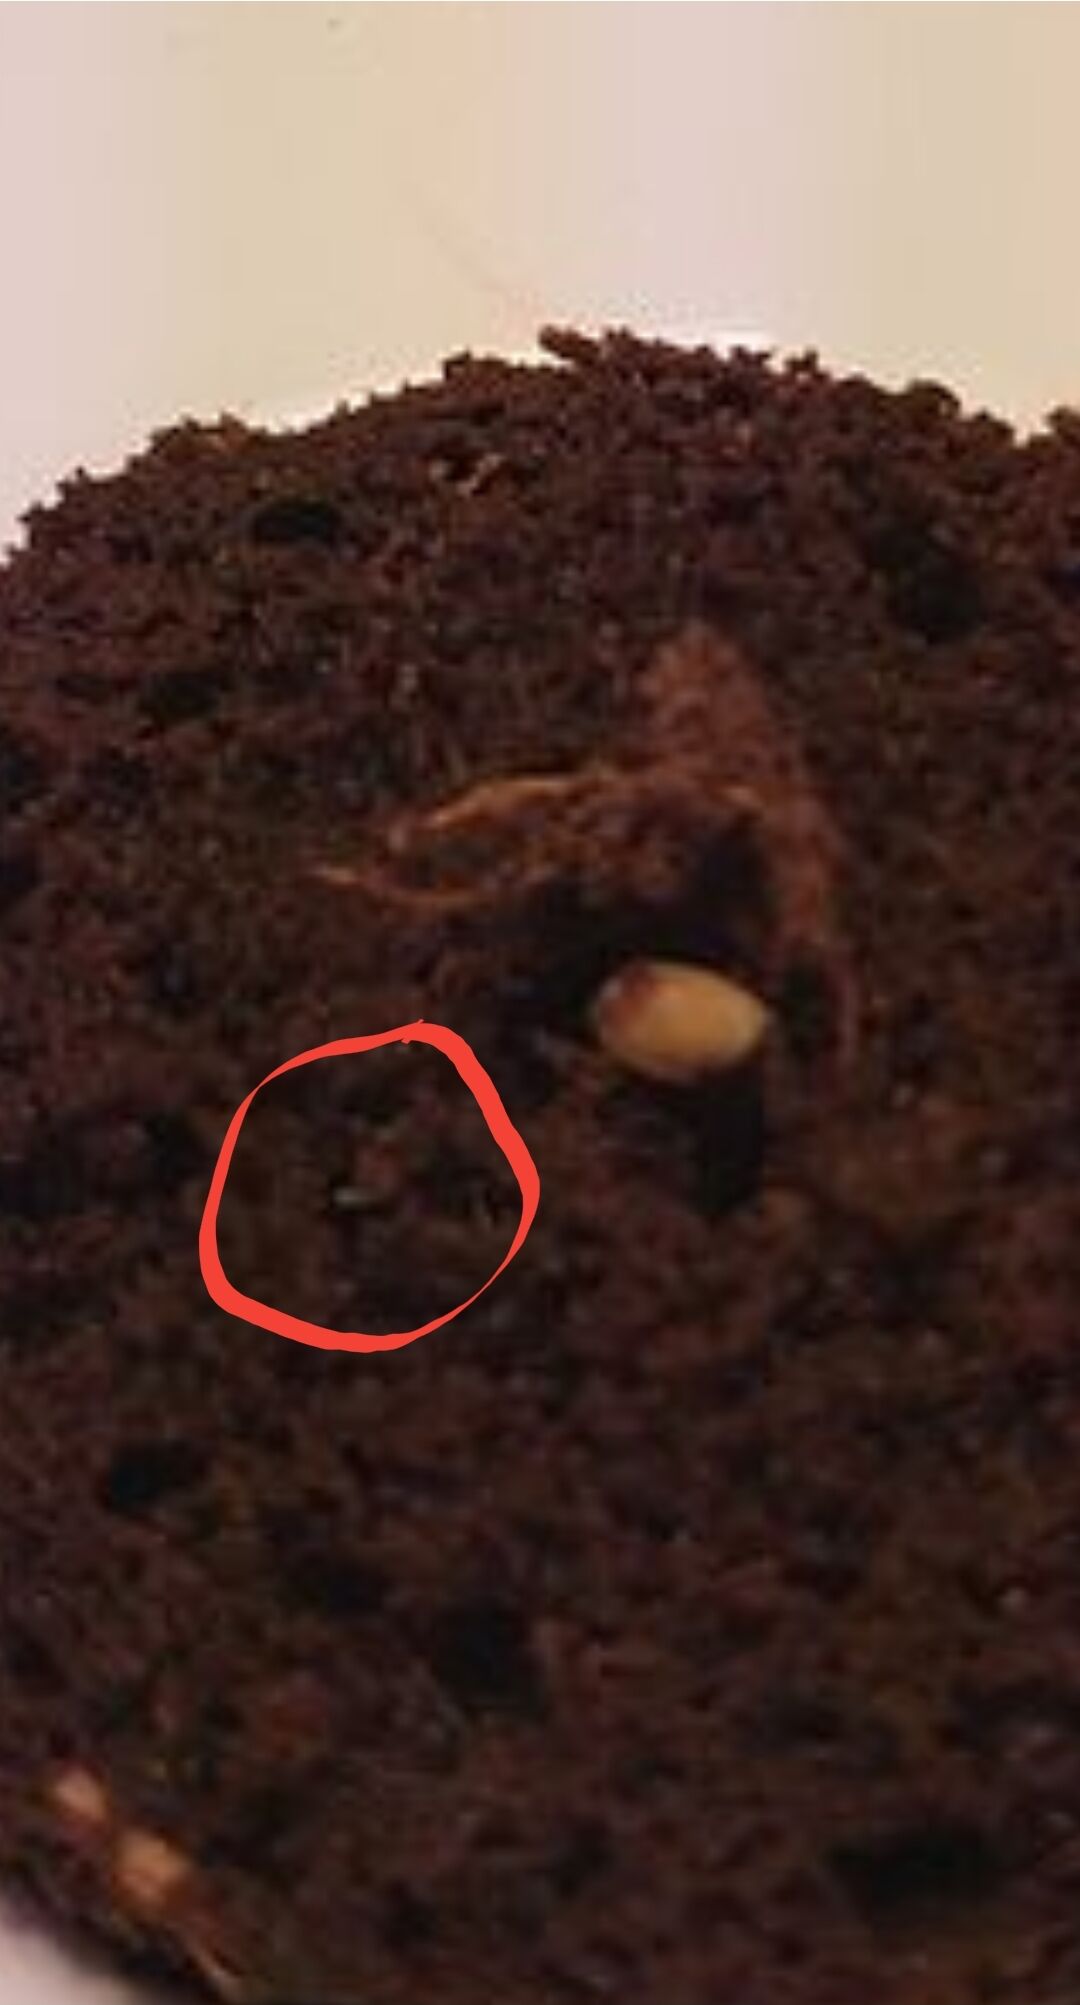
. I zoomed in on the pic above and you can see in the pic where the root was already coming through circled in red.

1 Like

Here is the pic from this morning

6 Likes

She’s kickin it!!

Nice!

Glad the roots figured shit out :open_mouth:

3 Likes

Good morning AG! I did a drain/fill 2 days ago and everything looked good at the time. I checked on her this morning and she is looking a bit sad. Temp gets down to about 68 at night and up to about 73 during the day. RH is staying around 48%. I did a manual ph check and its good. My water level and cocopod dampness seem to be relative to my last two grows. I did remove the lid and look at the bottom of the cocopod and I dont see any signs of the tap root poking through yet… maybe I damaged the root when I had to move it… either way, any expert advice/opinions would be greatly appreciated!

5 Likes

@SilverGrobo I was looking through those links you attached me to and I’m going to use some of that info. Thanks!
I am going to put a little heater in that room at night to keep the temp up in the low 70s and when I get home today, I’m going to do a little cocopod surgery and see what I find. Maybe the root is twisted or growing in the wrong direction

3 Likes