2nd Grow - Cheese Auto

Here she is after 14 days (day 2 of 14 of early vegetation):

Bottle levels seem fine, it’s not spending much on pH at all and the nutes have been dispensing.

Ambient temp is around 23C and the water temp has been coming out and going in at around 21-22C. Have been using RO water with 2ml/L of Hydroguard added.

I have more pods arriving today so will get both units running and maybe try a photoperiod strain or different water source.

1 Like

Random but semi-related question for anyone – did you have to calibrate your EC/pH sensors when your unit first arrived? Perhaps that’s where my trouble lies… I didn’t do that.

1 Like

It wouldn’t hurt. You def have a ph/nute issue. But just in case check to make sure your air stone is bubbling. If not that is your issue. If it is working, recalibrate your ph meter, then send in a ticket to get your readings :+1::v:

1 Like

it’s definitely bubbling

I have the pH kit arriving with the pods (meant to calibrate 2nd grobo) hopefully it’s got enough to calibrate both units with

1 Like

If not you can just go to a local hydro store and get 4.0 and 7.0 calibration solution. They are inexpensive, and always good to have around, especially when you have, or will buy your own blue labs ph pen

1 Like

the other reason I’m thinking calibration is because when my unit originally arrived the storage liquid in the cap had spilled out and crystallized. support said that was normal or usual and shouldn’t be a problem but maybe that probe has just been giving bad readings this whole time.

A question - does the calibration UI tell us if it was off or does it just fix any error? how informative is it?

as this one is probably a goner I’m thinking it might be wise to start using bag seeds for a while :slight_smile:

edit: added some more detail below


here’s a pic of roots from 2 1/2 days ago, just after the first drain/fill (waited until day 2 of early veg, alert to change water went off 2 days prior):

this was the first time the bottom cover was opened and what this picture doesn’t illustrate is that there’s more roots caught underneath that aren’t visible – so although it looks like that’s all of the roots there’s really a good few inches tangled beneath the dispenser hoses. I fished it all out after taking the pic and did notice a slight bit of brown color in 1 spot but thought it had just been stuck beneath the #3 or 5 tube or something and got coated with that.


here’s the roots now:

I think it’s safe to say the brown spot isn’t nutes.

One thing that still bothers me a bit, is that the nute tubes themselves aren’t possible to clean properly. We can drain/fill over and over to clean out the main lines and pumps, but we cannot do that with the nutrient dispensers. When disinfecting and cleaning I paid special attention to everything “in the reservoir” but there was only so far into the nutrient dispensers that could be cleaned. I’m also wondering how far into those lines can an infection spread, would it feed off of a nutrient and make its way to the pump etc?

I have already sent in a suggestion to support to add a maintenance mode for those parts so we could run cleaning solution through the whole system so that doesn’t become the source of reinfection. Ideally we would just put the intake hose into the 50/50 vinegar solution and run the pumps for a few minutes to disinfect (so it pulls and dumps from/to main res, which is already full of the solution), then same during the rinse cycle to clean it out with water. Perhaps there’s a need to dry them too this is where knowledge of what’s in the nutrients plays a part in determining if any leftover water in the system is going to hurt anything etc. I’d think leftover bacteria from a prior grow problem would be a bigger concern.

2 Likes

You can take her out of the box and re-plant her in soil, then use her as a mother to take clones from.

As far as getting info about readings and what not you’d have to ask Stephen. But it’s straight forward to calibrate.

2 Likes

I’m just going to kill this one and try cleaning the unit again if recalibration doesn’t fix.

I have other little dwarfed plants already:

This is why I wanted to grow indoors. These gals only get 5 hrs/day of direct sunlight (that’s all that’s available) and it’s a constant battle to keep the bugs off. We get seasonal bugs and what staved off last weeks’ bugs might not always help the following week so it’s an ongoing struggle.

I’m only expecting a few grams if anything off of these, it was a bit of an experiment to help offset any loss should the grobo grows fail – at least there might be something to harvest!

1 Like

@vegetato
according to the web

By lowering the temperature, you are allowing more oxygen to be held in the water, which your plants need to properly combat this parasite. Increased oxygen intake also has the added bonus of speeding up plant growth in general. Pythium comes when the water temperature is too high (usually above 72 degrees Fahrenheit). If the temperature is kept 72 degrees or lower, you will greatly reduce the chances of root rot occurring. If you have a good supplement, however, higher temperatures will be okay.

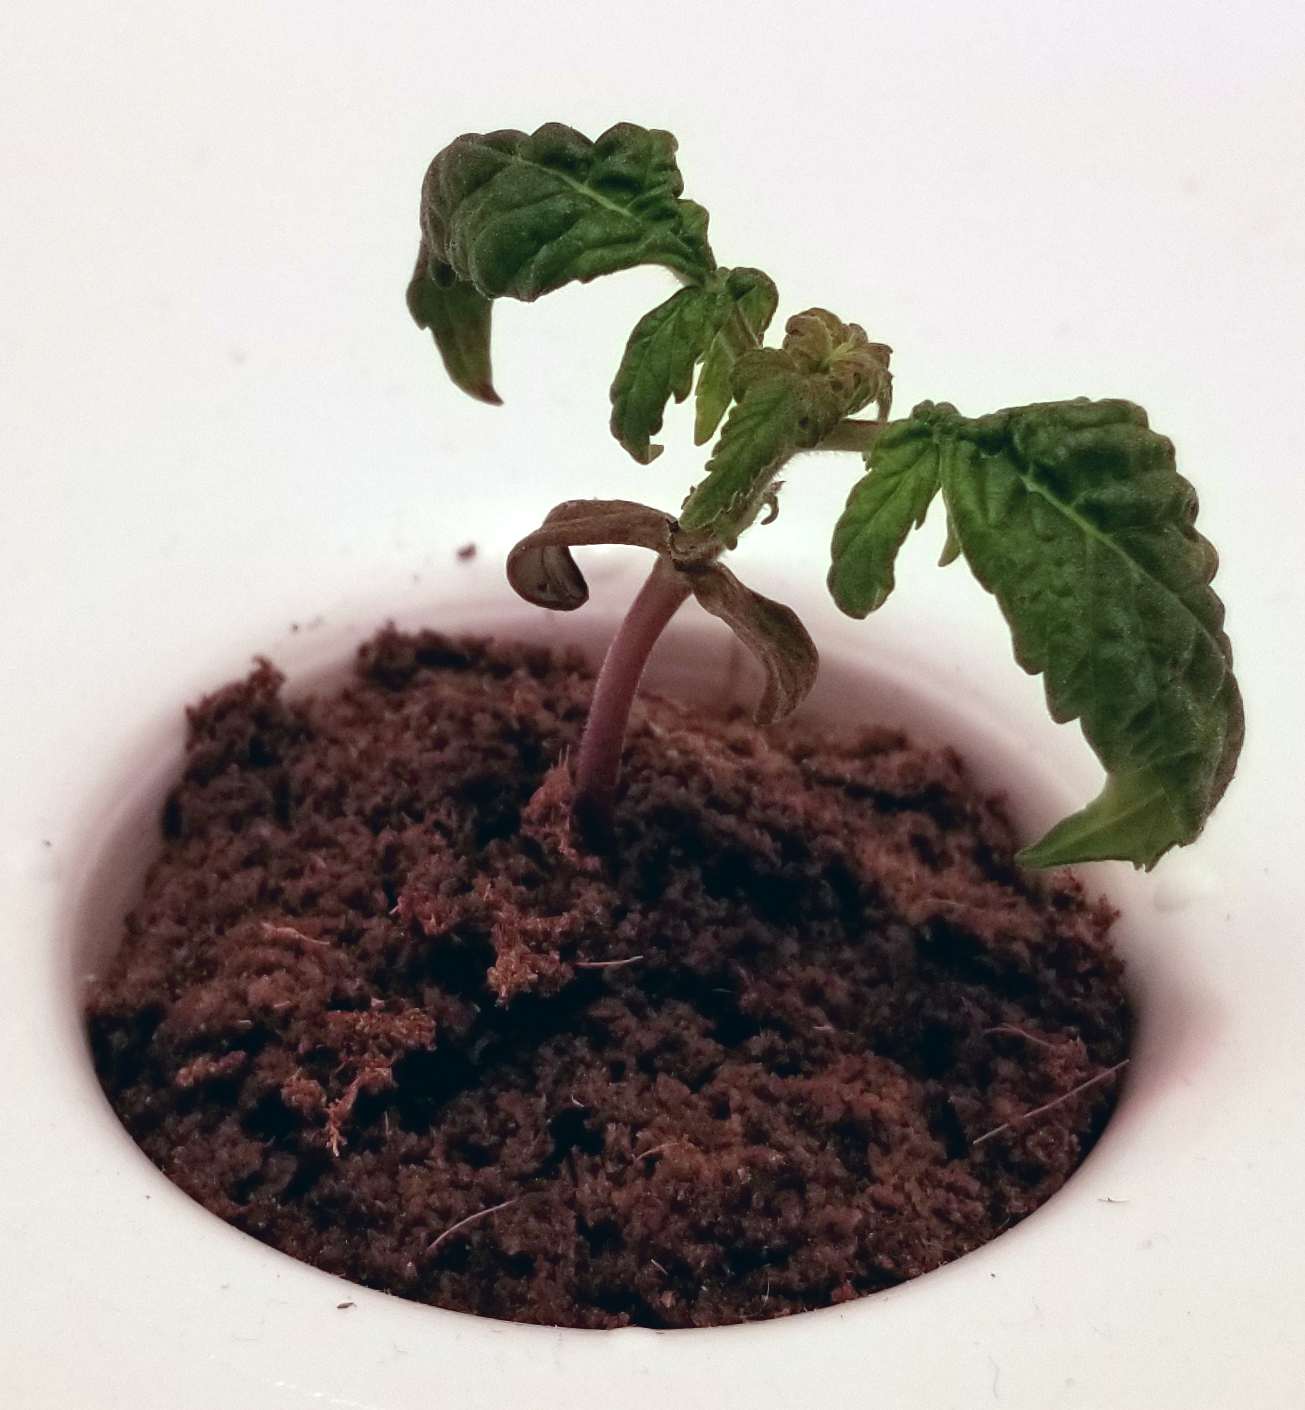
There are some white areas in that root system so there is still hope to save the plant.

You may find this helpful

Some people recommend treating cannabis root rot with H2O2, also known as hydrogen peroxide . While adding hydrogen peroxide to your water will kill most bacteria and pathogens, including the ones that cause root rot, it is only effective in your system for a day or so or since the H2O2 is quickly converted to oxygen and water.

Therefore, if you use hydrogen peroxide as a treatment for root rot, you will need to treat your water daily to prevent re-occurrences until you actually fix the problem that is causing your root rot in the first place. I have used commercial grade H2O2 against root rot more than once, and I never saw any noticeable difference, so I would NOT RECOMMEND H202 as any type of long term cure!

Why Not Use Hydrogen Peroxide? H2O2 is only temporarily effective at best when it comes to getting rid of root rot. It makes me so sad when people tell growers to use H2O2 (hydrogen peroxide) to kill root rot because I know they will continue to struggle with it. Even the commercial grade stuff just doesn’t work most of the time (and I’ve tried)!

All H2O2 does is cause bubbling near the dead brown roots (or any organic matter), which is why I think people believe it’s helping. In my experience, it doesn’t help the plants themselves (they don’t look any better), and what’s worse, all the H2O2 will be completely gone from the water within 24 hours.

H2O2 kills most of the bacteria in the reservoir, including any good bacteria you’ve added, and does nothing to address the underlying problem. You can’t sterilize away root rot, it attacks people everywhere! Although H2O2 does kill bad organisms, it leaves enough of it there to repopulate your reservoir.

I personally recommend Botanicare Hydroguard (the newer, improved version of Botanicare’s popular “Aquashield” root supplement) for marijuana root problems because “this guy” uses it successfully to get rid of more than once case of Root Rot (and by ‘successful’ He mean new white roots exploded out of the old mushy brown ones and I was able to eventually harvest the buds)

this was the short version I encourage you to read the full article. A lot of times this is attributed to hot water temps. Do you know what the temps of your reservoir were? I’ve read on other forums folks having success getting rid of root rot, but it may be best just to scrap it and start fresh.

2 Likes

She will survive if you can clear up the rot clean your res with simple green and sterilize with vinegar … sit the plant in ph’d water while she waits then drain and fill with a product like Hydroguard or sensizym… you could also dose with beneficials… if you do beneficials throw in a small piece of coral as they will use it as a home and multiply

3 Likes

I cleared my root rot with hydroguard till chiller arrived then no hydroguard and still nice and healthy now. Set at 68f. Had it at 64 but created too much condensation on hoses possibly causing unit to puddle up with water. Hope she survives :call_me_hand: side note @Osage when taking plant from grobo(or other hydro unit) would you want to dig soil far enough for root stem or kinda ball up root stems. I would think having roots not ball up would be better but I have no clue :man_shrugging:

4 Likes

I’ve been treating w/ hydroguard since the beginning of this grow, mixing it well. The unit was cleaned using the recommended procedure (wipe walls w/ alcohol, fill res w/ 50/50 vinegar solution soaking for 30+ mins, rinse with water after, etc). The only place I couldn’t get the vinegar solution to run through was the feeding apparatus (intake hose, pump, the insides of the feeder).

Will take some readings of the water in the res tonight. I usually take a reading of what lands in the bucket during a dump, which was 20.1C to 20.3C throughout the last grow but so far I haven’t been feeling like recording much given the signs of trouble already appearing – I’ve already written her off lol.

The water going in is more like 21-22C, it’s in a room being kept at 22C with A/C.

edit: got a reading of current water temp

The water in the res is currently 20.7C (69.3F).

1 Like

Do you know of any chillers with multiple inputs and outputs? I would need 2 of them otherwise…

1 Like

From everything I read it’s best to keep that water temp between 65-68 degrees (18/19 °C.

I purchased this with a pump with intake options. Use this as a rudimentary reference
This is the pump I have
image

The more reservoirs the stronger the pump you’ll need and some T connectors and hose clamps. You’ll want something stronger than 1/10 HP for chiller depending on how many reservoirs as well. Several tent owners on here. The pump I use could possibly do two reservoirs without issue. Not sure. It’s quiet tho Hydrofarm

1 Like

the only issue I have w running them on the same line is that if one return gets clogged the other res can overflow

Well I mean you could buy two? (Not making light of your situation, but I think this is it for options unless you want to buy a chiller for each unit. Seems like overkill when you could get larger tubing and a stronger pump and chiller and run all the reservoirs on one pump and one chiller ect. Seems to be working for a lot of people.

Run sanitation fluids through after each grow? I’m not sure that’s how that works. Could setup a spill out valve like a hone ac with pvc pipes ect, but scaled down. A lot of options if you want to get creative.

I skimmed it

2 Likes

@LtcTerps so I have some experience with this except the opposit I went from soil to hydro… a little bit of wanting … the plant will take three weeks to figure what just happened … you see the plant gets used to hydro method of feeding and drinking then you put it in soil and it has to learn how to survive in its new environment … as far as digging the hole you will want to dig enough so that the soil will help stabilize the stem and the weight of the plant

3 Likes

Just over a week ago she was looking like this:

Under the covers the roots were developing some slime, the pics of that are few posts back in this thread. I used some h2o2 immediately in the res while doing the same in some other containers to prepare for a drain/fill.

The slime was gone within an hour or two of using the h2o2 and the roots were already looking a bit like they used to. The next day the roots were a bit of an orangish white instead of brown (I didn’t hold back on the h2o2 so it was partly burn I’m sure) so I added a double-dose of hydroguard and squirted a bit on the bottom of the coco pad directly as well. The thought was if that doesn’t save it I’ll just start over, wasn’t much effort to try it.

If it works, the hope is that this won’t be a repeat procedure every so often to clean out the slime. :crossed_fingers: I brewed a tea for the ladies outside and had contemplated trying to use that to combat the slime/rot but decided it better to stick to trying to sterilize instead.

The next day the dead weight was cut off:

Have been monitoring the root growth, and have switched back to distilled water instead of RO. There have been multiple new roots emerging from all sides of the coco pod now.

Here’s how she’s looking today, this new growth just appeared yesterday:

I have a separate thread about this but I’m still curious if anyone is treating their water prior to using it in grobo (and how exactly, perhaps there’s something better than h2o2 for ensuring sterility?) or if everyone is using their own personal RO machines or what?

2 Likes

I’m mixing my RO water with a gallon of distilled each drain & fill.

Ived used both w distilled first month then switched to ro system I installed. Both w no issues. I Phd before hand and not, w both dis and ro. Again no issues. I used hydroguard before chiller was installed and she was healthy before and after the switch. Hopefully she perks up and takes off

1 Like